IntroductionThe WEB role provides the following functionality to the jtel platform. - Web Server Application for Agents, Supervisors and Administrators
- SOAP Web Service API
WEB requires access to STORE, and DATA. The web server is provided by the java based wildfly server, and uses port 8080. The load balancer (LB) is used to distribute sessions to the webserver(s), and to decrypt https if installed. The WEB role runs internally behind the LB role and does not use encryption. Pre-RequisitesSTORE must be mounted before installing this role. See Mounting STORE - All Linux except for STORE (CentOS8/Win2019). InstallationMySQL ClientInstall the mysql repository for enterprise Linux 8.x and the mysql community client as follows. This disables some default repos which are activated by the base CentOS 8.x installation: | Translations Ignore |
|---|
| Code Block |
|---|
# Disable some default stuff
dnf config-manager --disable mysql-connectors-community
dnf config-manager --disable mysql-tools-community
dnf -y module disable mysql

# Install the Oracle MySQL repo and the client
dnf -y install https://dev.mysql.com/get/mysql80-community-release-el8-1.noarch.rpm
dnf -y install mysql-community-client |
|
Symbolic Link for StoreSince access to the store is performed using UNC paths, this path must be created and linked to the location of the STORE mount: | Translations Ignore |
|---|
| Code Block |
|---|
mkdir /acd-store
ln -s /home/jtel/shared /acd-store/shared |
|
This will enable the webserver to access paths like: //acd-store/shared Install Java Runtime| Translations Ignore |
|---|
| Code Block |
|---|
wget https://cdn.jtel.de/downloads/java/jdk-8u202-linux-x64.rpm
dnf -y install ./jdk-8u202-linux-x64.rpm
rm -f jdk-8u202-linux-x64.rpm |
|
Install WildflyThe following commands will install and configure the wildfly server as a systemd service: | Translations Ignore |
|---|
| Code Block |
|---|
cd /home/jtel
wget http://cdn.jtel.de/downloads/jboss/wildfly-18.0.1.Final.02.tar.gz
tar xzf wildfly-18.0.1.Final.02.tar.gz
rm -f wildfly-18.0.1.Final.02.tar.gz
mkdir -p wildfly-18.0.1.Final/standalone/deployments
chown -R jtel:jtel wildfly-18.0.1.Final
ln -s /home/jtel/wildfly-18.0.1.Final wildfly-current
cp /home/jtel/wildfly-current/systemd/wildfly.service /etc/systemd/system/wildfly.service
systemctl daemon-reload
cd /etc/cron.daily
ln -s /home/jtel/wildfly-current/bin/jboss-logmaint.sh
ln -s /home/jtel/wildfly-current/bin/jboss-restart.sh
cd /usr/local/bin
ln -s /home/jtel/wildfly-current/bin/updatejb.sh
systemctl enable wildfly.service
|
|
The following commands open the necessary ports in the firewall: | Translations Ignore |
|---|
| Code Block |
|---|
firewall-cmd --zone=public --add-port=5701-5801/tcp --permanent
firewall-cmd --zone=public --add-port=5455/tcp --permanent
firewall-cmd --zone=public --add-port=8080-8081/tcp --permanent
firewall-cmd --zone=public --add-port=4447/tcp --permanent
firewall-cmd --zone=public --add-port=5445/tcp --permanent
firewall-cmd --zone=public --add-port=20640/udp --permanent
firewall-cmd --zone=public --add-port=20642/udp --permanent
firewall-cmd --zone=public --add-port=20644/udp --permanent
firewall-cmd --reload |
|
SELinux ConfigurationEnforcingIn order that wildfly can run with selinux enabled (enforcing), the following command must be issued: | Translations Ignore |
|---|
| Code Block |
|---|
rm -f /home/jtel/wildfly-current/systemd/wildfly.mod
rm -f /home/jtel/wildfly-current/systemd/wildfly.pp
checkmodule -M -m -o /home/jtel/wildfly-current/systemd/wildfly.mod /home/jtel/wildfly-current/systemd/wildfly.te
semodule_package -o /home/jtel/wildfly-current/systemd/wildfly.pp -m /home/jtel/wildfly-current/systemd/wildfly.mod
semodule -i /home/jtel/wildfly-current/systemd/wildfly.pp |
|
Changing SELinux ConfigurationIf you would prefer to set selinux off, or set it to permissive, you can edit the following file and reboot: | Translations Ignore |
|---|
| Code Block |
|---|
vi /etc/selinux/config

...
# Change SELINUX=enforcing to:
SELINUX=permissive
...

reboot |
|
First ServerNext, configure the wildfly server to attach to the database servers as appropriate. The 4th line of this series of commands must be modified to contain the password for the database. | Status |
|---|
| colour | Red |
|---|
| title | Caution Password |
|---|
|
| Translations Ignore |
|---|
| Code Block |
|---|
DBPRI=acd-dbm
DBSTA=acd-dbs
DBREP=acd-dbr
DBPWD=<password>
sed -i -e "s/DATA_PRIMARY/${DBPRI}/g" -e "s/DATA_STATS/${DBSTA}/g" -e "s/DATA_REPORTS/${DBREP}/g" -e "s/DB_PASSWORD/${DBPWD}/g" /home/jtel/wildfly-current/standalone/configuration/standalone.xml
unset DBPWD
unset DBREP
unset DBSTA
unset DBPRI
cp /home/jtel/wildfly-current/standalone/configuration/standalone.xml /home/jtel/shared |
|
Further ServersIf the configuration file has already been provided on STORE, then the following commands will copy it to the wildfly server. | Translations Ignore |
|---|
| Code Block |
|---|
rm -f /home/jtel/wildfly-current/standalone/configuration/standalone.xml
cp /home/jtel/shared/standalone.xml /home/jtel/wildfly-current/standalone/configuration/standalone.xml
chown jtel:jtel /home/jtel/wildfly-current/standalone/configuration/standalone.xml |
|
The configuration of the hazelcast cluster must now be completed. First ServerIf this is the first hazelcast.xml which is being configured for the installation, then the necessary hosts must be added or removed in the hazelcast.xml file: | Translations Ignore |
|---|
| Code Block |
|---|
# Edit the file
vi /home/jtel/wildfly-current/standalone/configuration/hazelcast.xml

# Search for this bit (near the top) and modify accordingly
...

            <tcp-ip enabled="true">
                <member>acd-dbm</member>
                <member>acd-jb1</member>
                <member>acd-jb2</member>
                <member>acd-tel1</member>
            </tcp-ip>
...

# Copy the file
cp /home/jtel/wildfly-current/standalone/configuration/hazelcast.xml /home/jtel/shared |
Further ServersIf the configuration file has already been provided on STORE, then the following commands will copy it to the wildfly server.hazelcast configuration file is now copied: | Translations Ignore |
|---|
| Code Block |
|---|
rm -f /home/jtel/wildfly-current/standalone/configuration/hazelcast.xml
cp /home/jtel/shared/hazelcast.xml /home/jtel/wildfly-current/standalone/configuration/hazelcast.xml
chown jtel:jtel /home/jtel/wildfly-current/standalone/configuration/hazelcast.xml |
|
Start WildflyStart the webserver as follows: Whether it is running, can be checked in the webserver log file: | Translations Ignore |
|---|
| Code Block |
|---|
less /home/jtel/wildfly-current/standalone/log/server.log |
|
Or by logging into the portal directly on port 8080 using a browser pointing to the following URL: | Translations Ignore |
|---|
| Code Block |
|---|
http://acd-jb1:8080/CarrierPortal/sysadmin/login |
|
The login page should appear, with the logo. 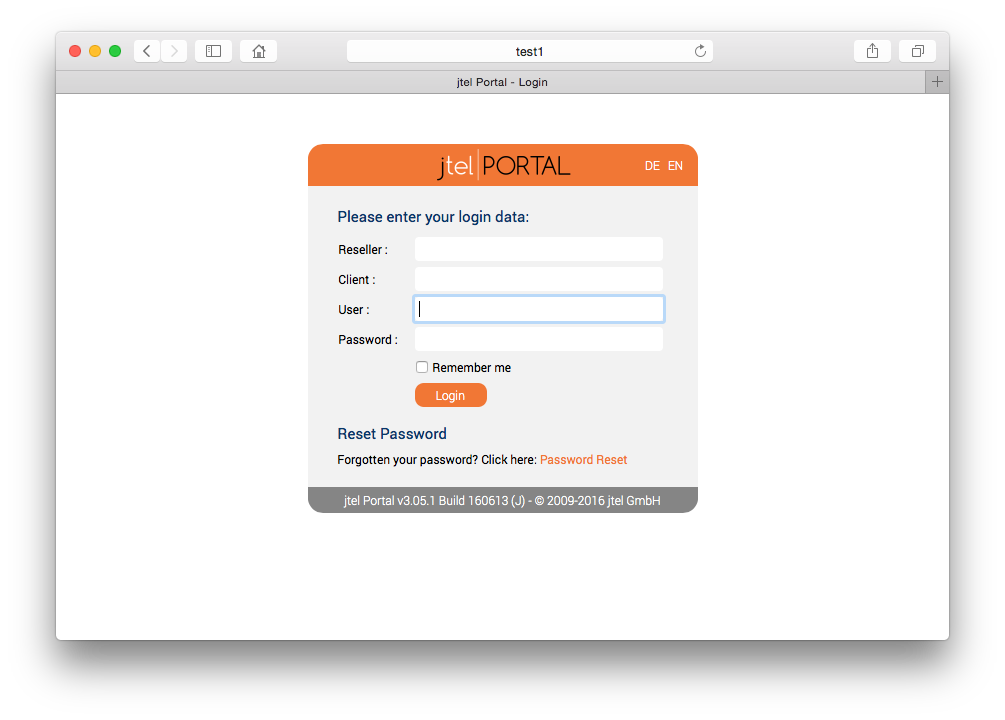
|