| Sv translation | ||
|---|---|---|
| ||
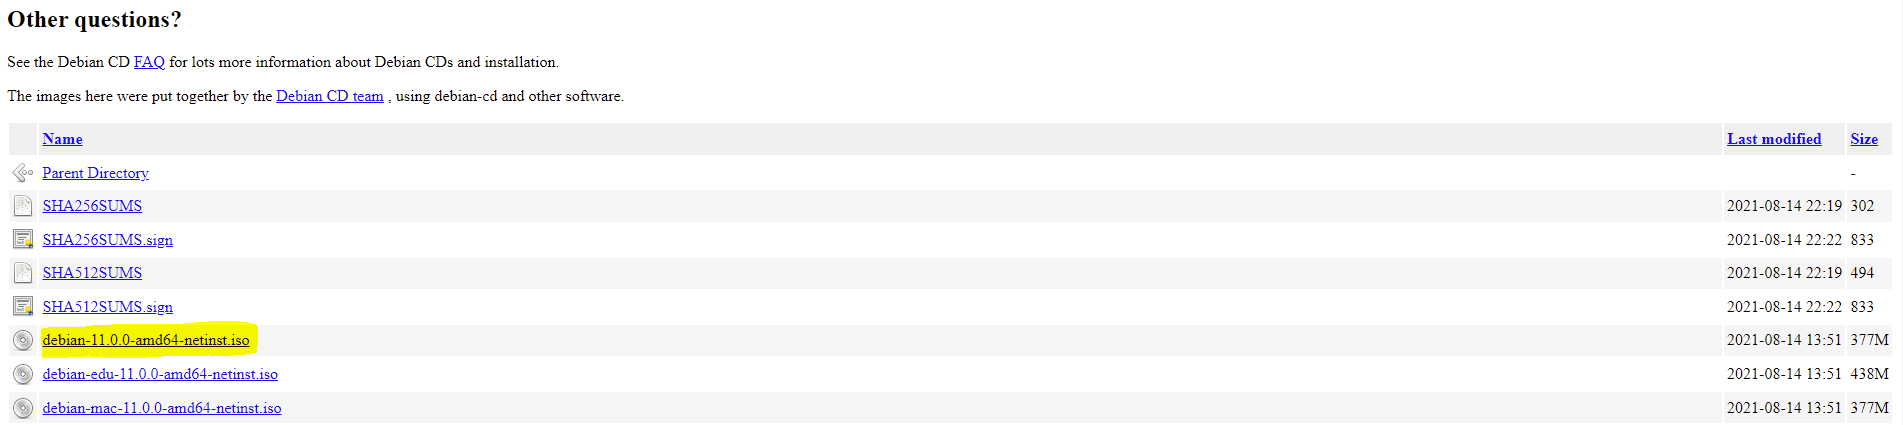
ImageDownload an .ISO for the installation of Debian Linux. The minimal .ISO (net install) will do, as long as the machine has network connectivity. The current image can be found on this page: https://cdimage.debian.org/debian-cd/current/amd64/iso-cd/ The netinst.iso image is the correct one - scroll down to the bottom to select the appropriate version:
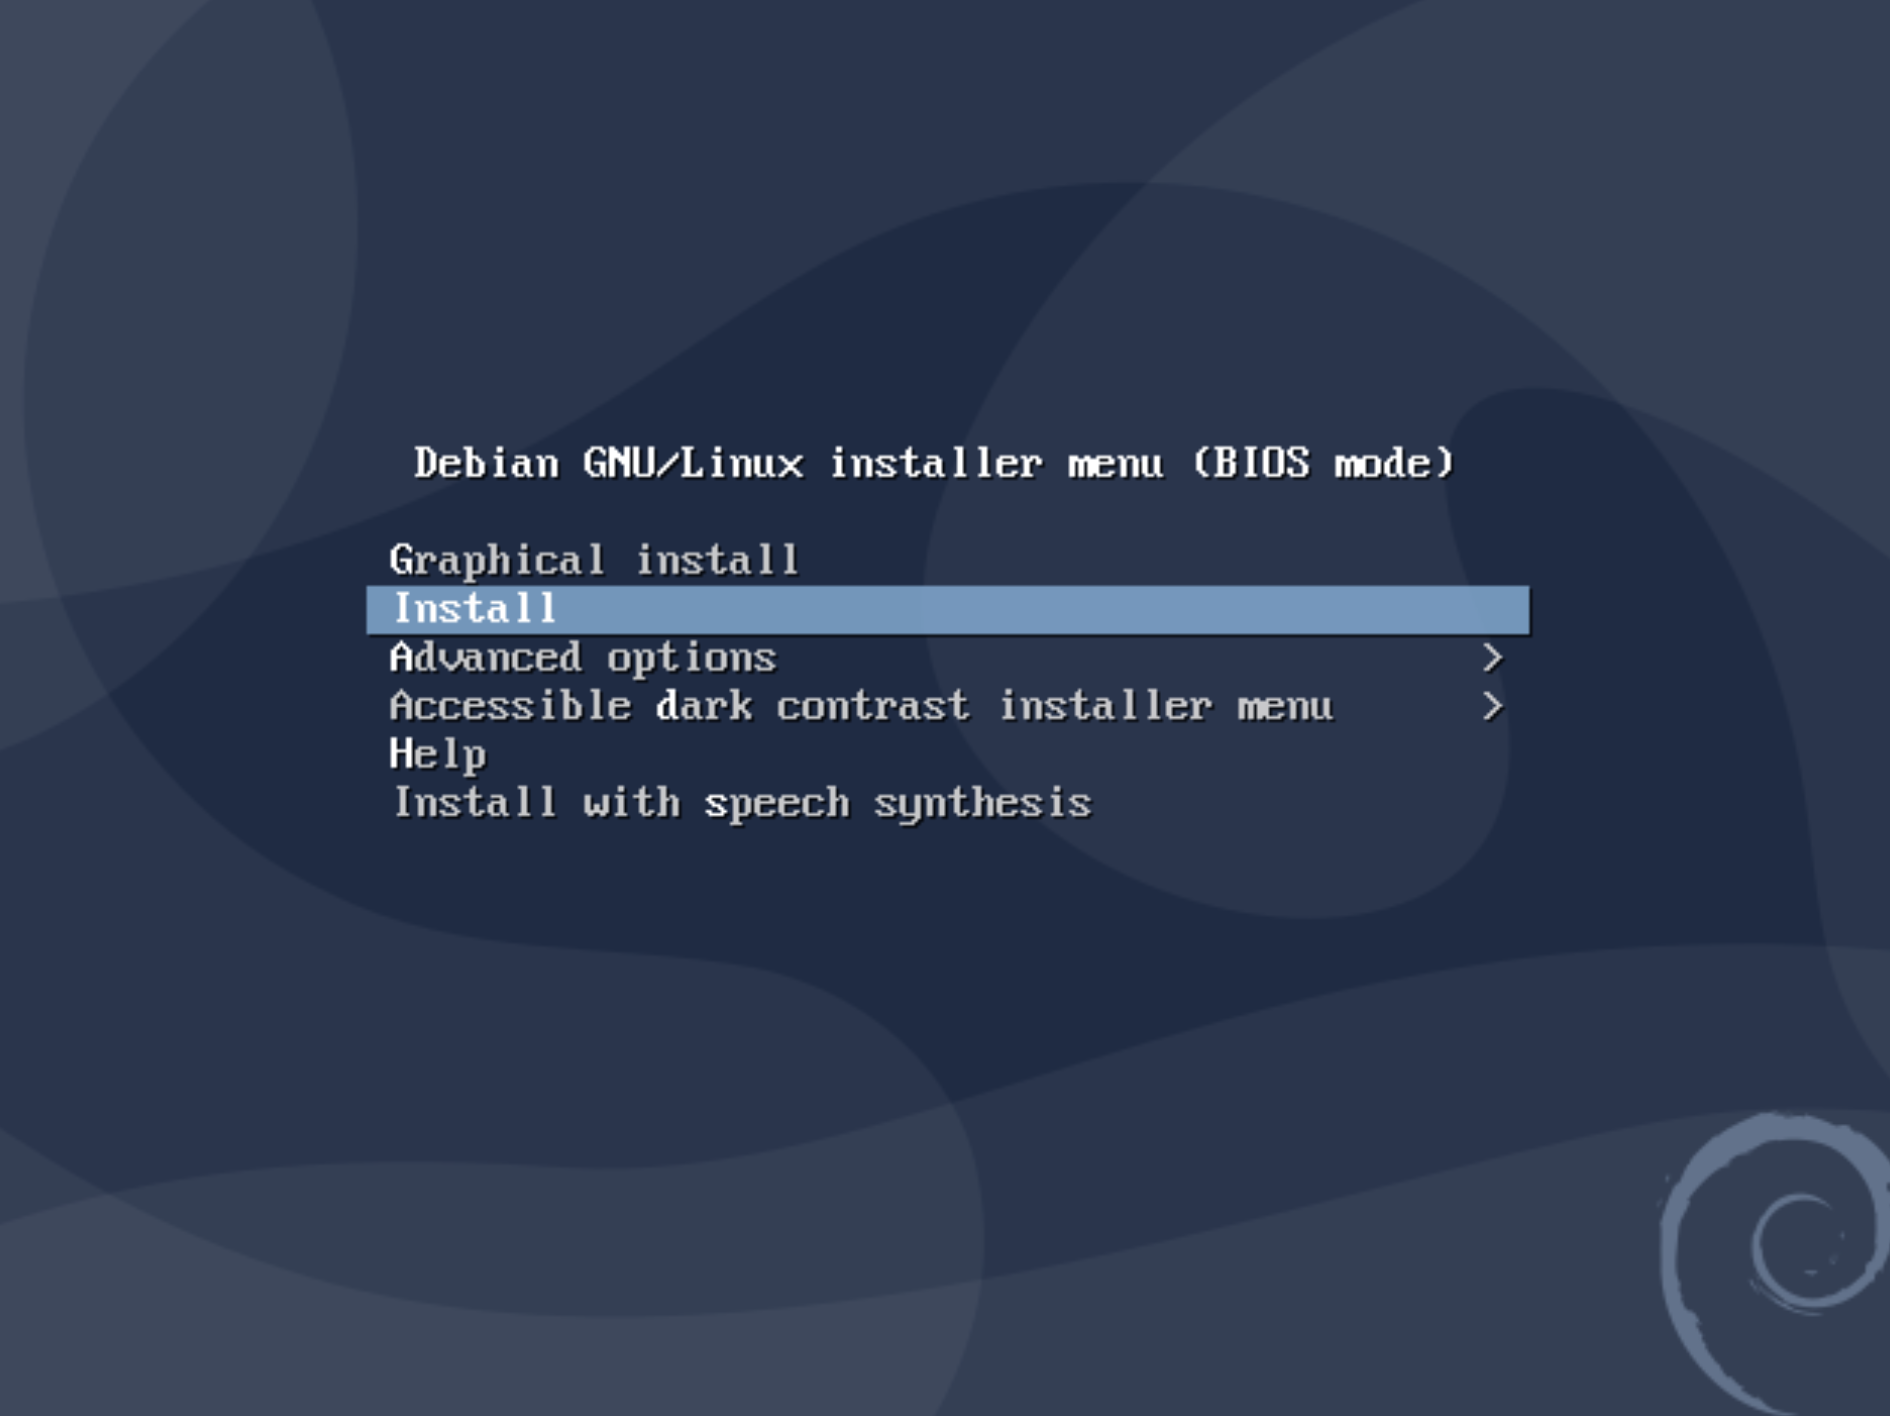
InstallationSelect the text installer:
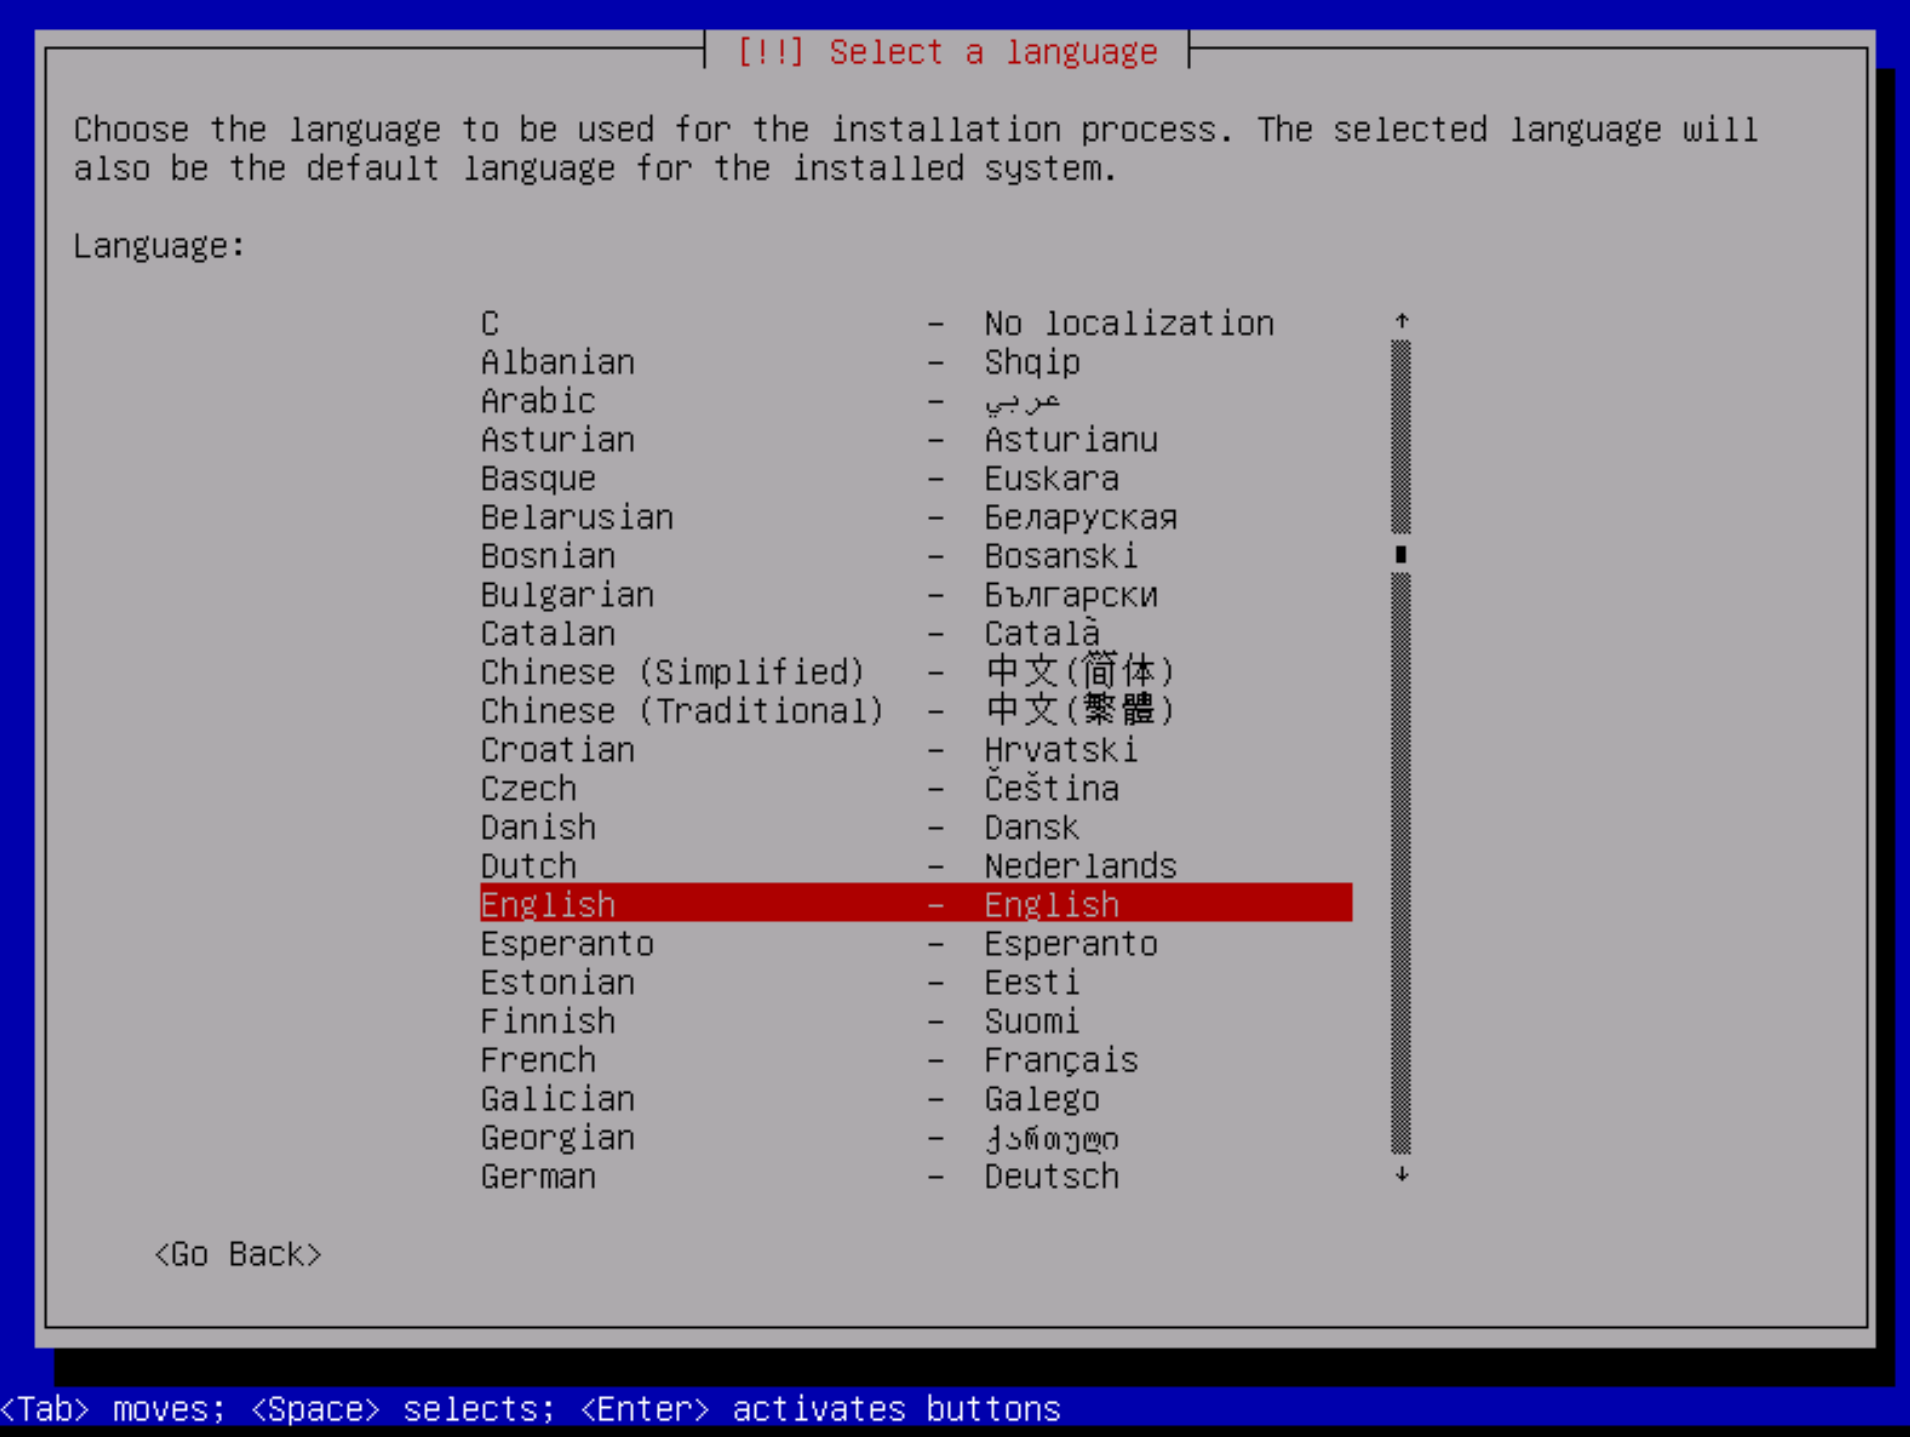
Select English as the language:
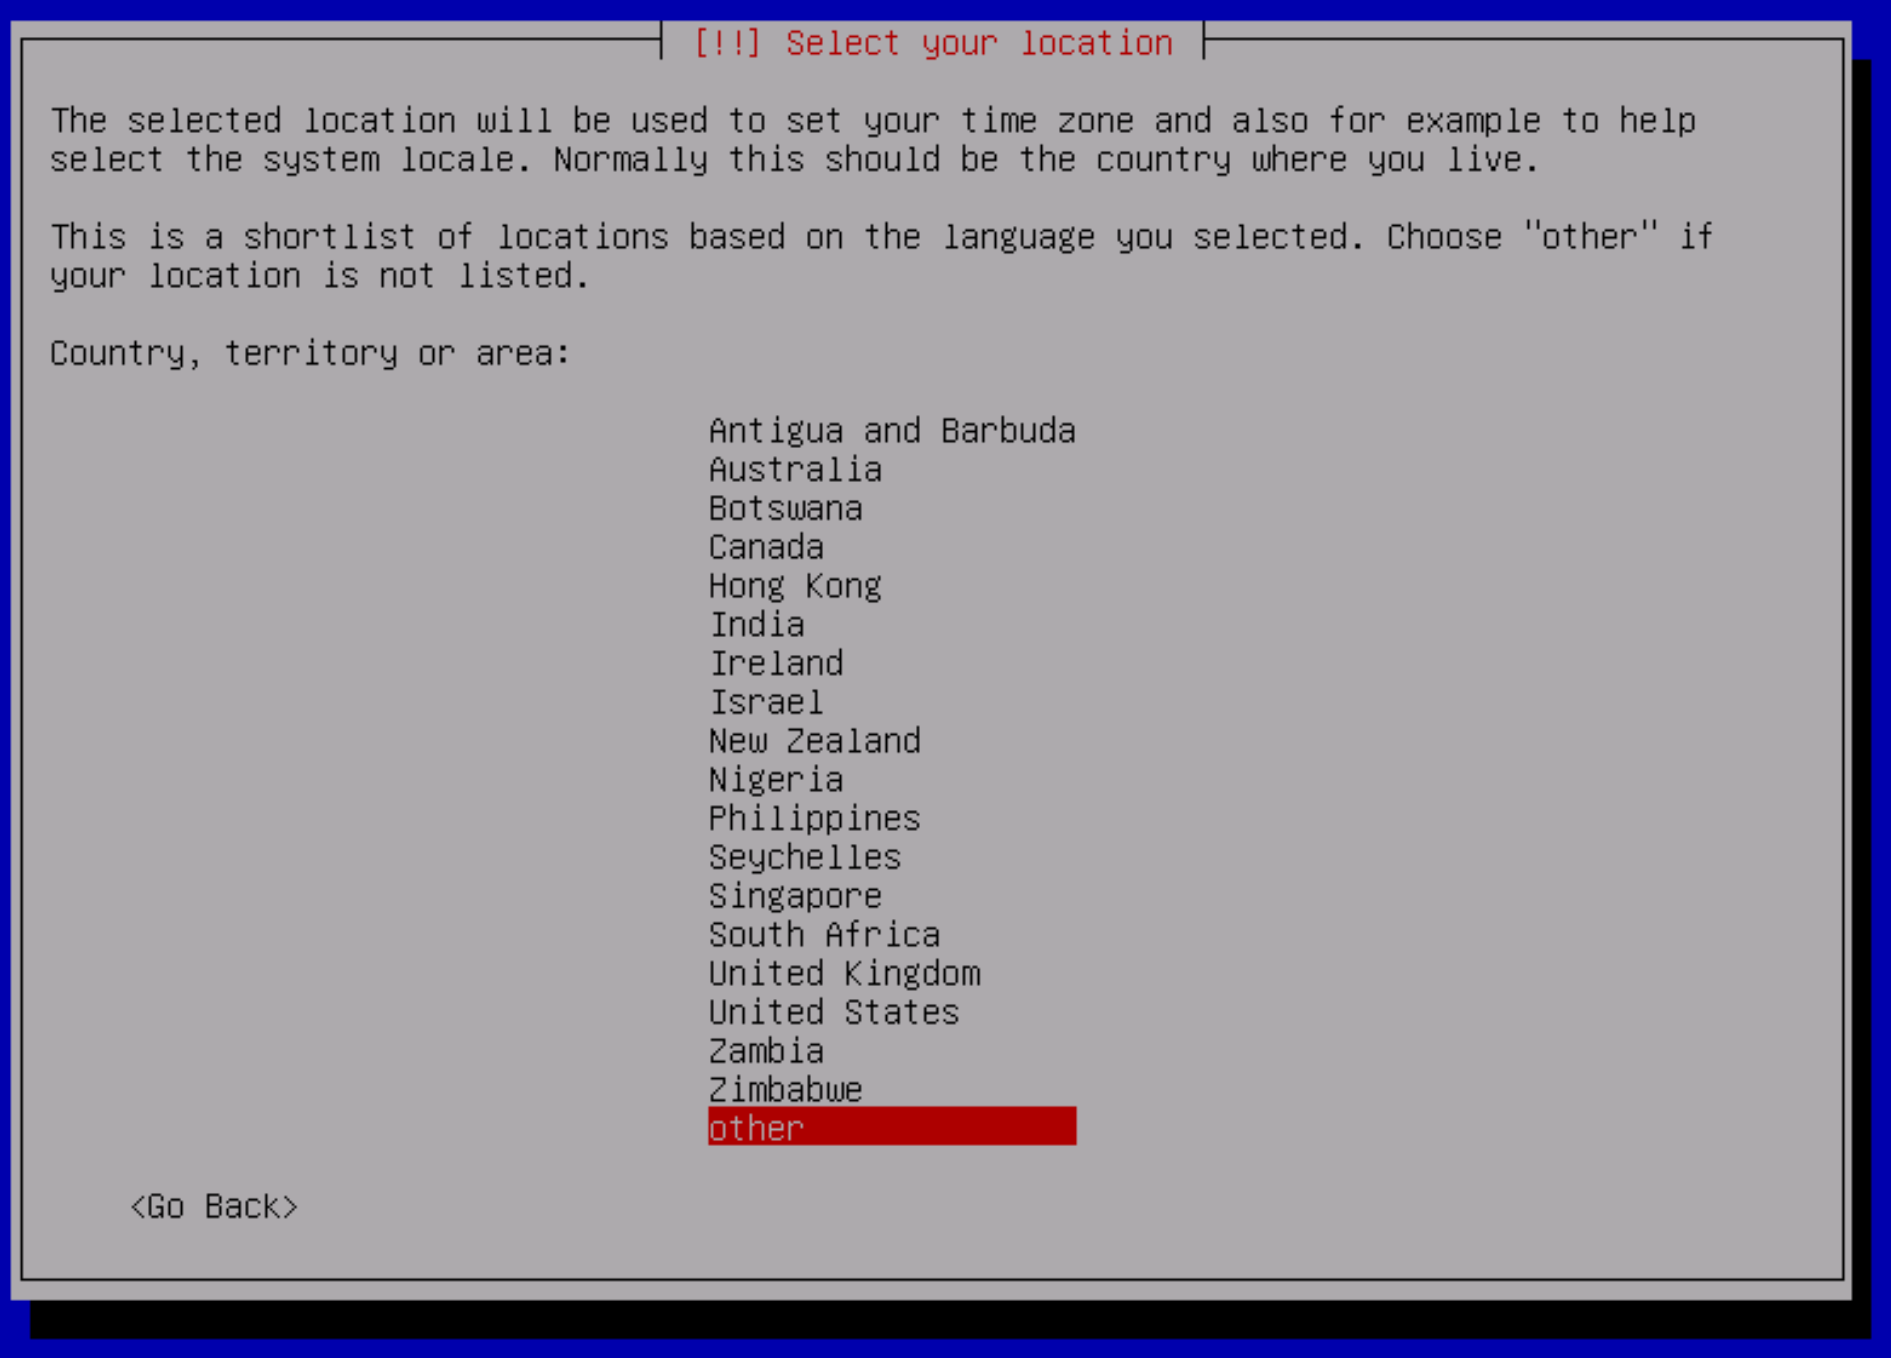
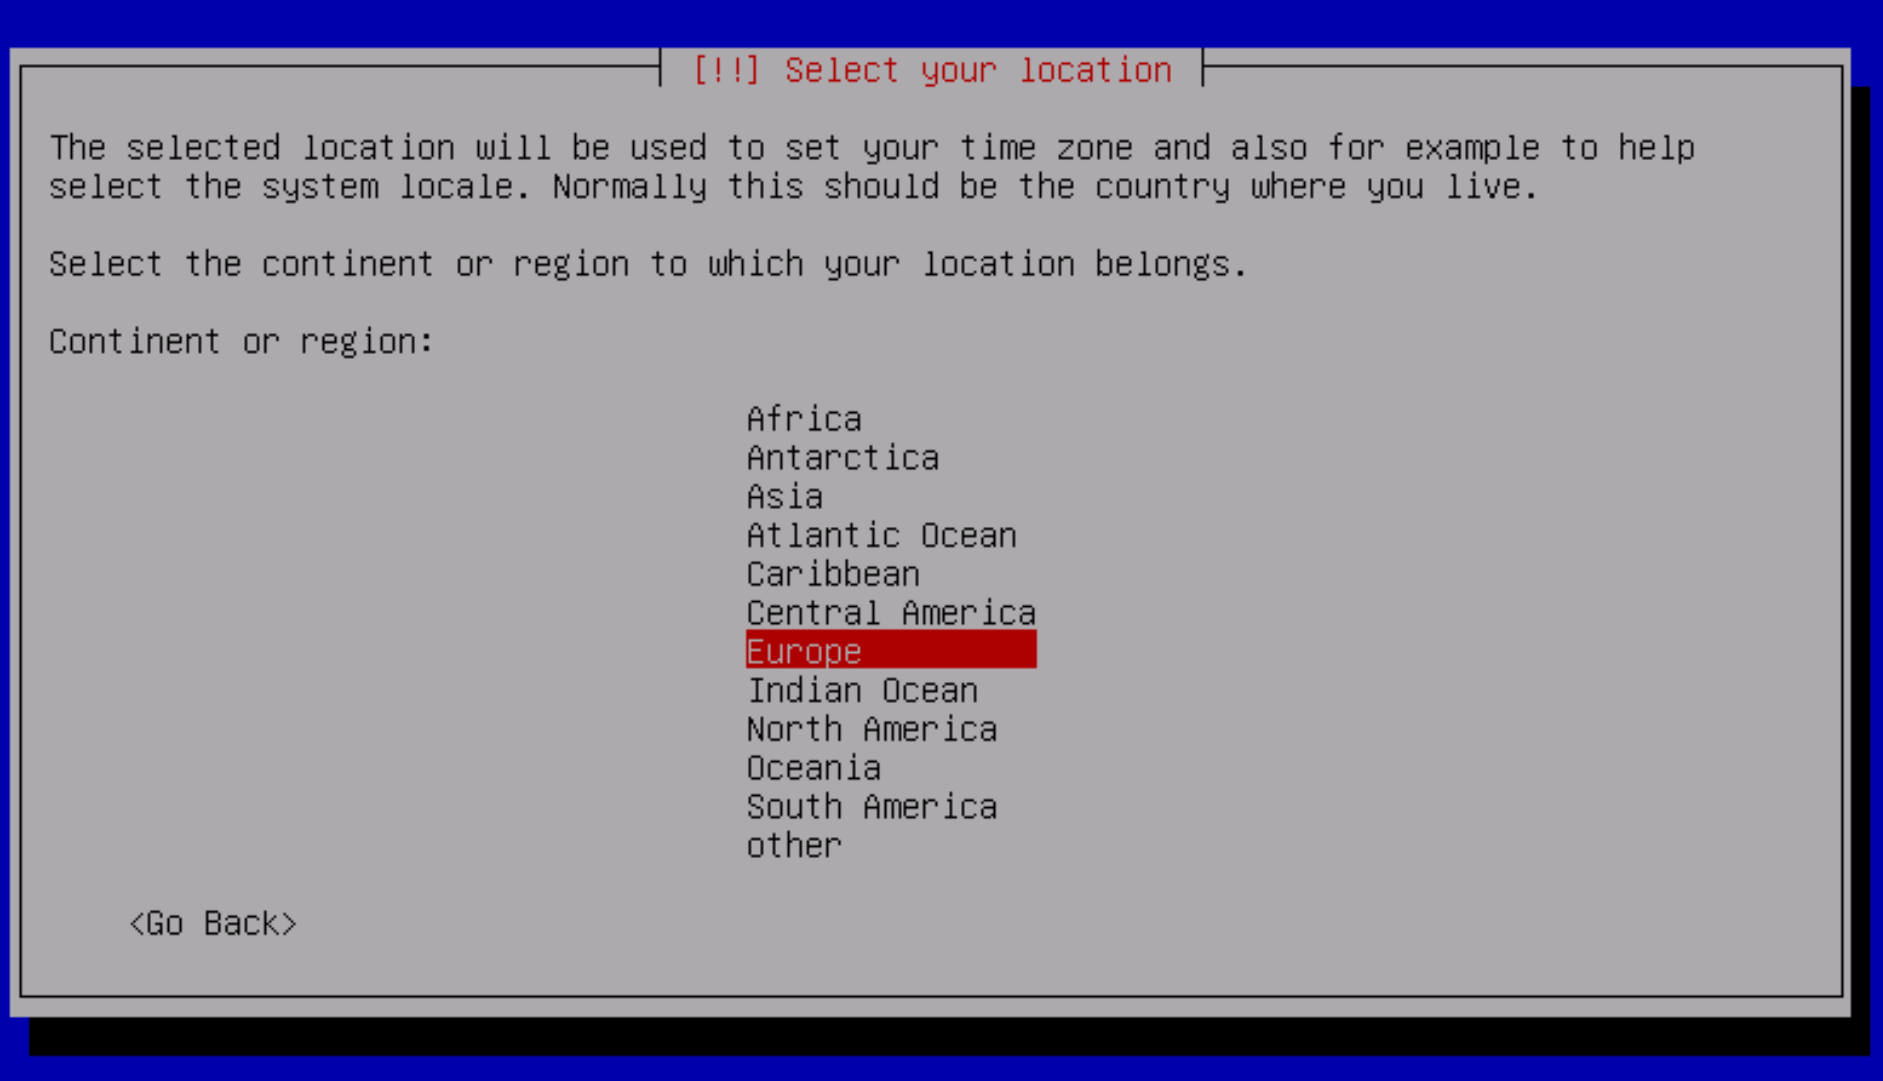
Select other as the location:
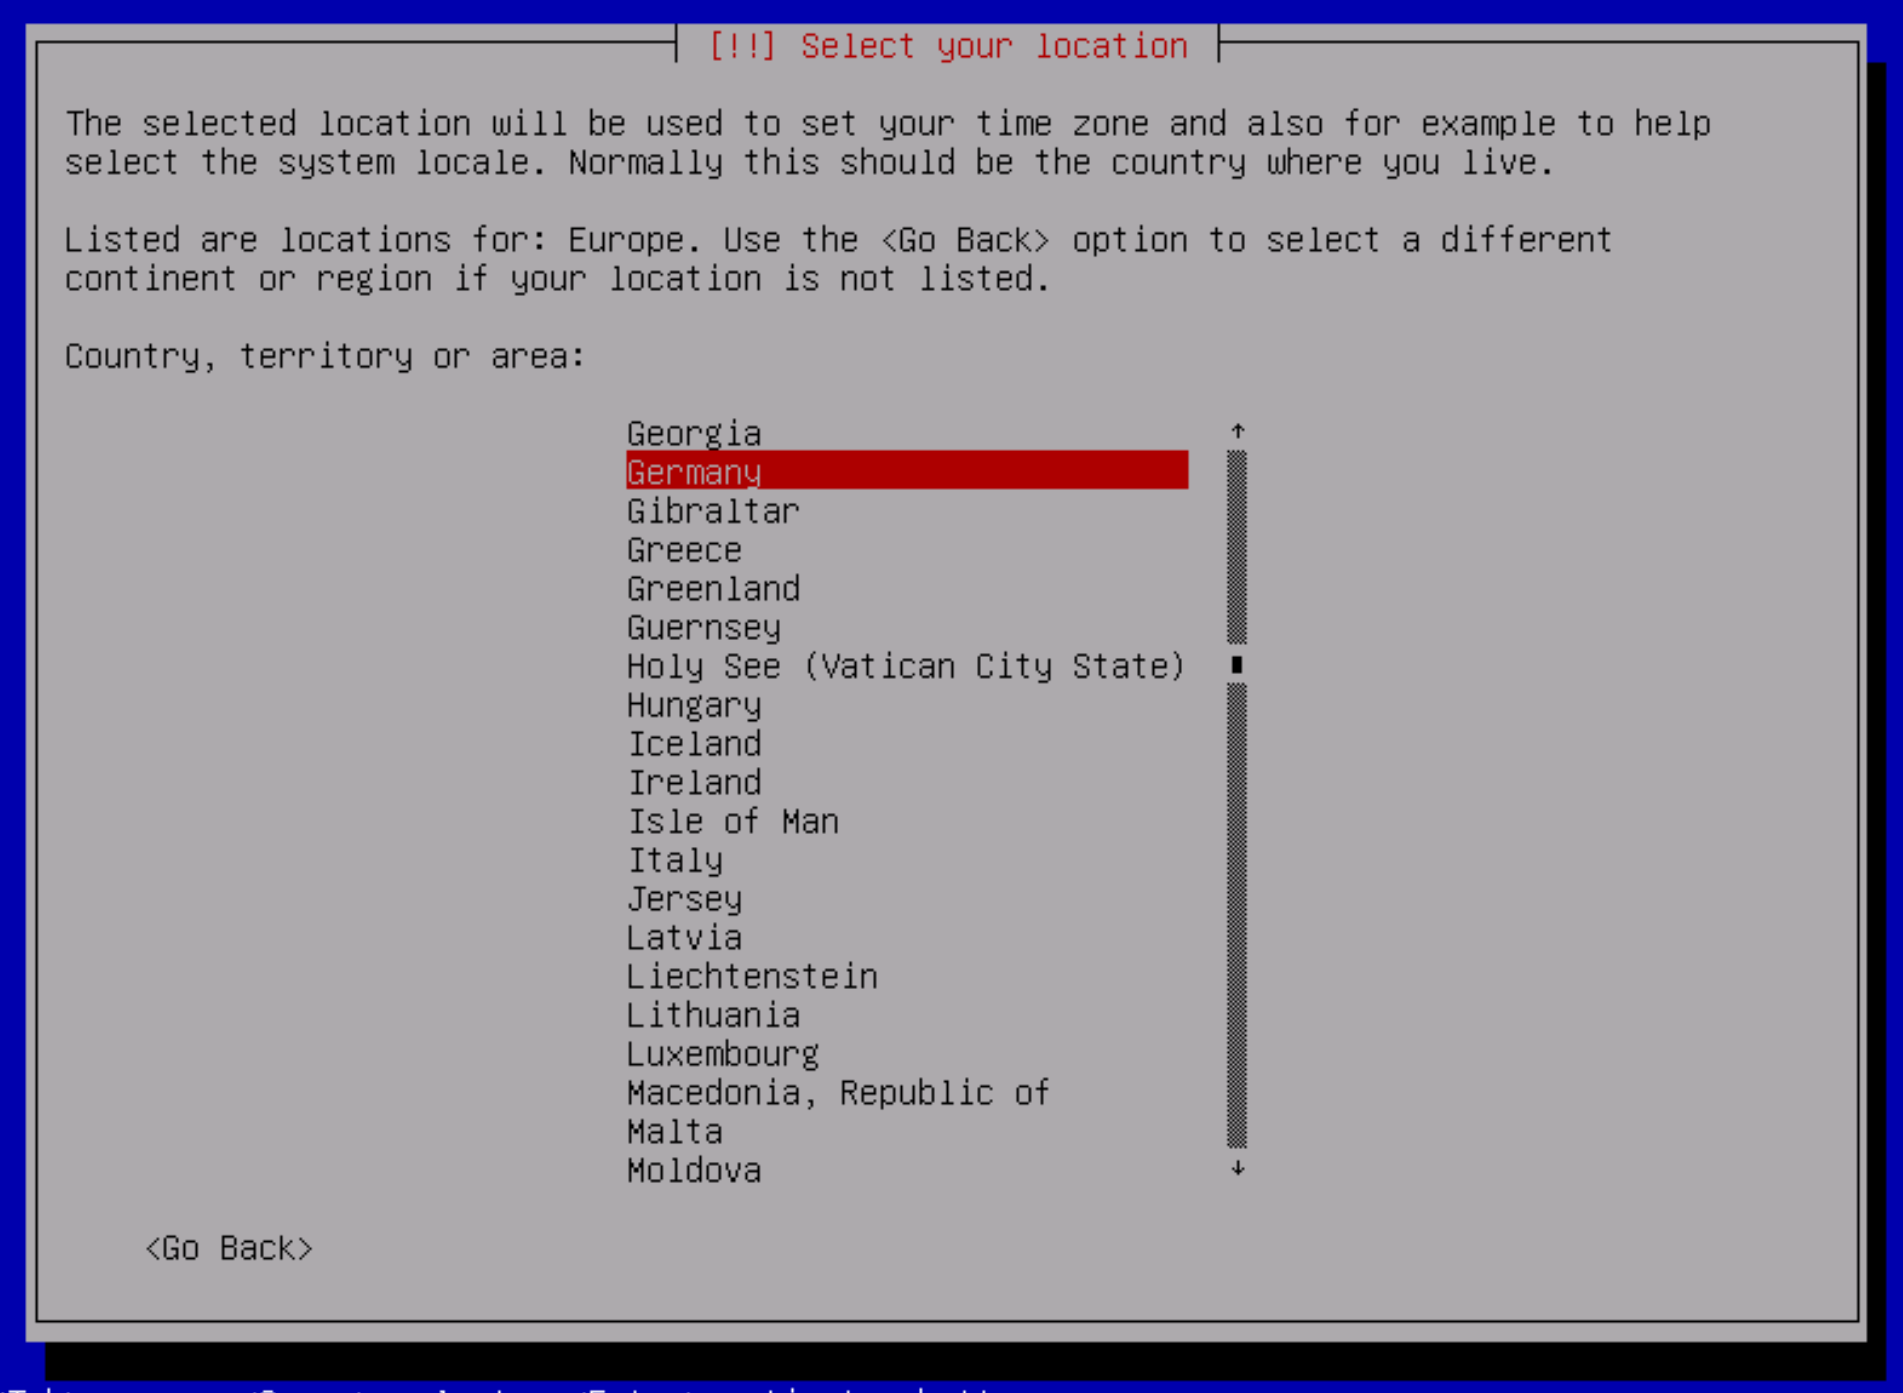
Then select the appropriate location using the next two menus - here for Europe / Germany:
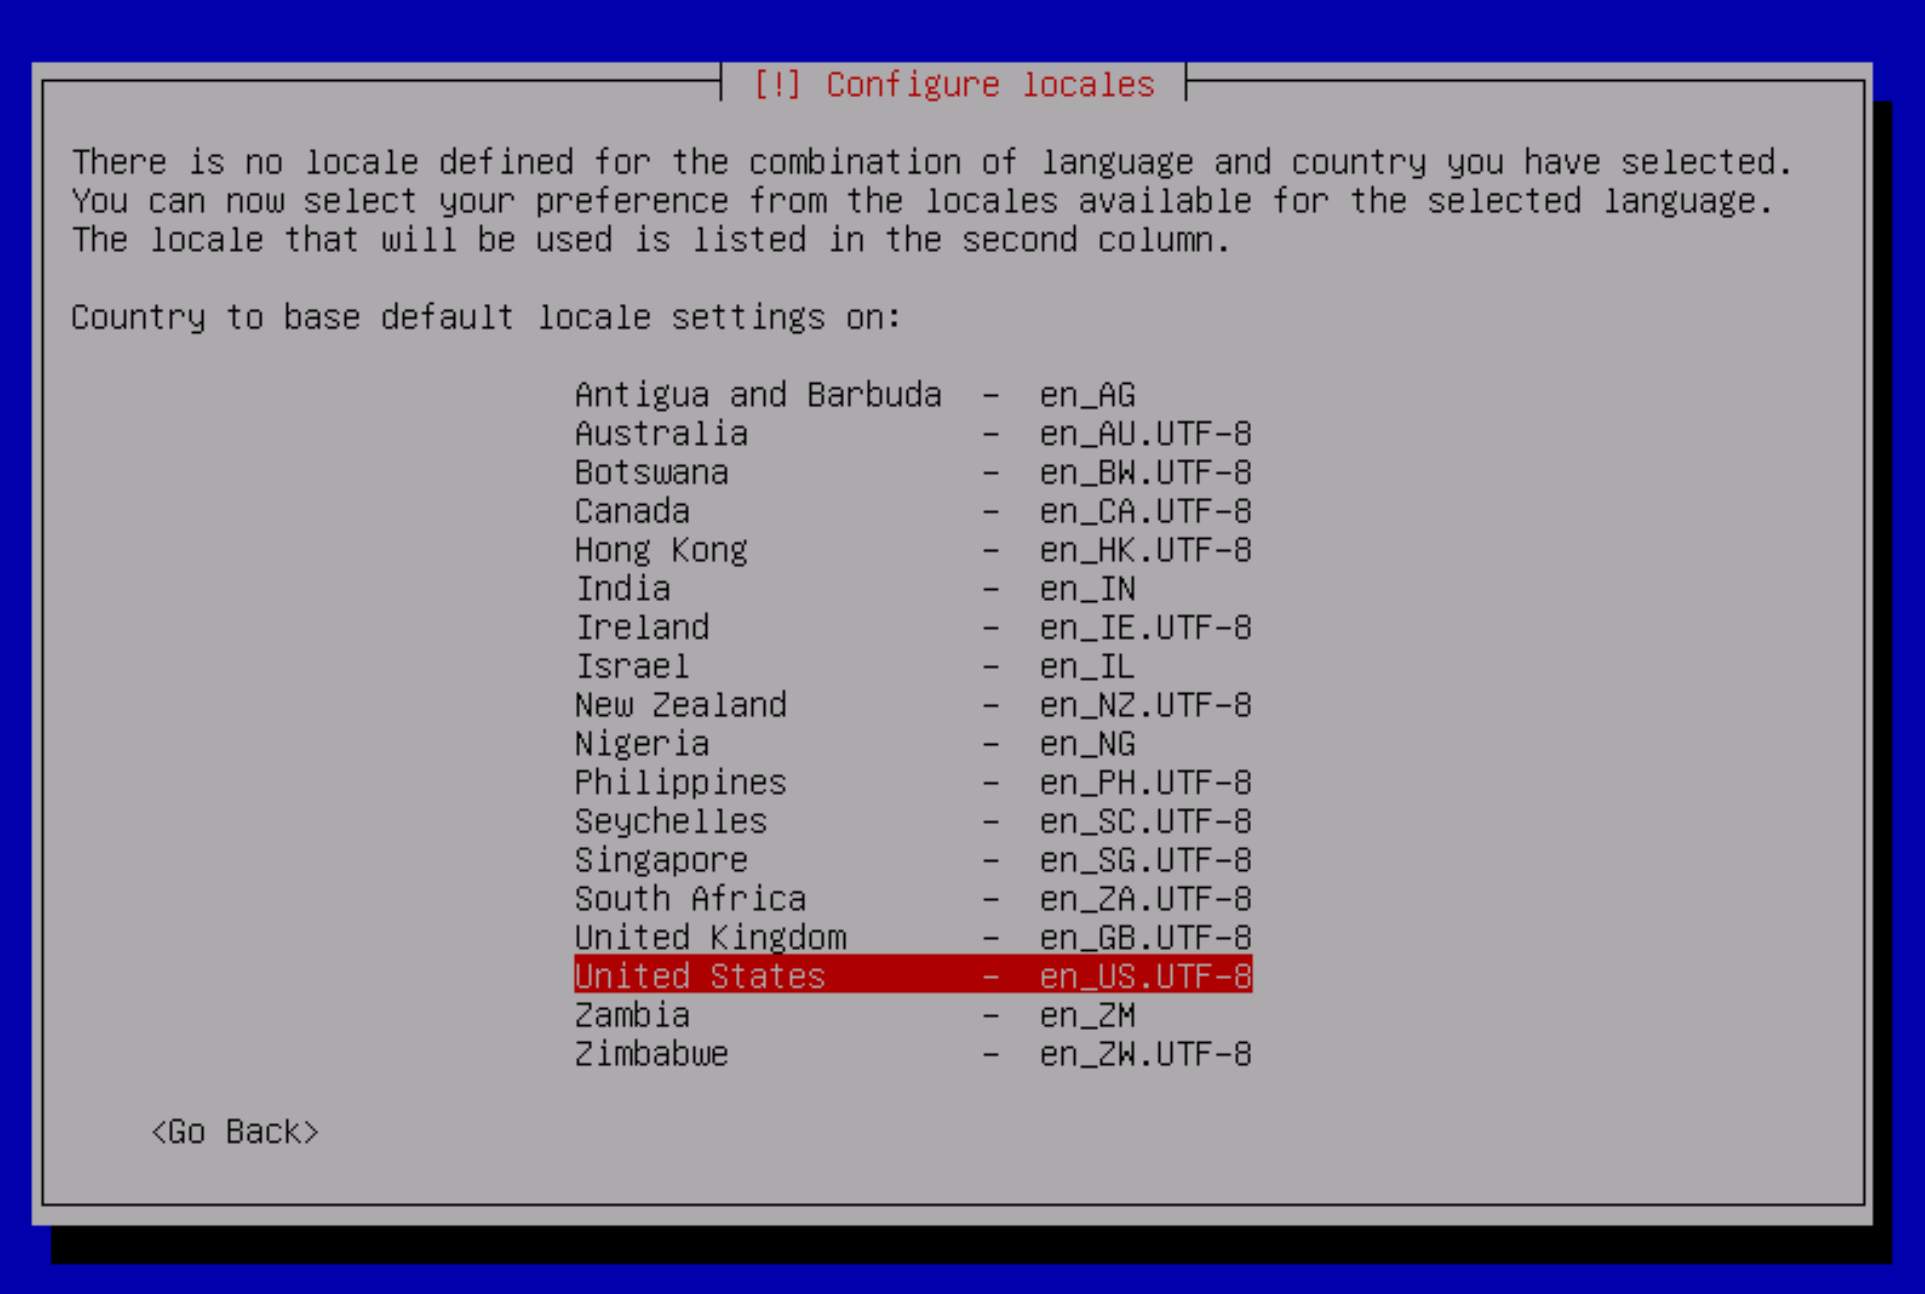
Then select en_US.UTF-8 for the locale settings:
Select the appropriate keyboard layout (in this example German):
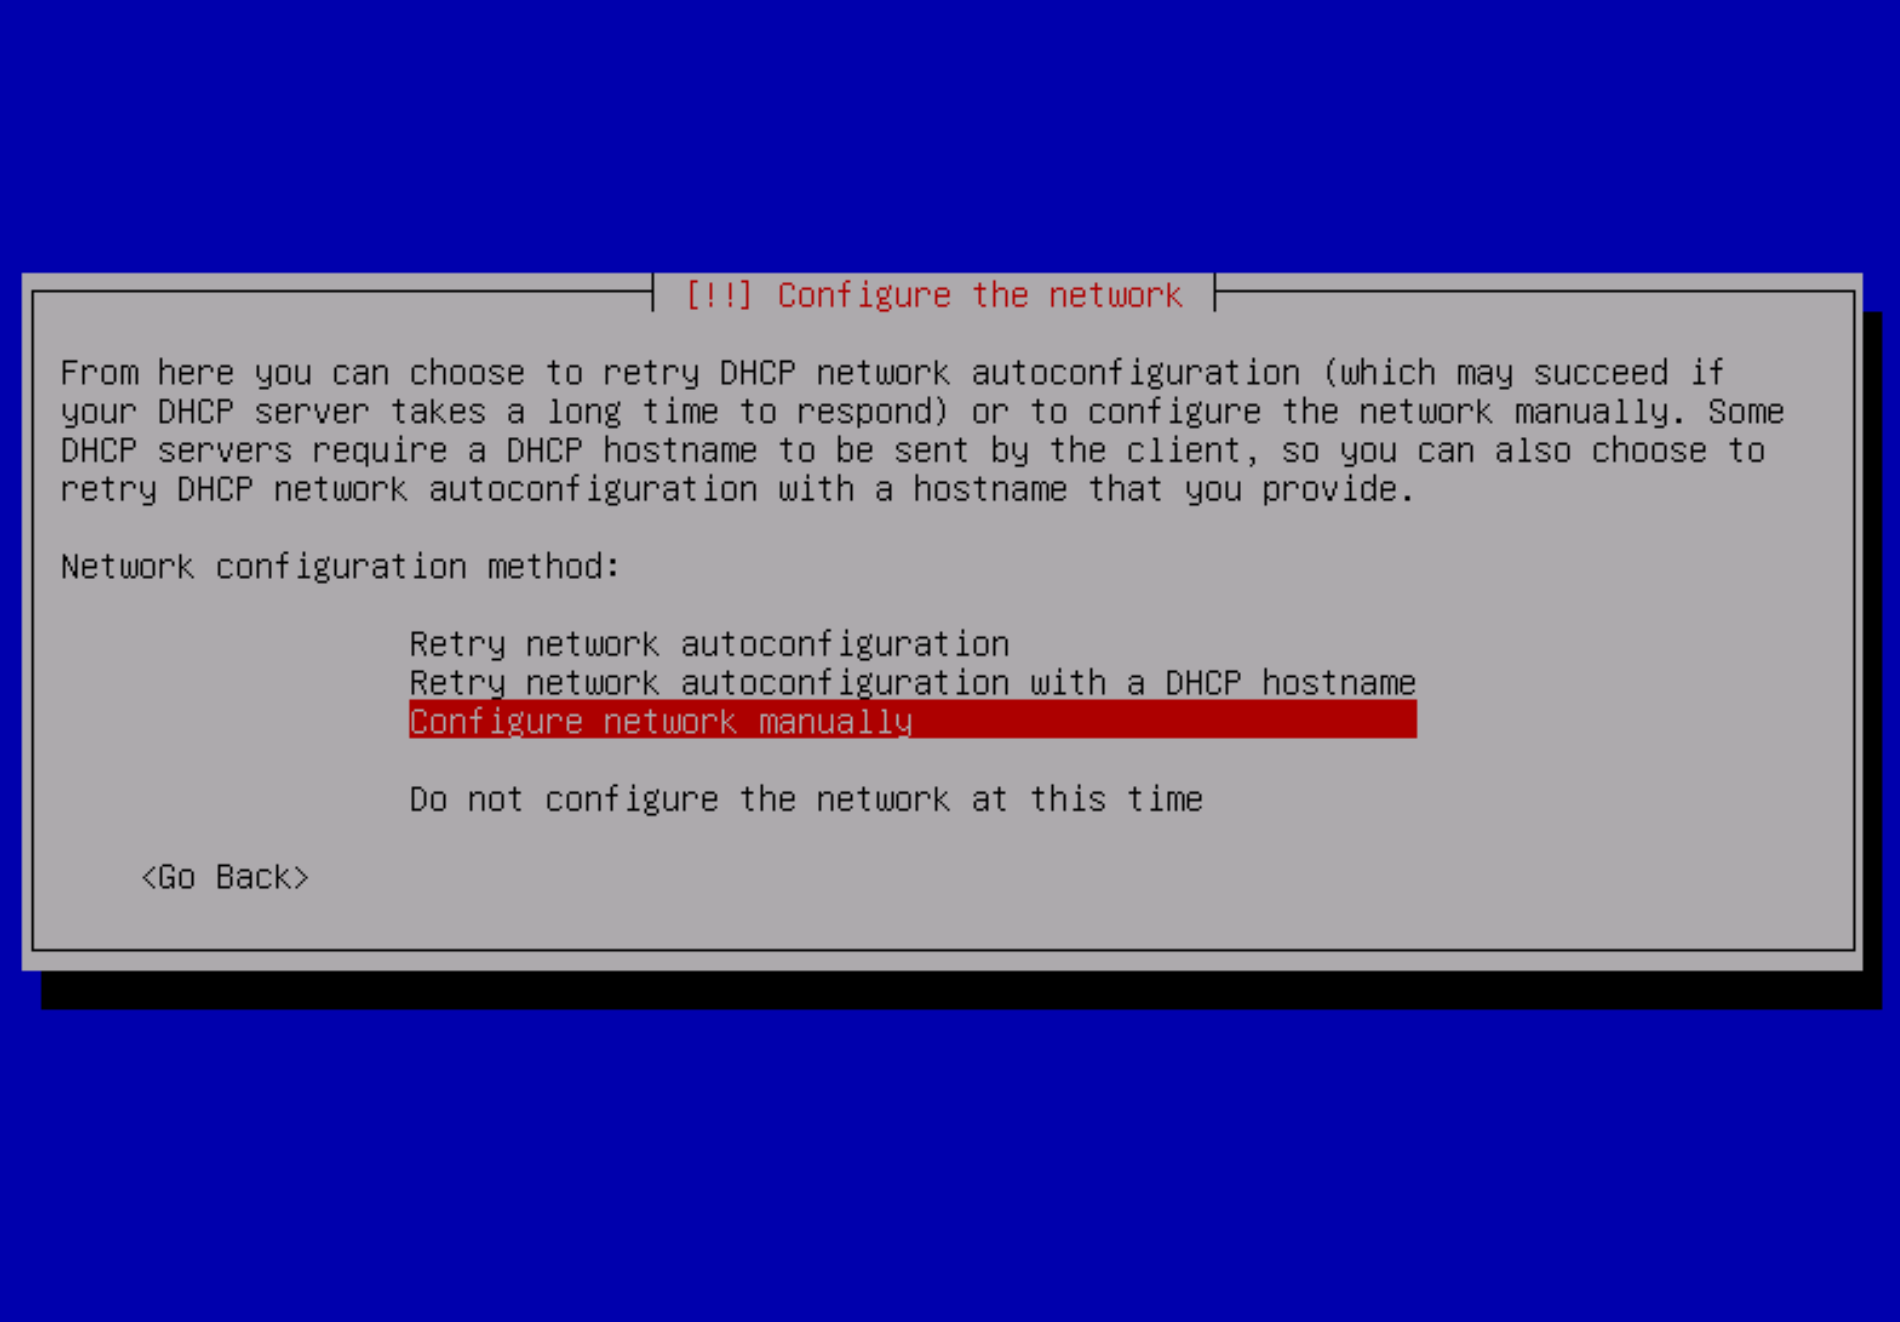
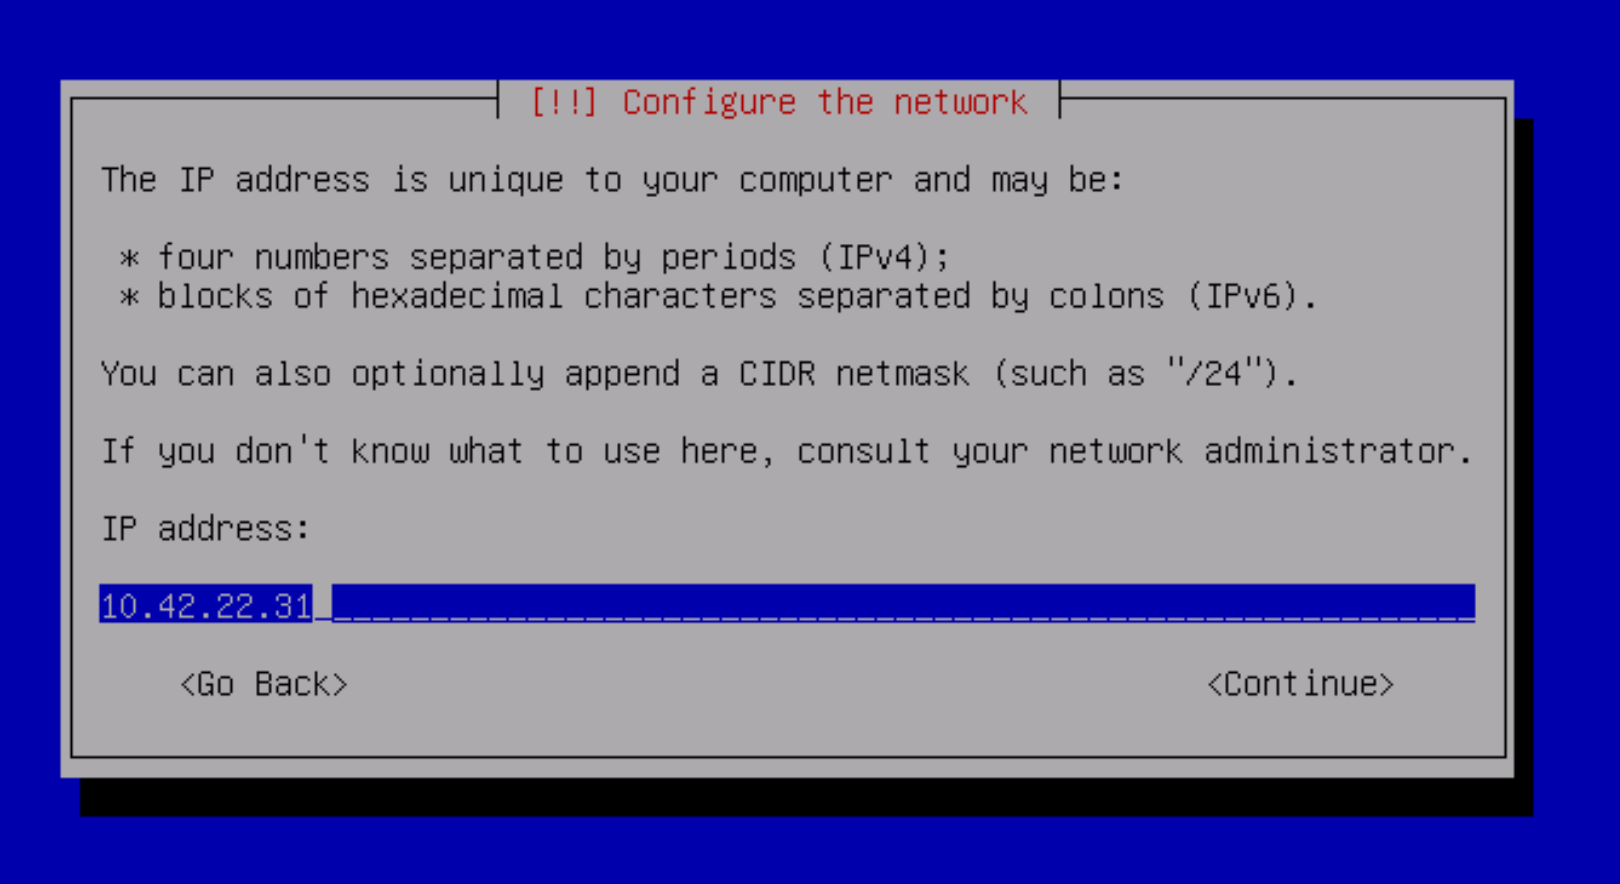
Next, the installer will try to configure the network with DHCP. If this is not possible, select Configure network manually:
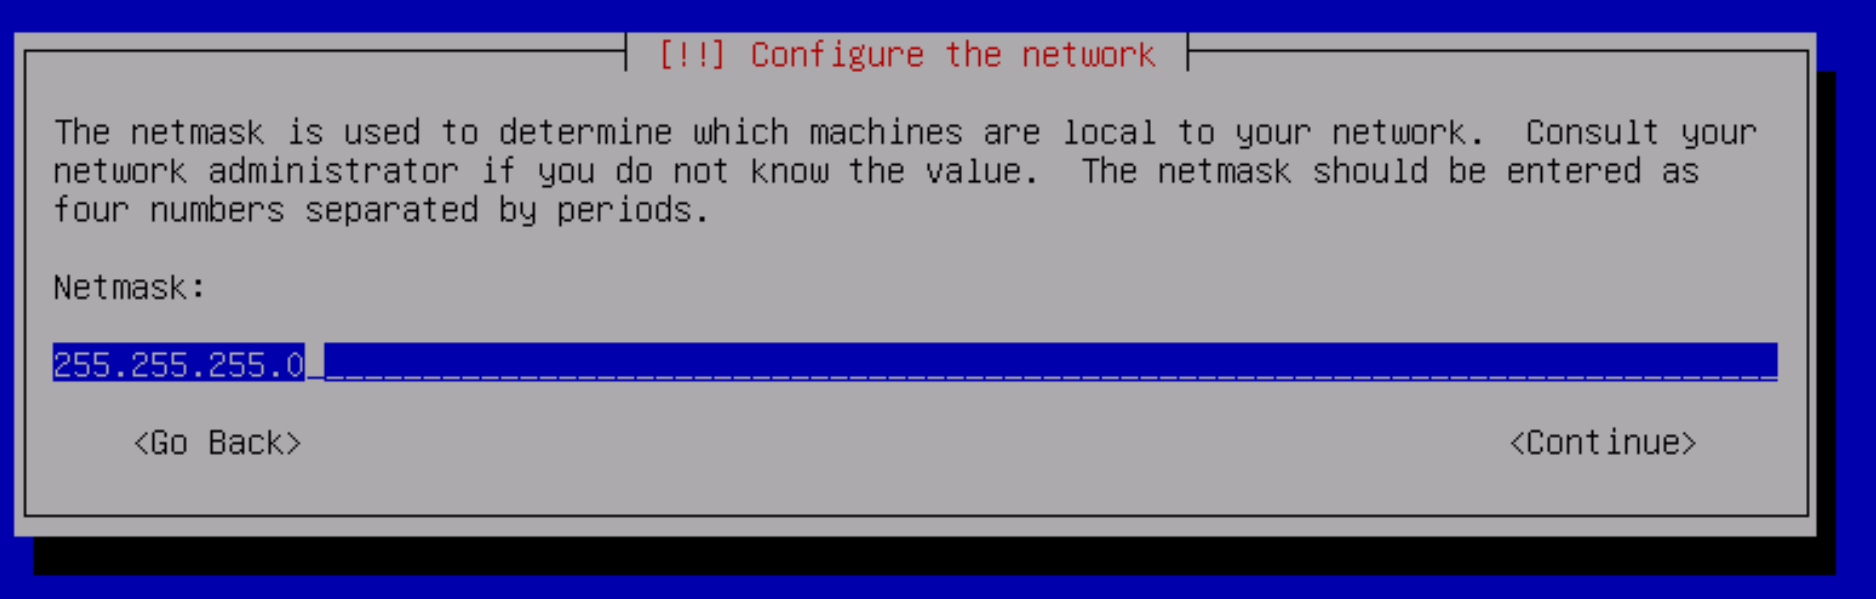
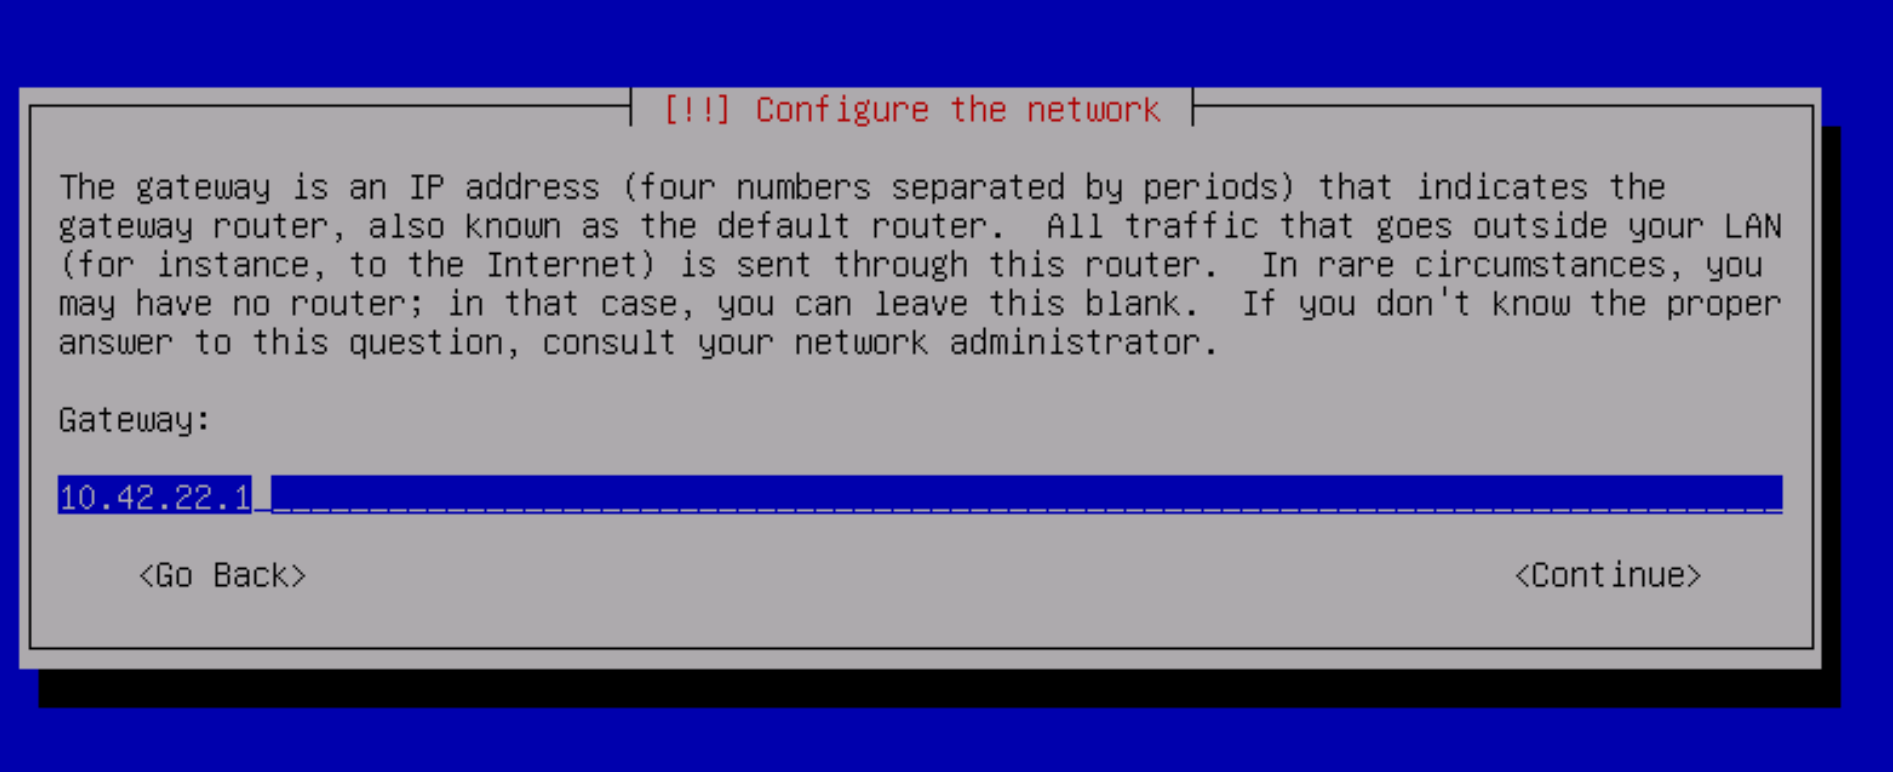
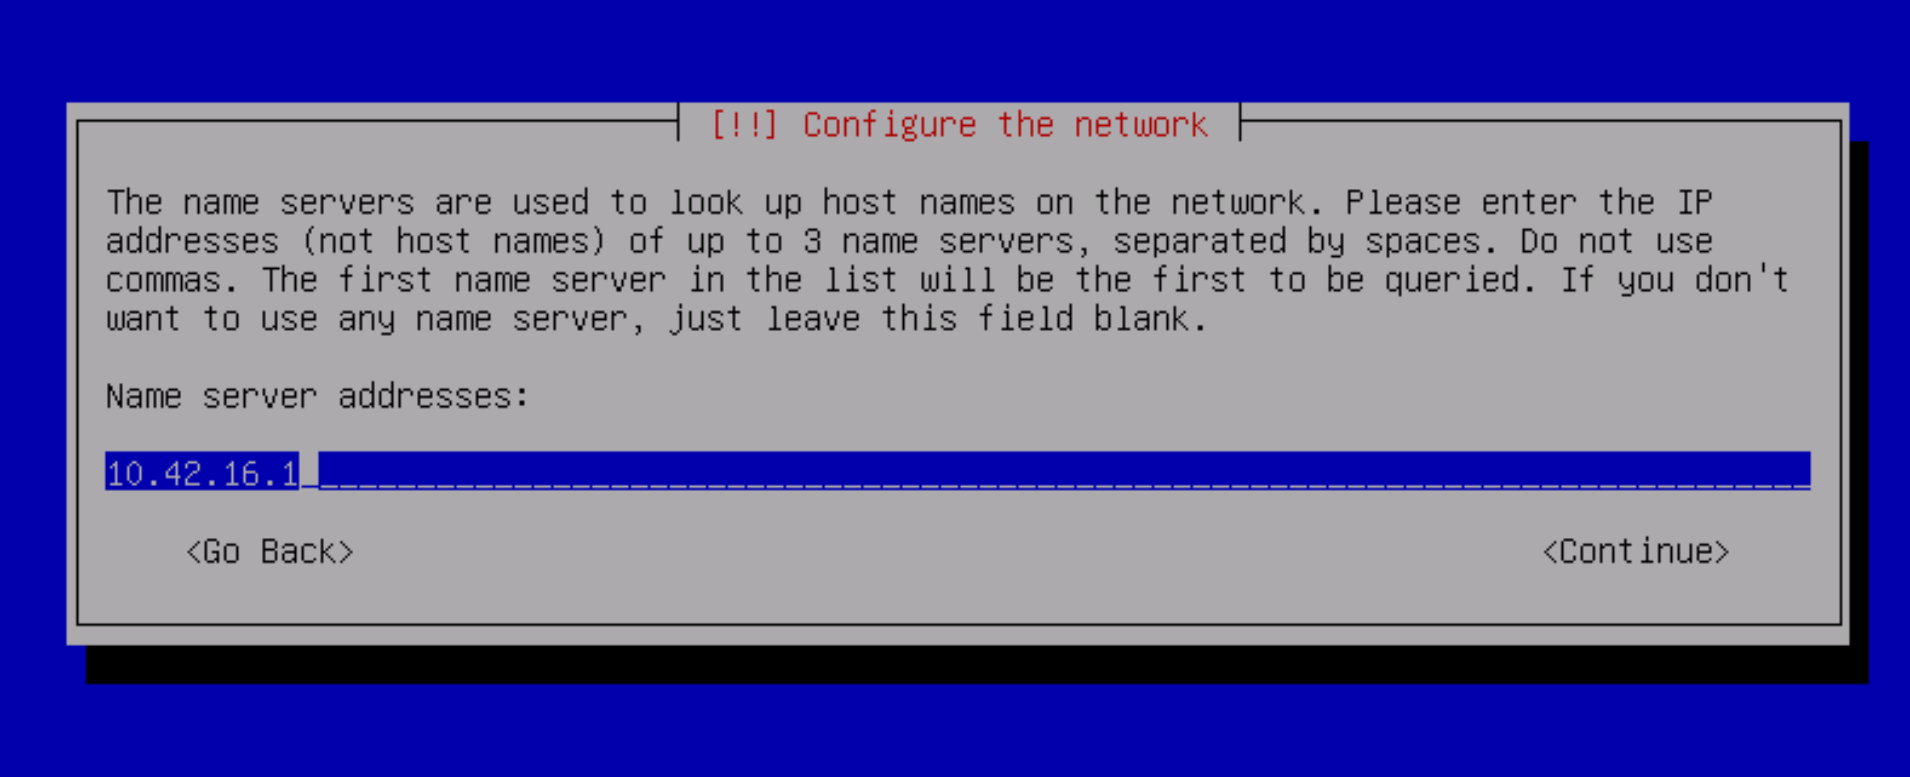
Then enter the appropriate details:
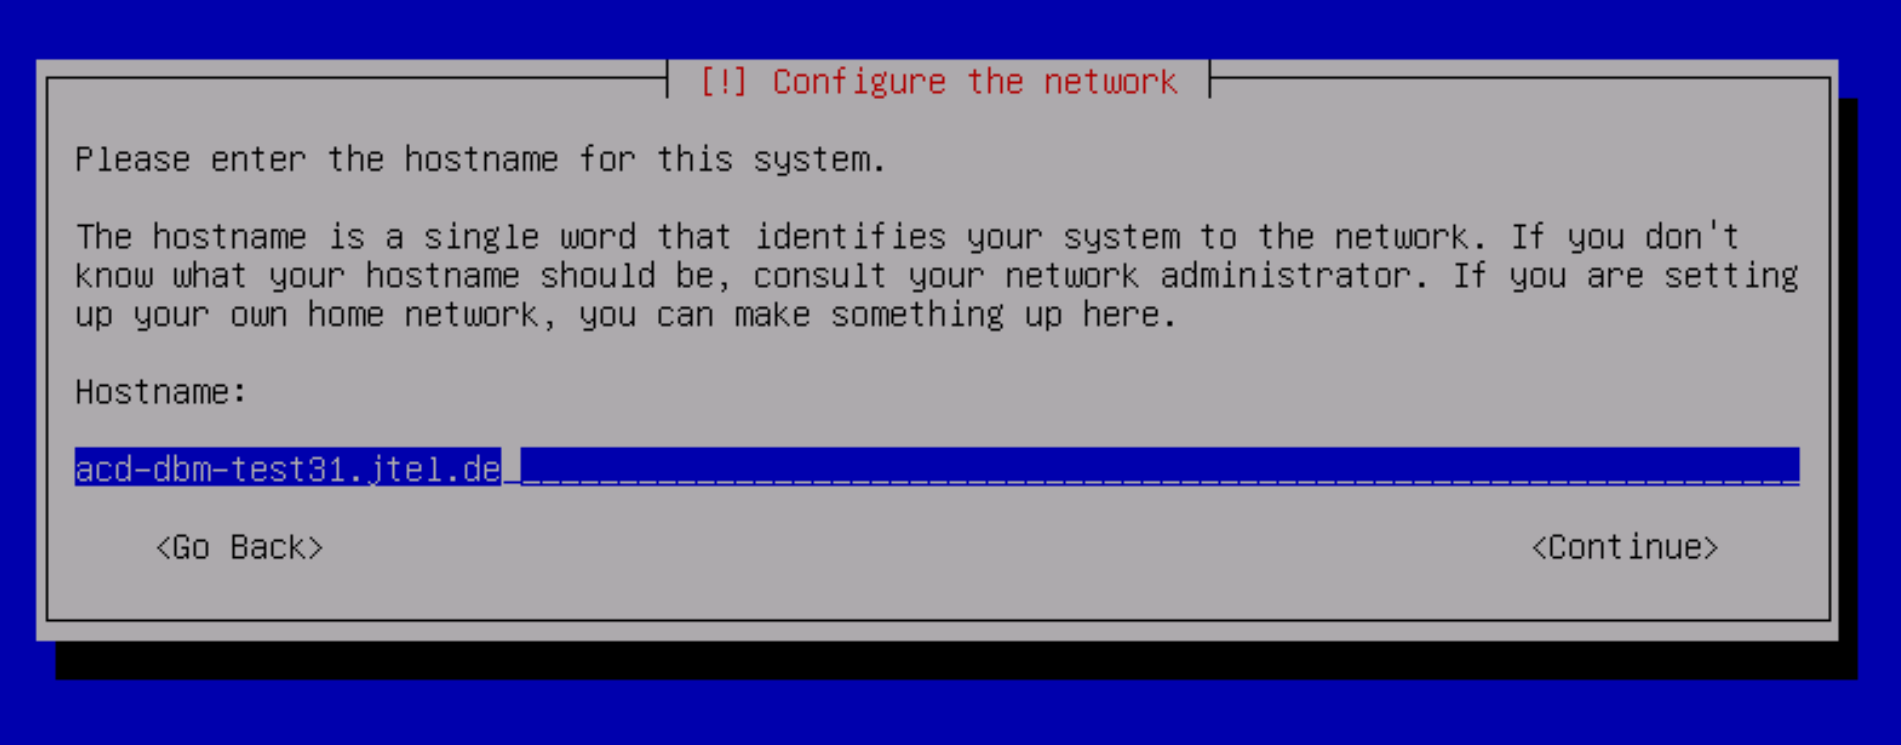
Enter the fully qualified host name:
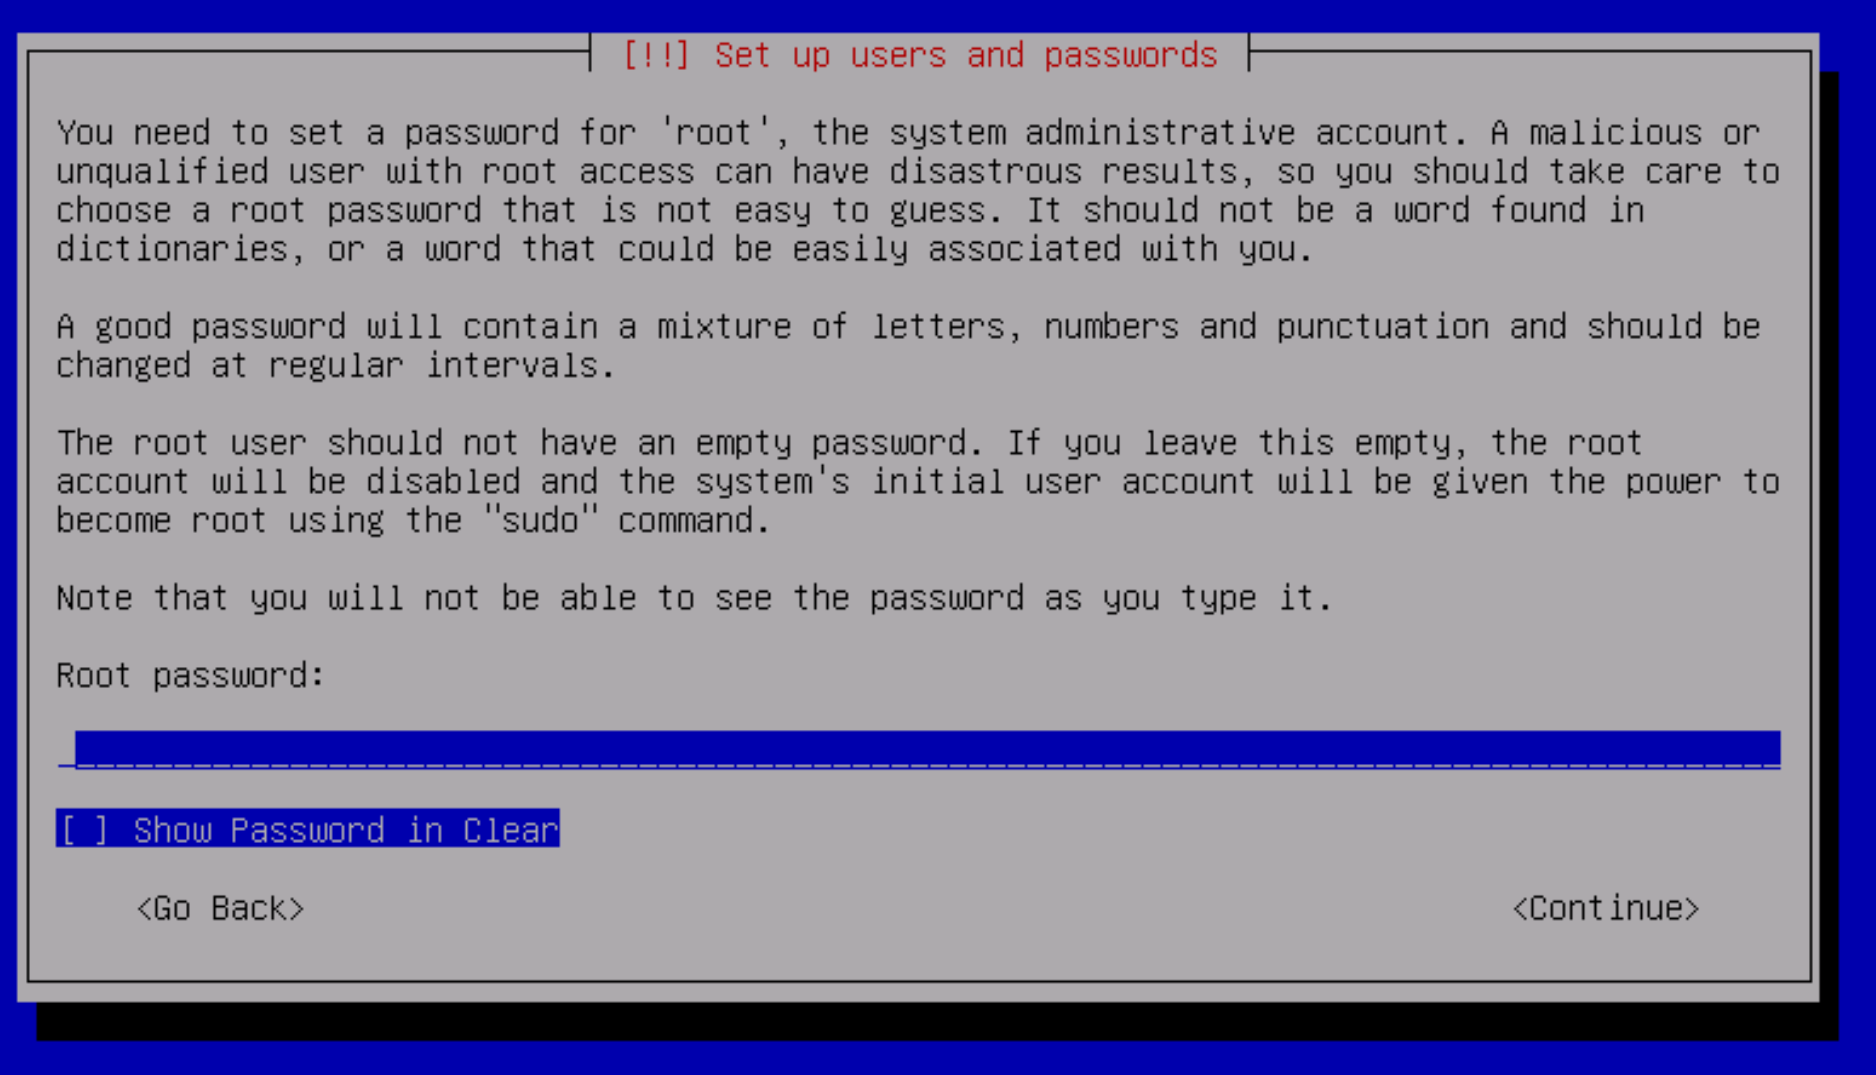
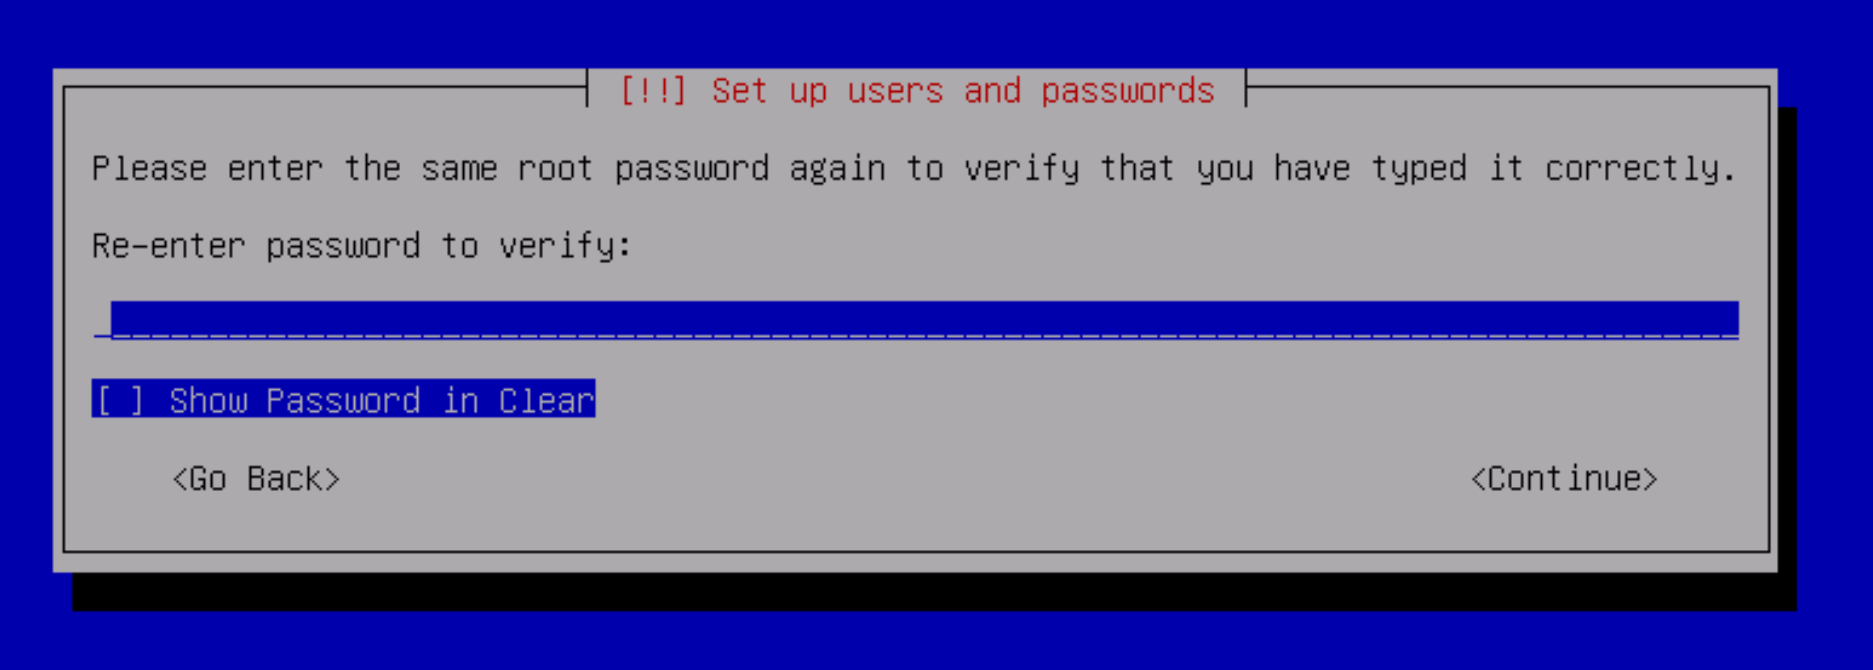
Next, enter and repeat the root password.
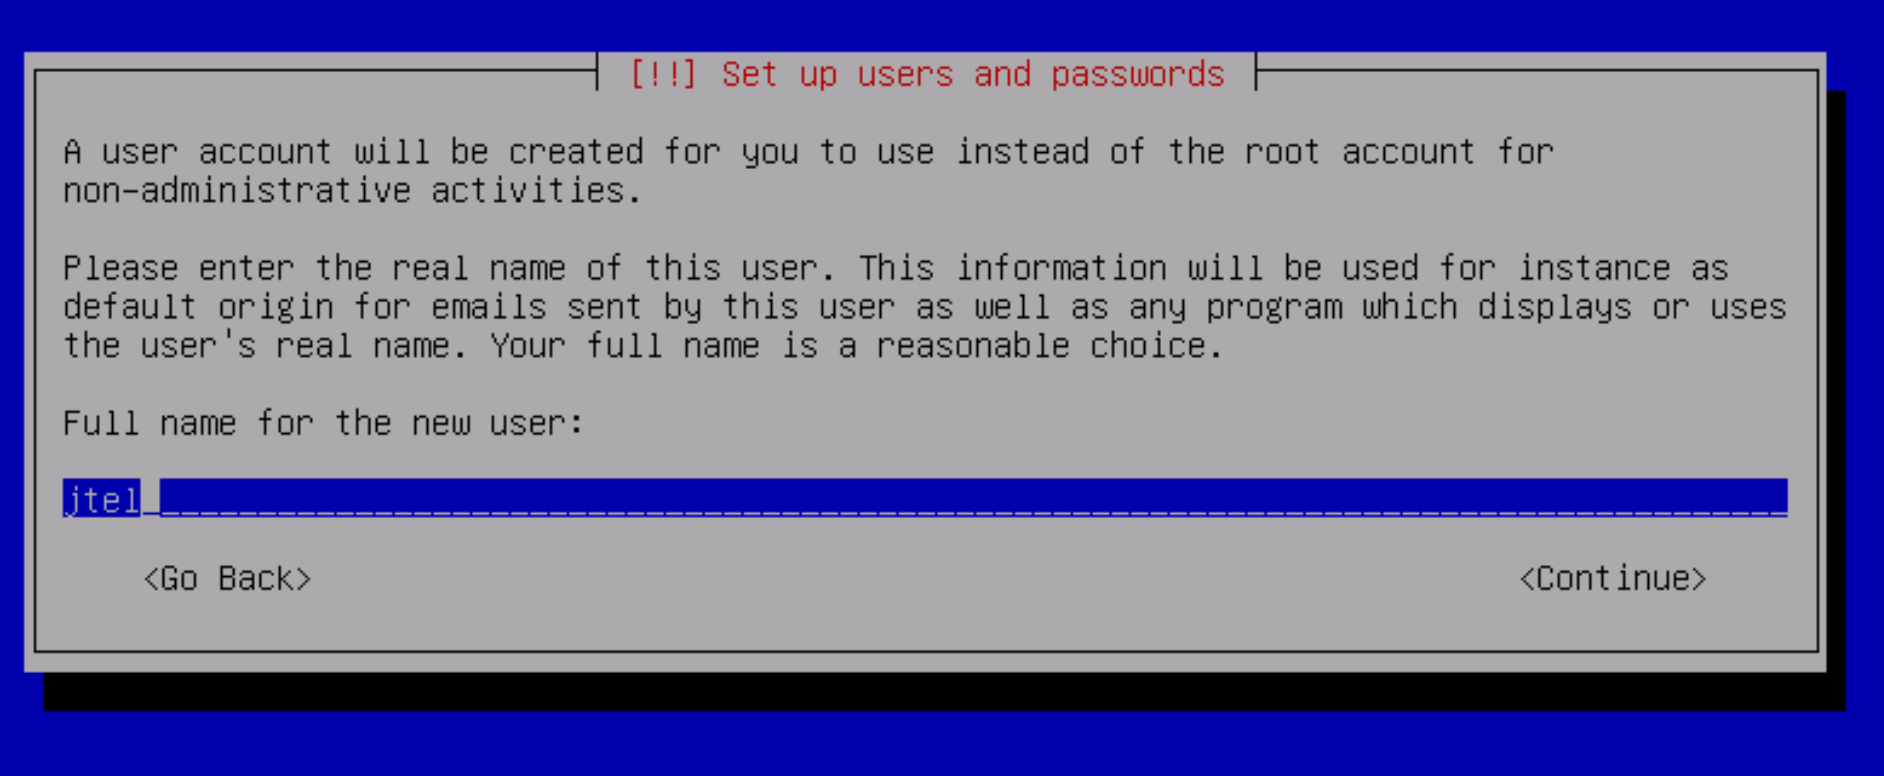
Next, create a jtel user:
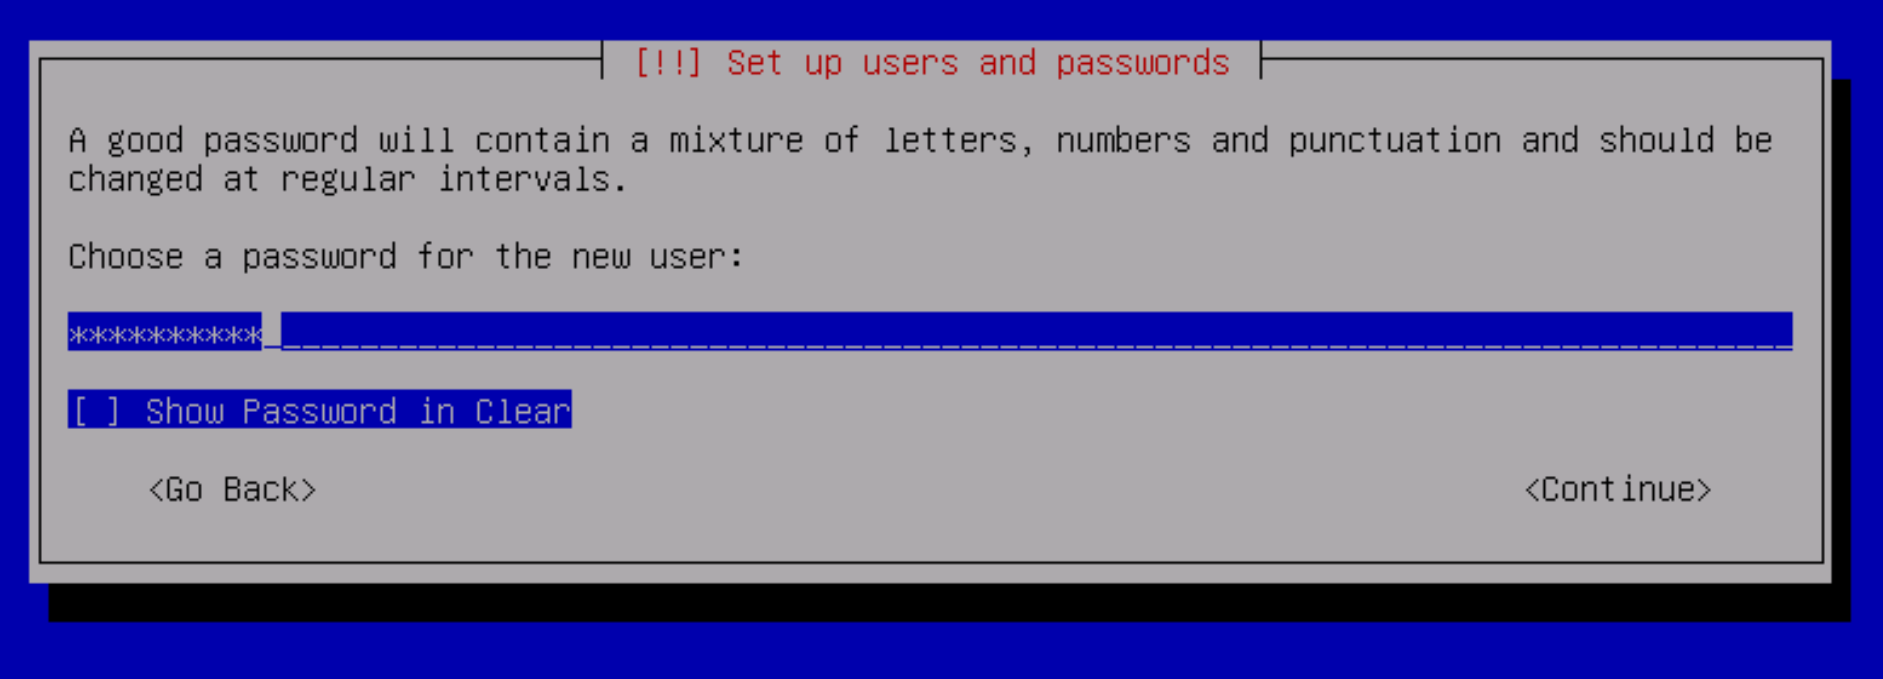
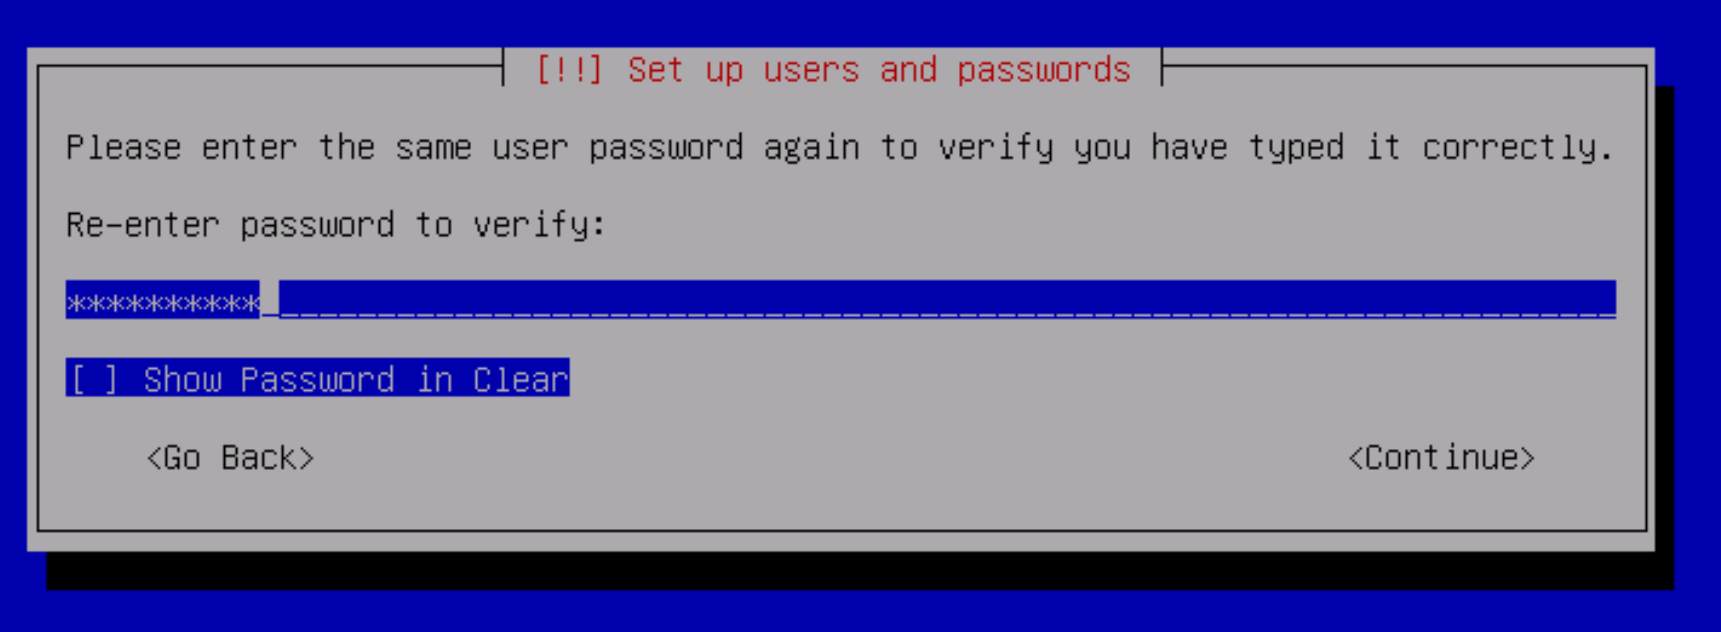
Enter the password for the jtel user:
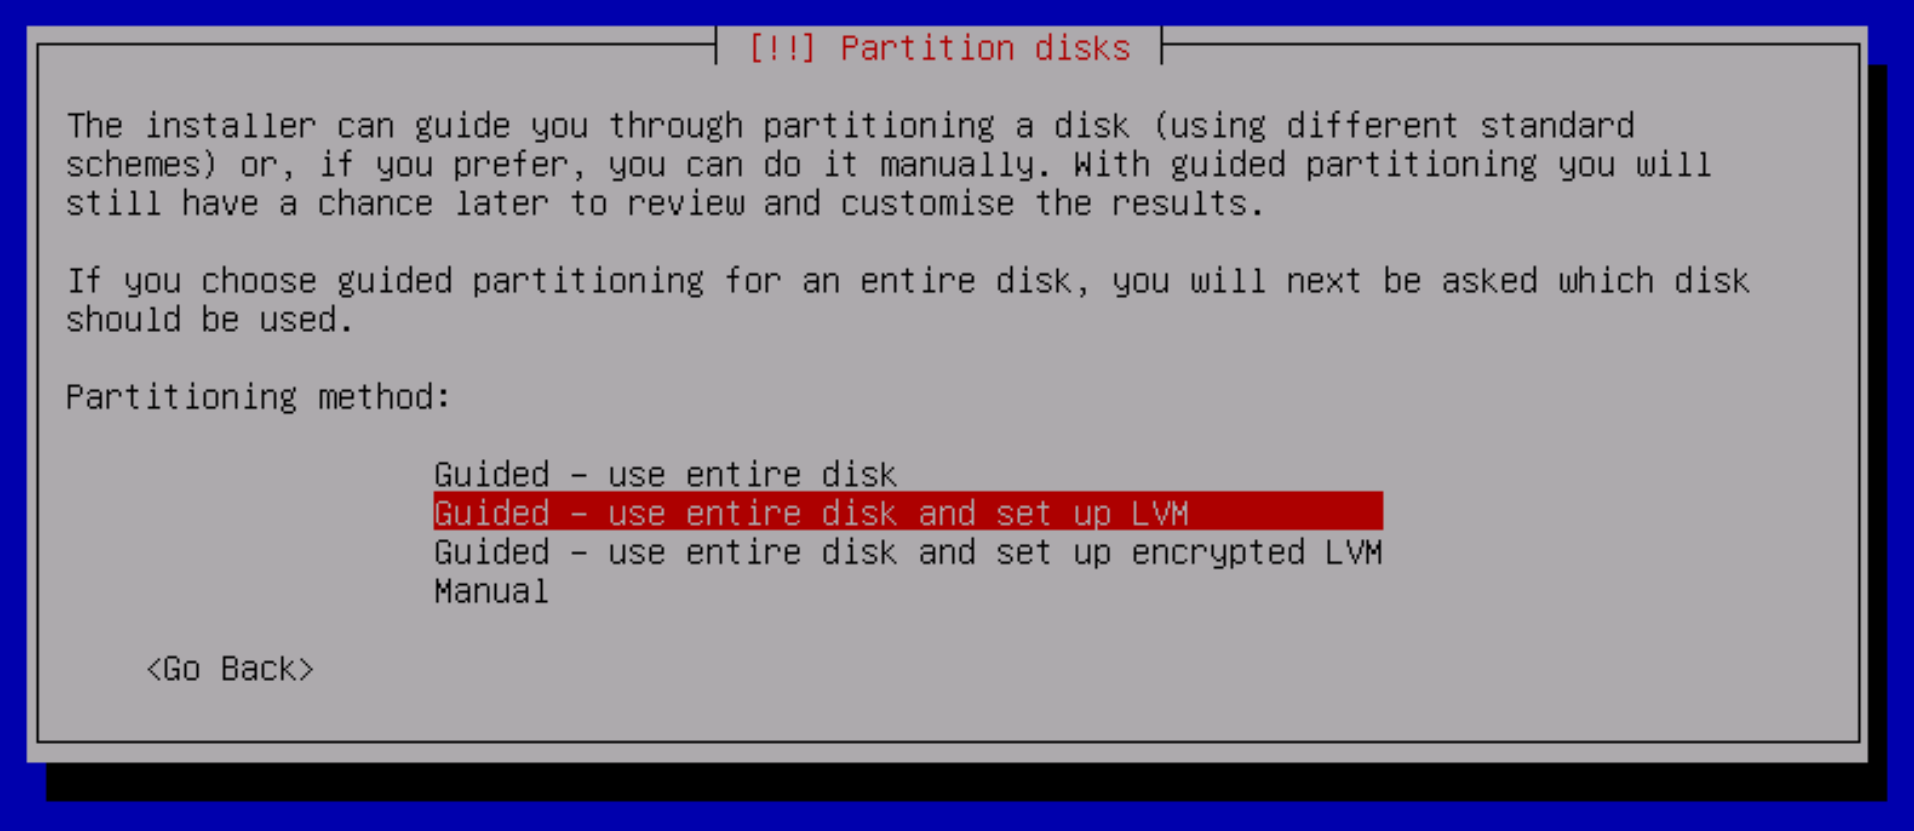
For partitioning, choose Guided - use the entire disk and set up LVM:
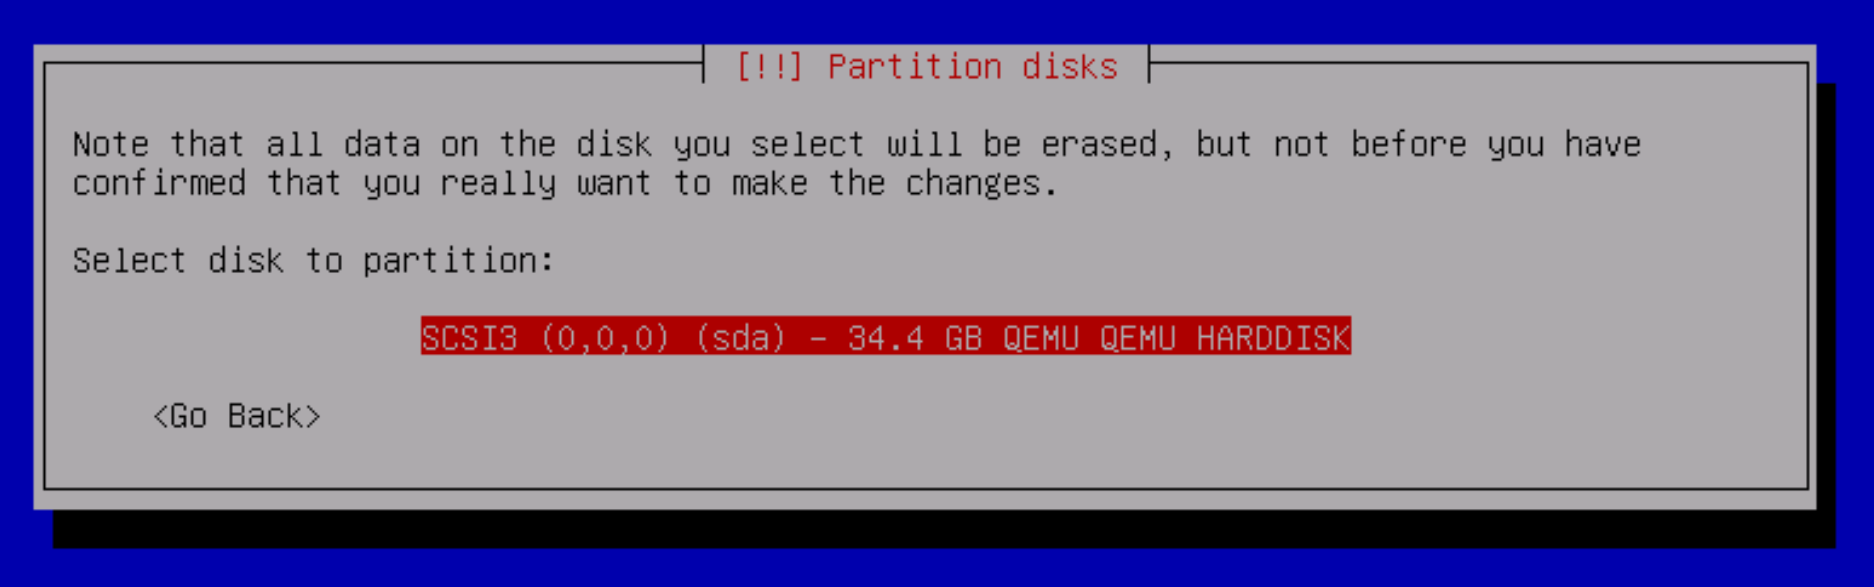
Next select the disk to partition (do not partition the data partition, if you are installing the load balancer):
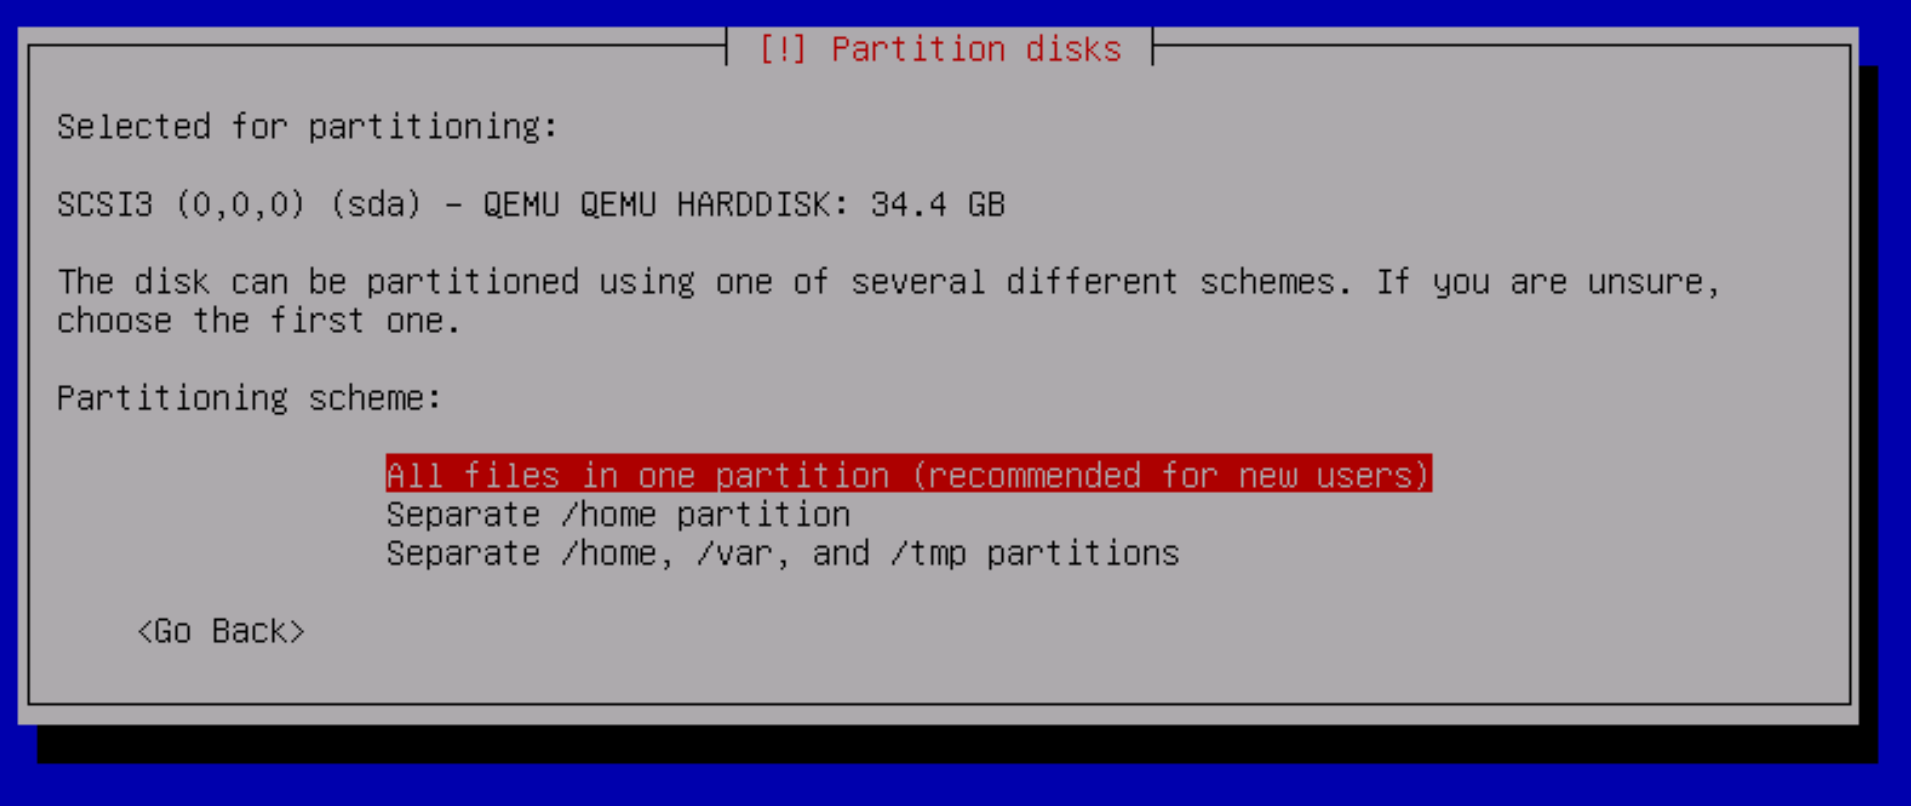
For the partition layout, select "All files in one partition (recommended for new users)". It will be easy enough to move things to extra disks later if the system needs it, and for most jtel systems this will not be necessary.
Choose to write the changes.
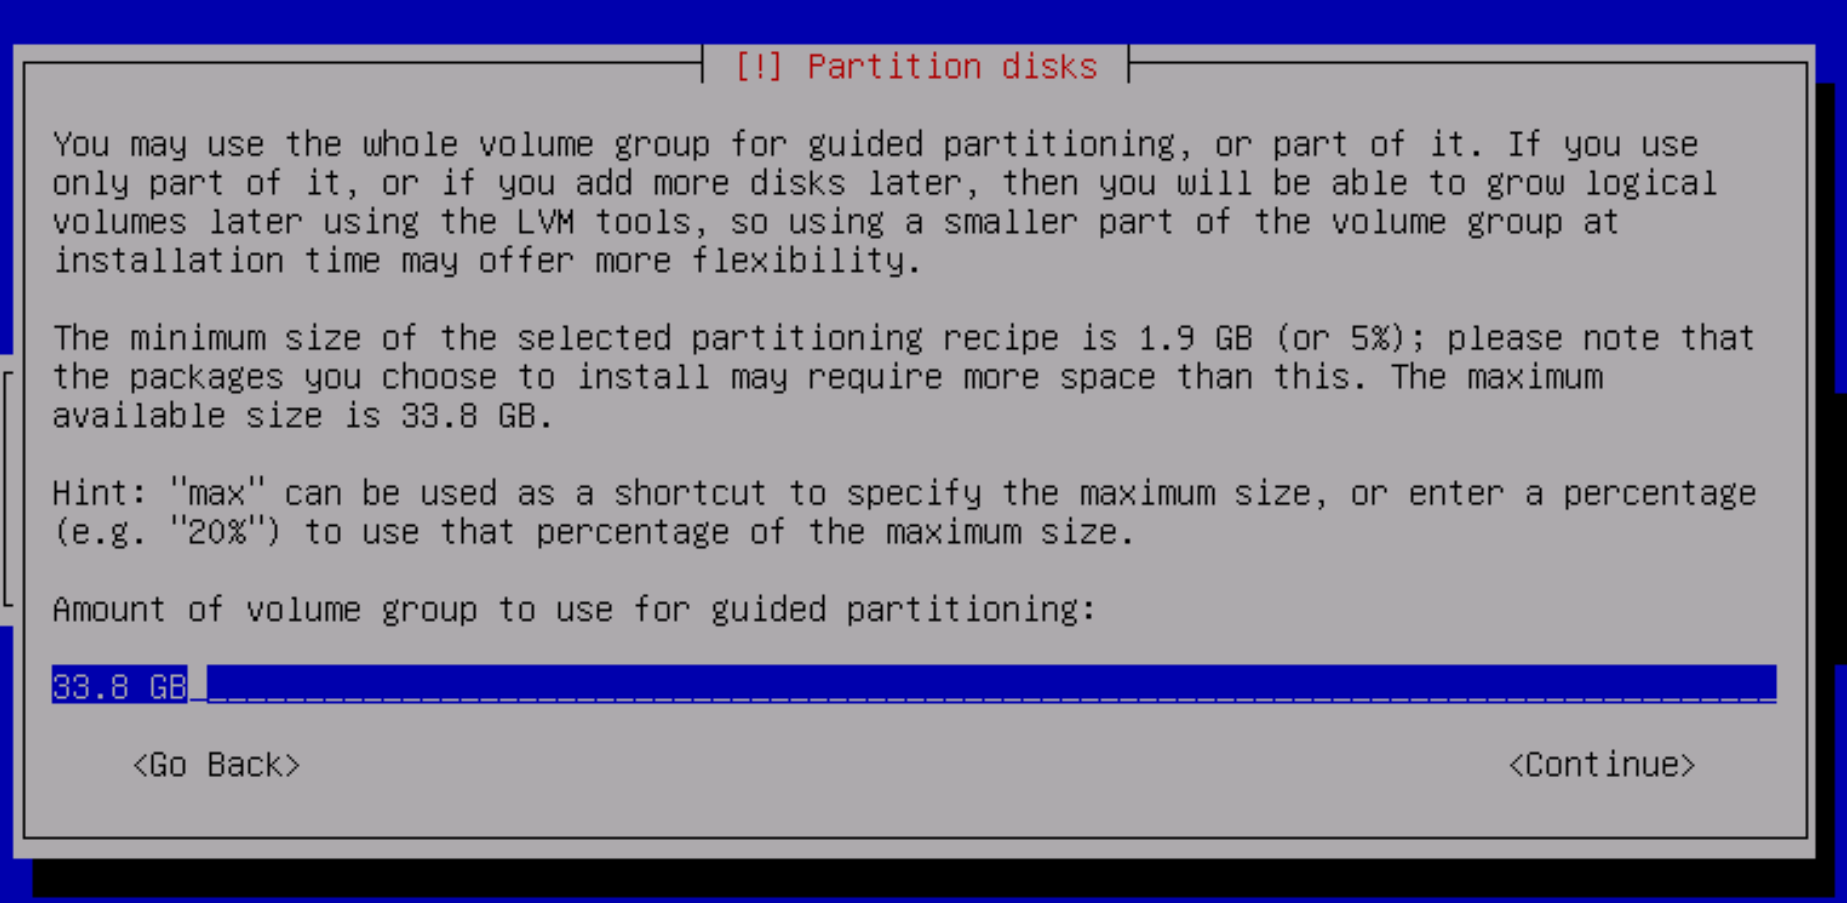
Select to use the whole volume group.
And select to partition the disks:
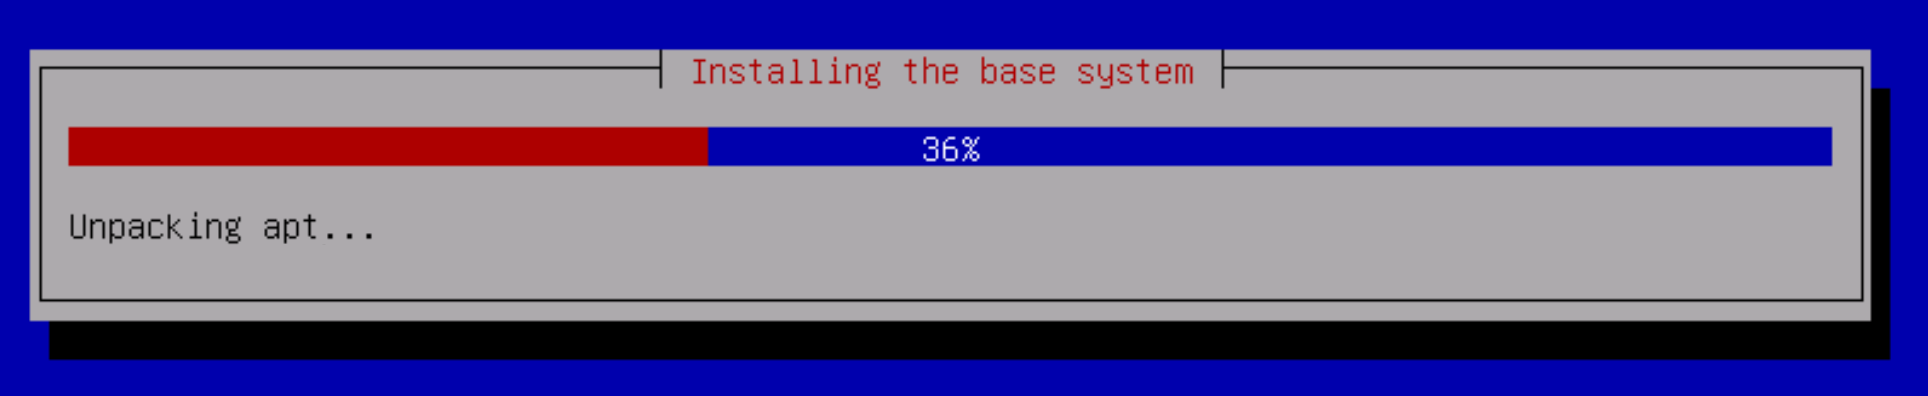
The installation will now proceed:
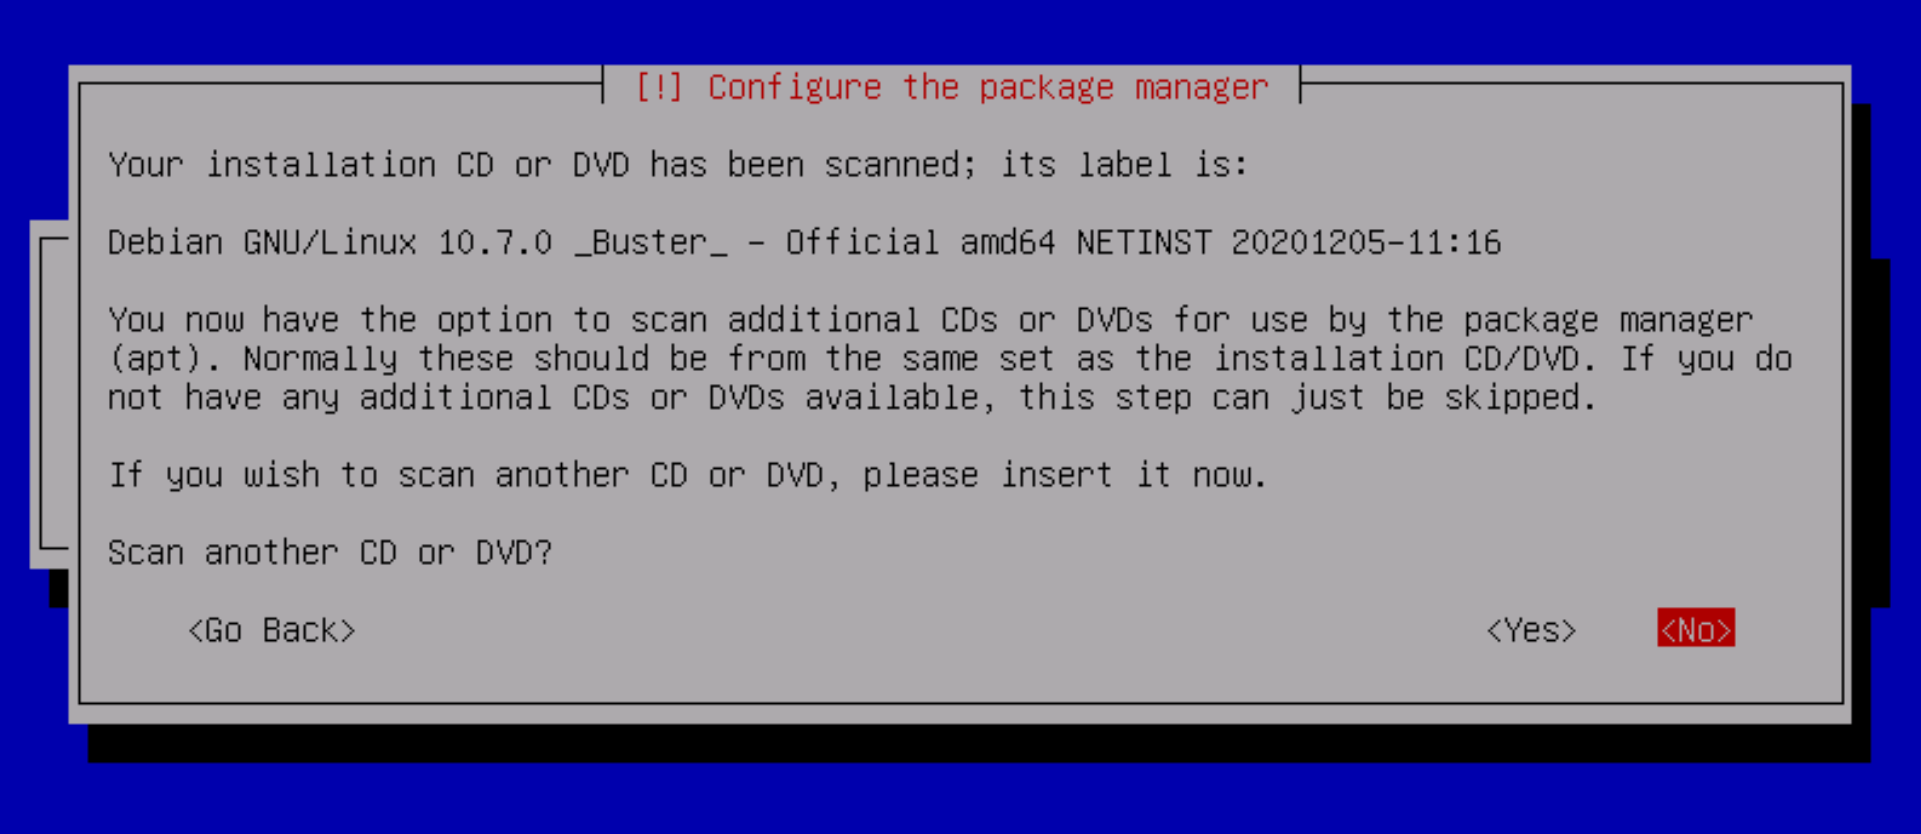
After installing a few things, it will ask if you want to scan another CD or DVD. Say No.
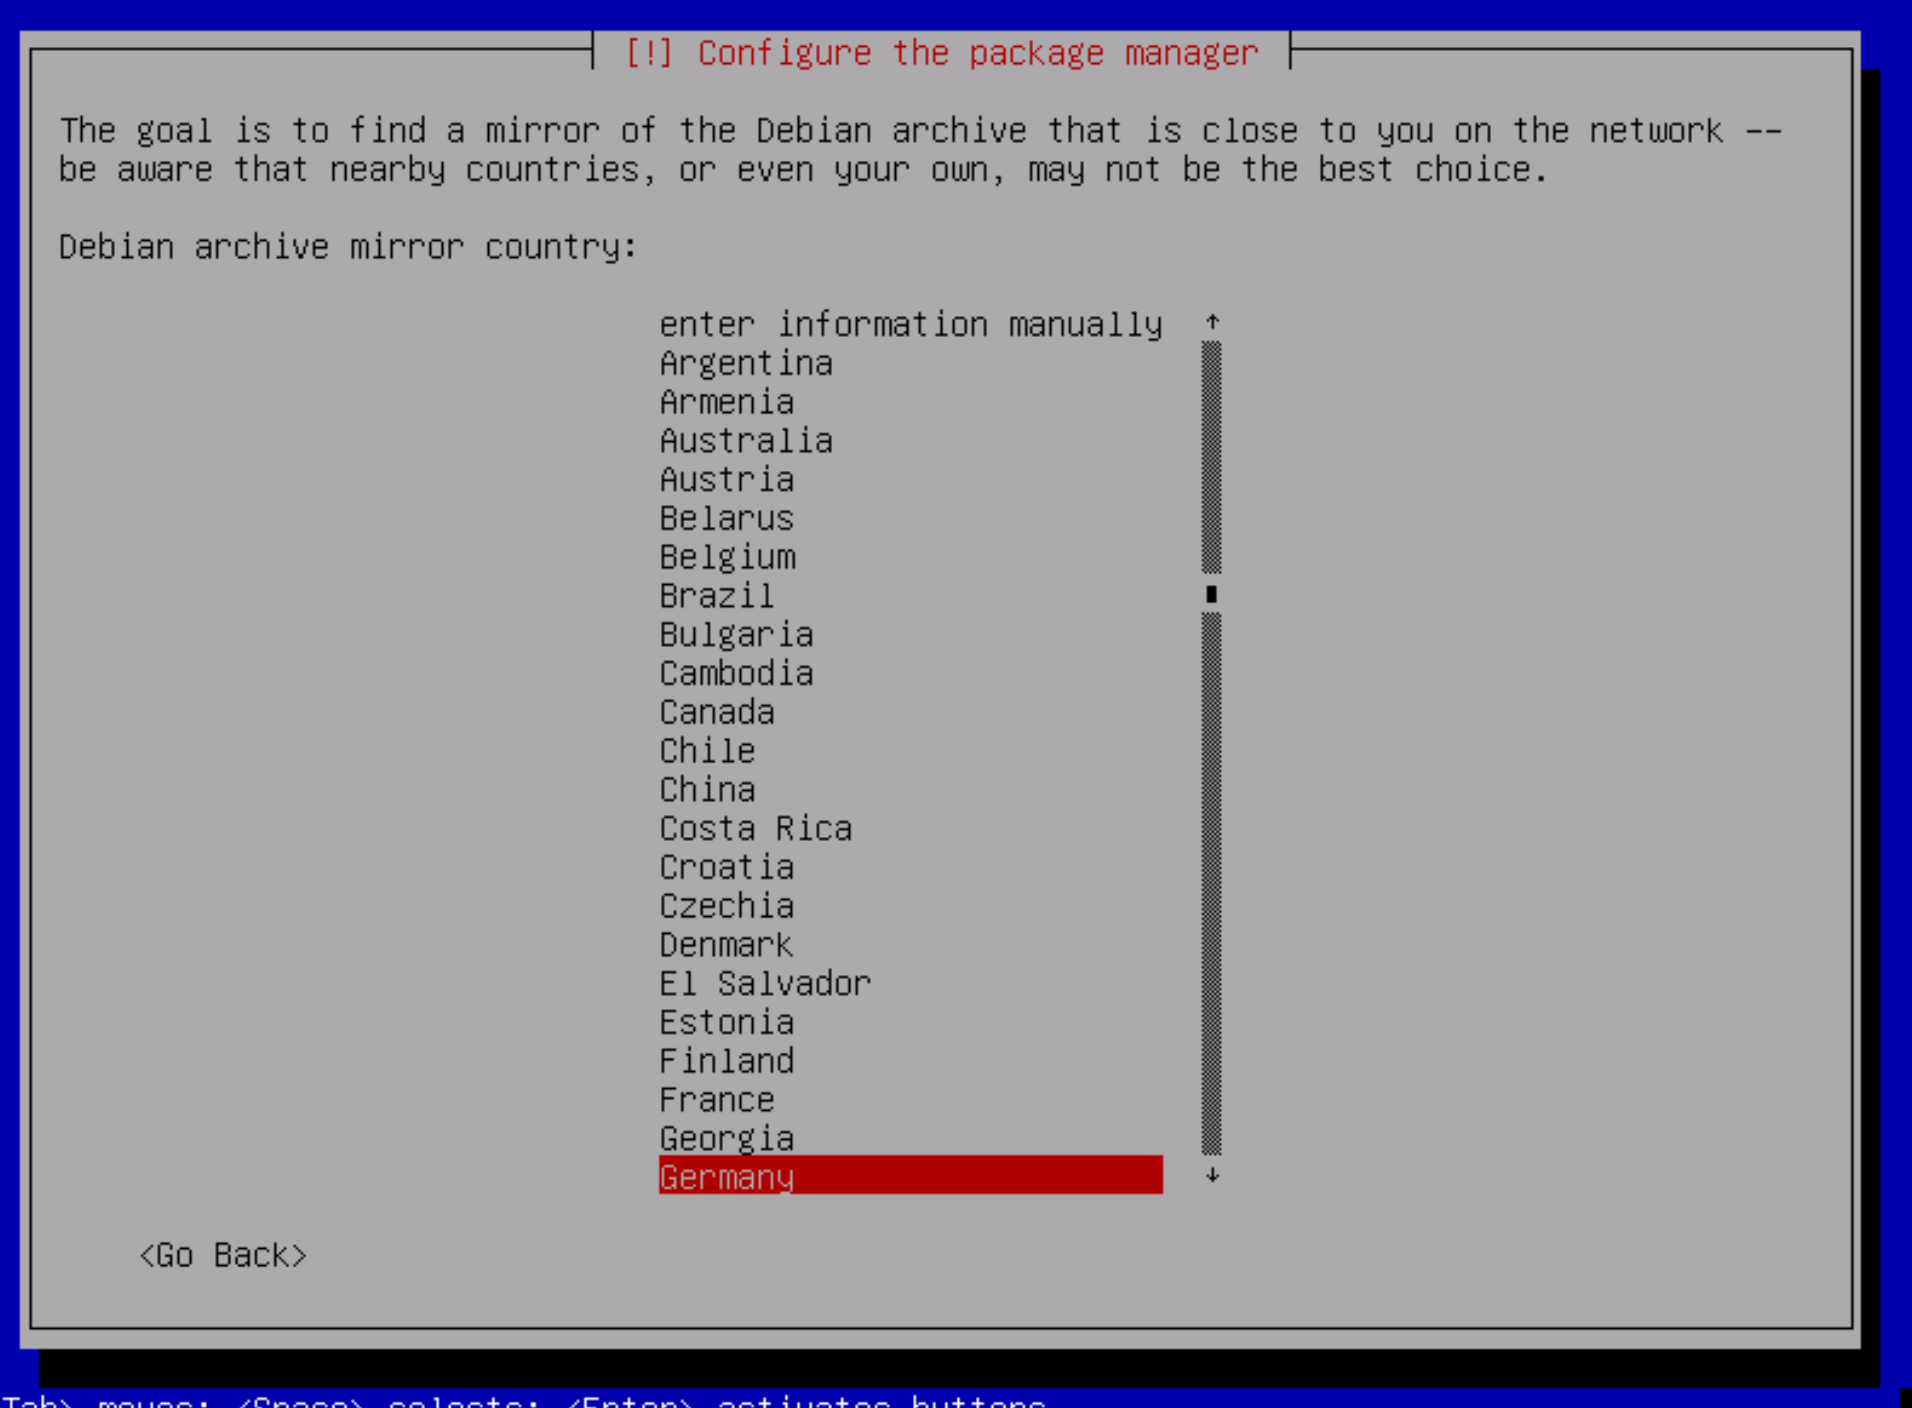
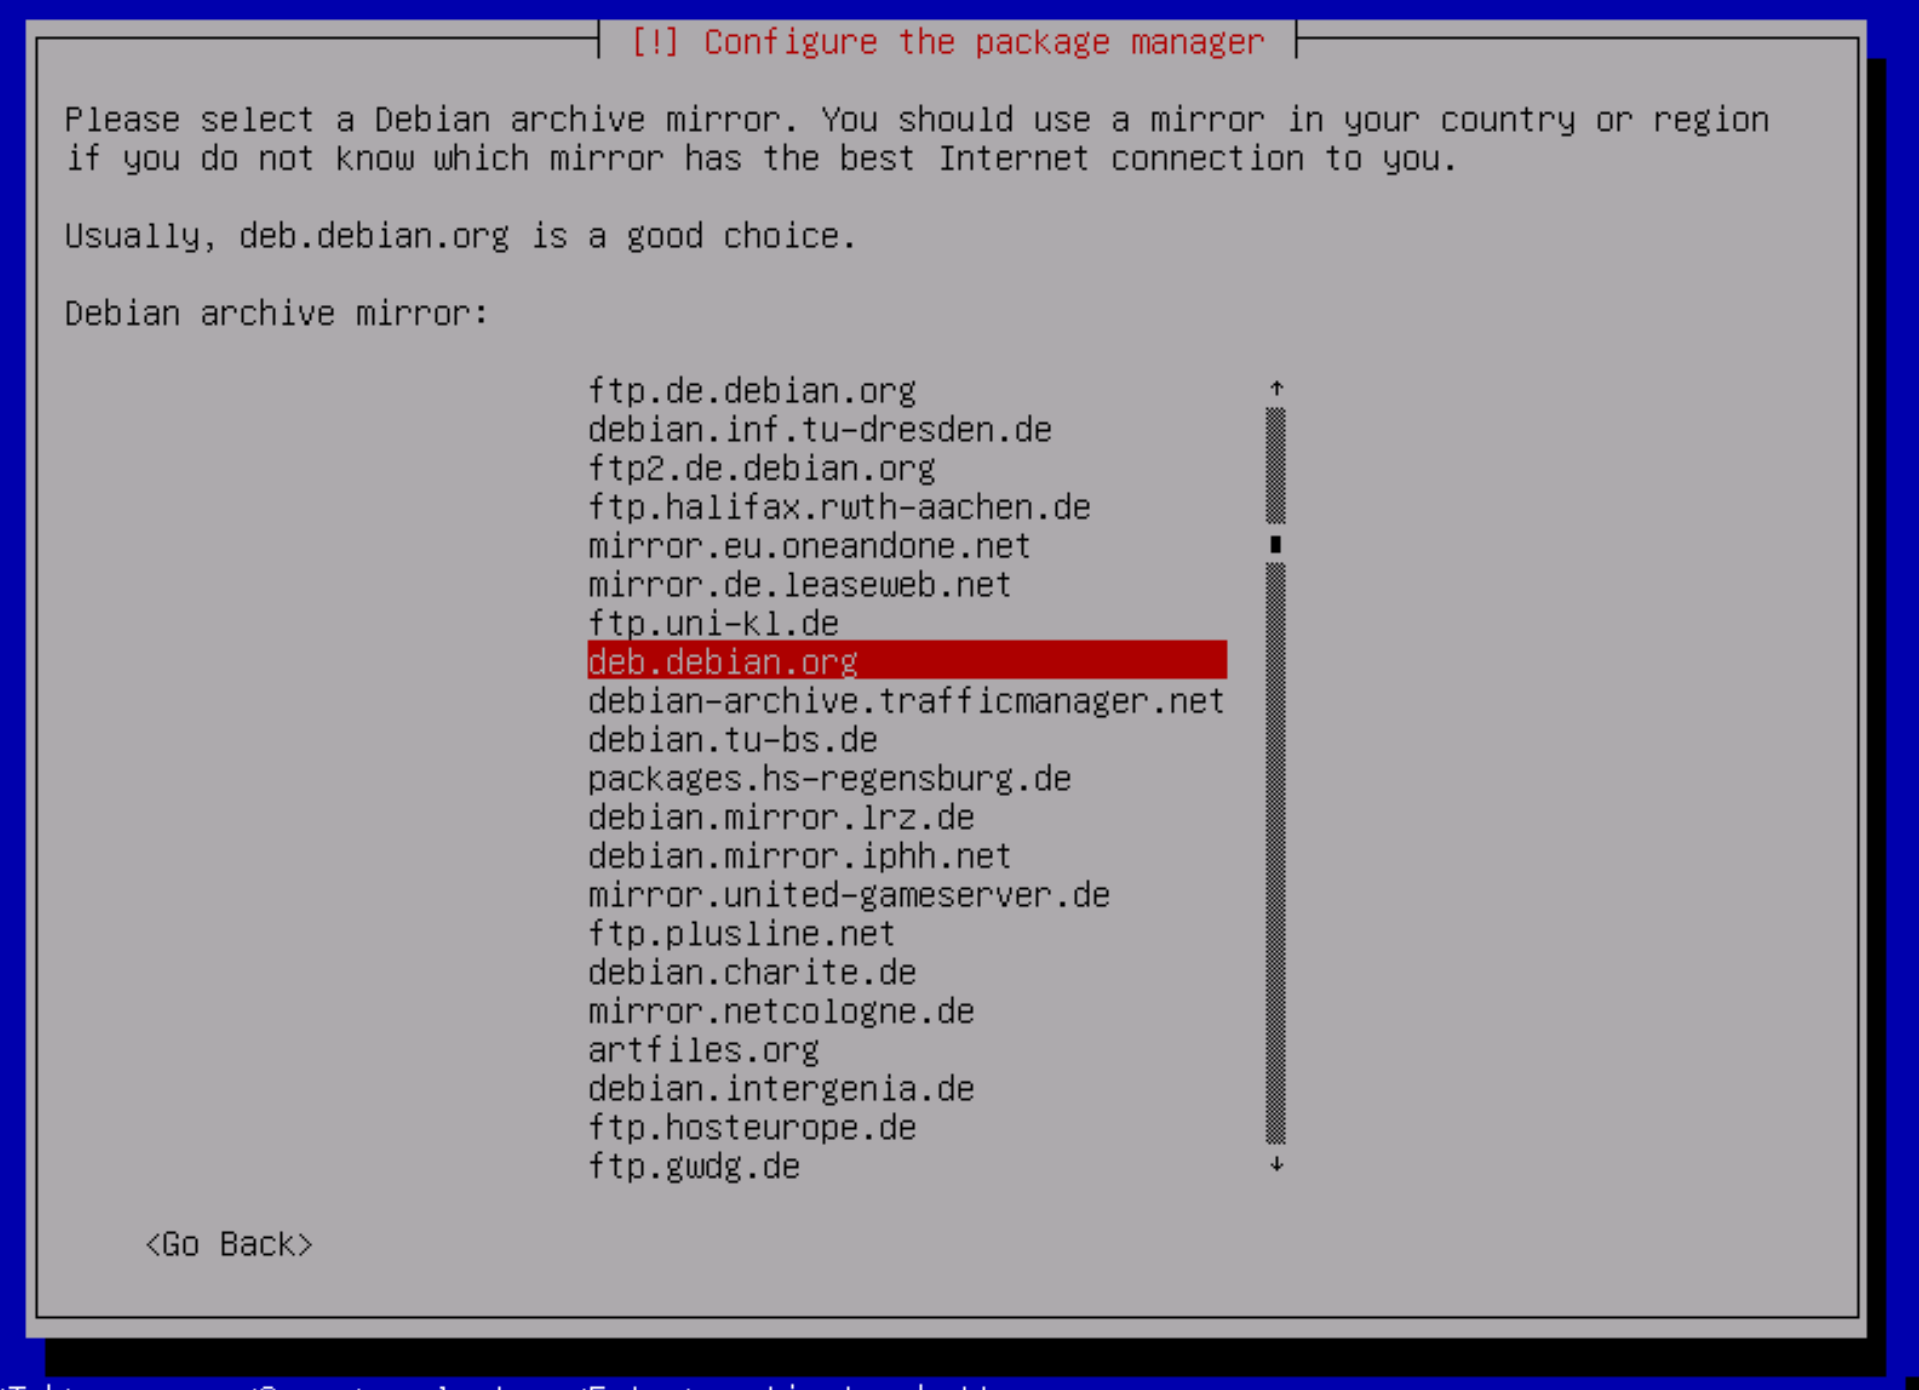
Select an appropriate country for your repo mirrors:
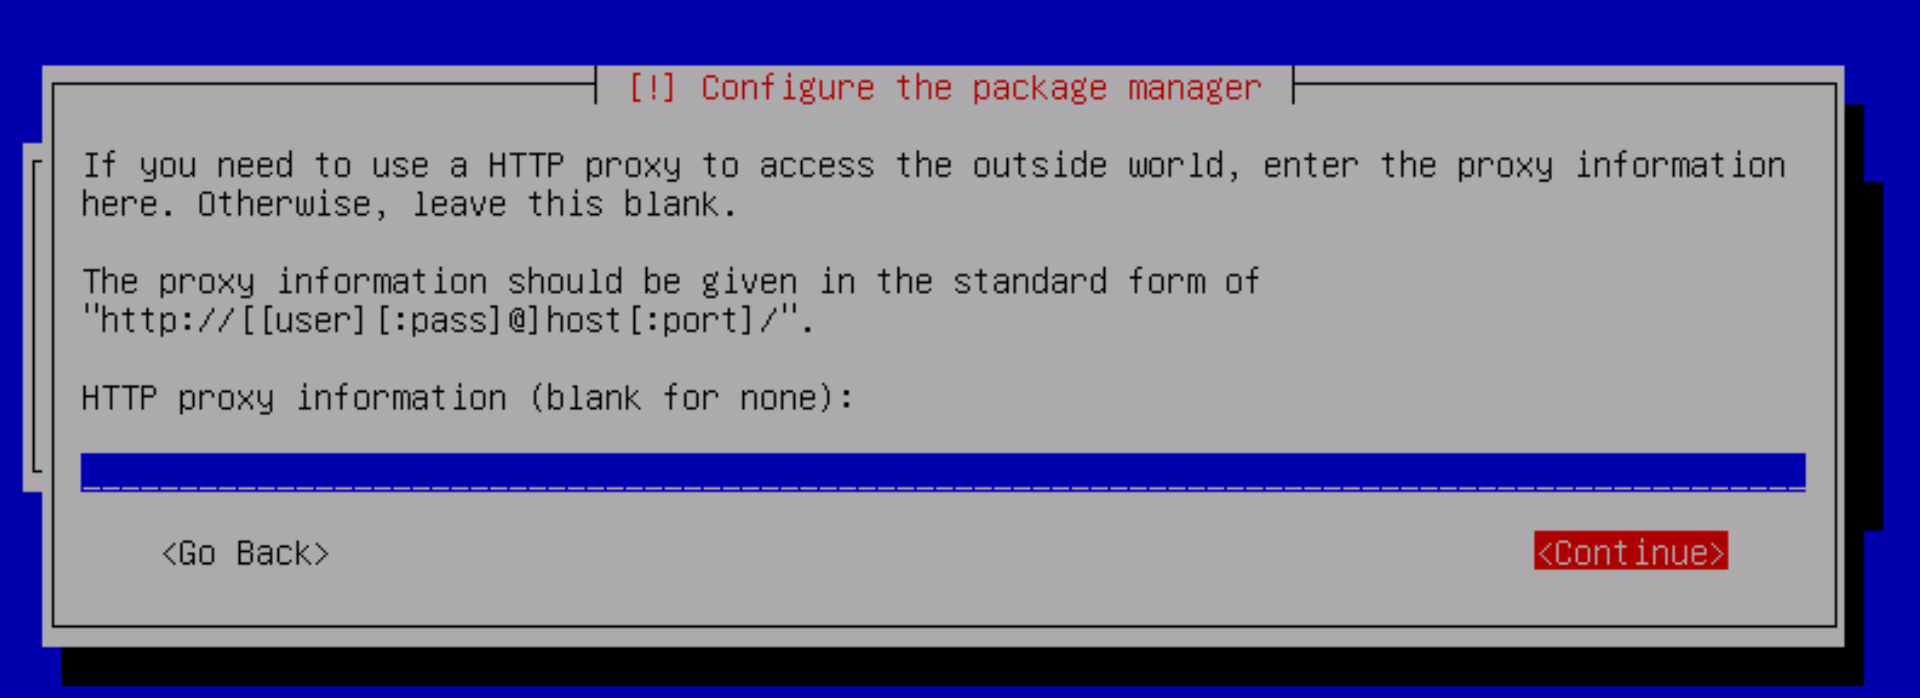
Select Continue when it asks you to configure an http proxy:
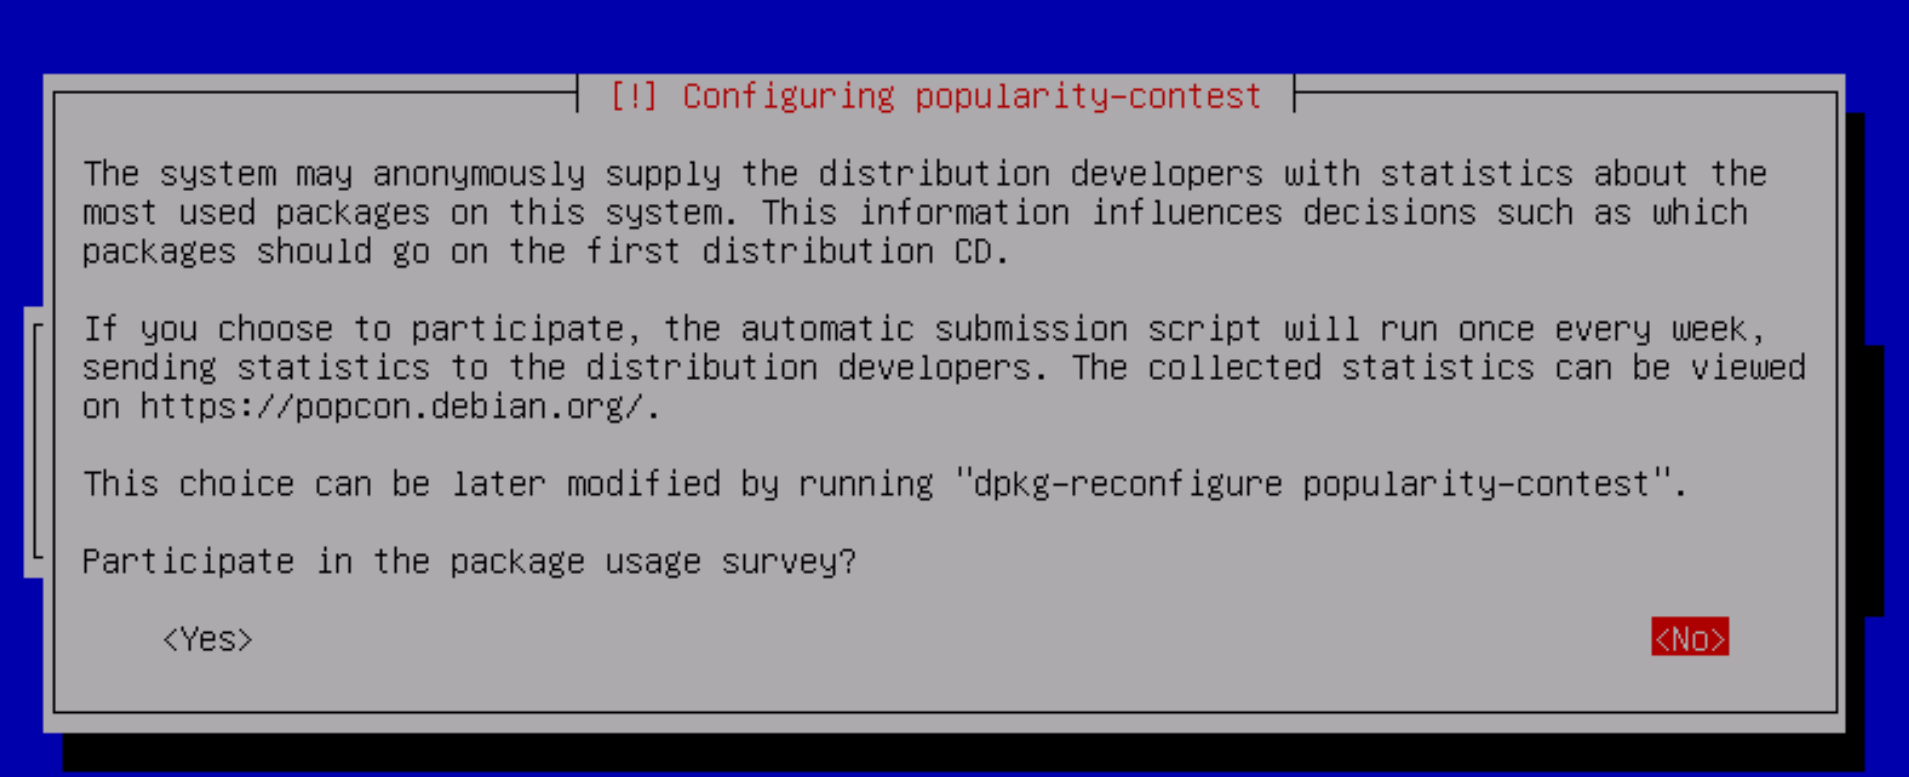
It will then upgrade the software. Next it will ask for anonymouse usage statistics. Select whatever you feel comfortable with.
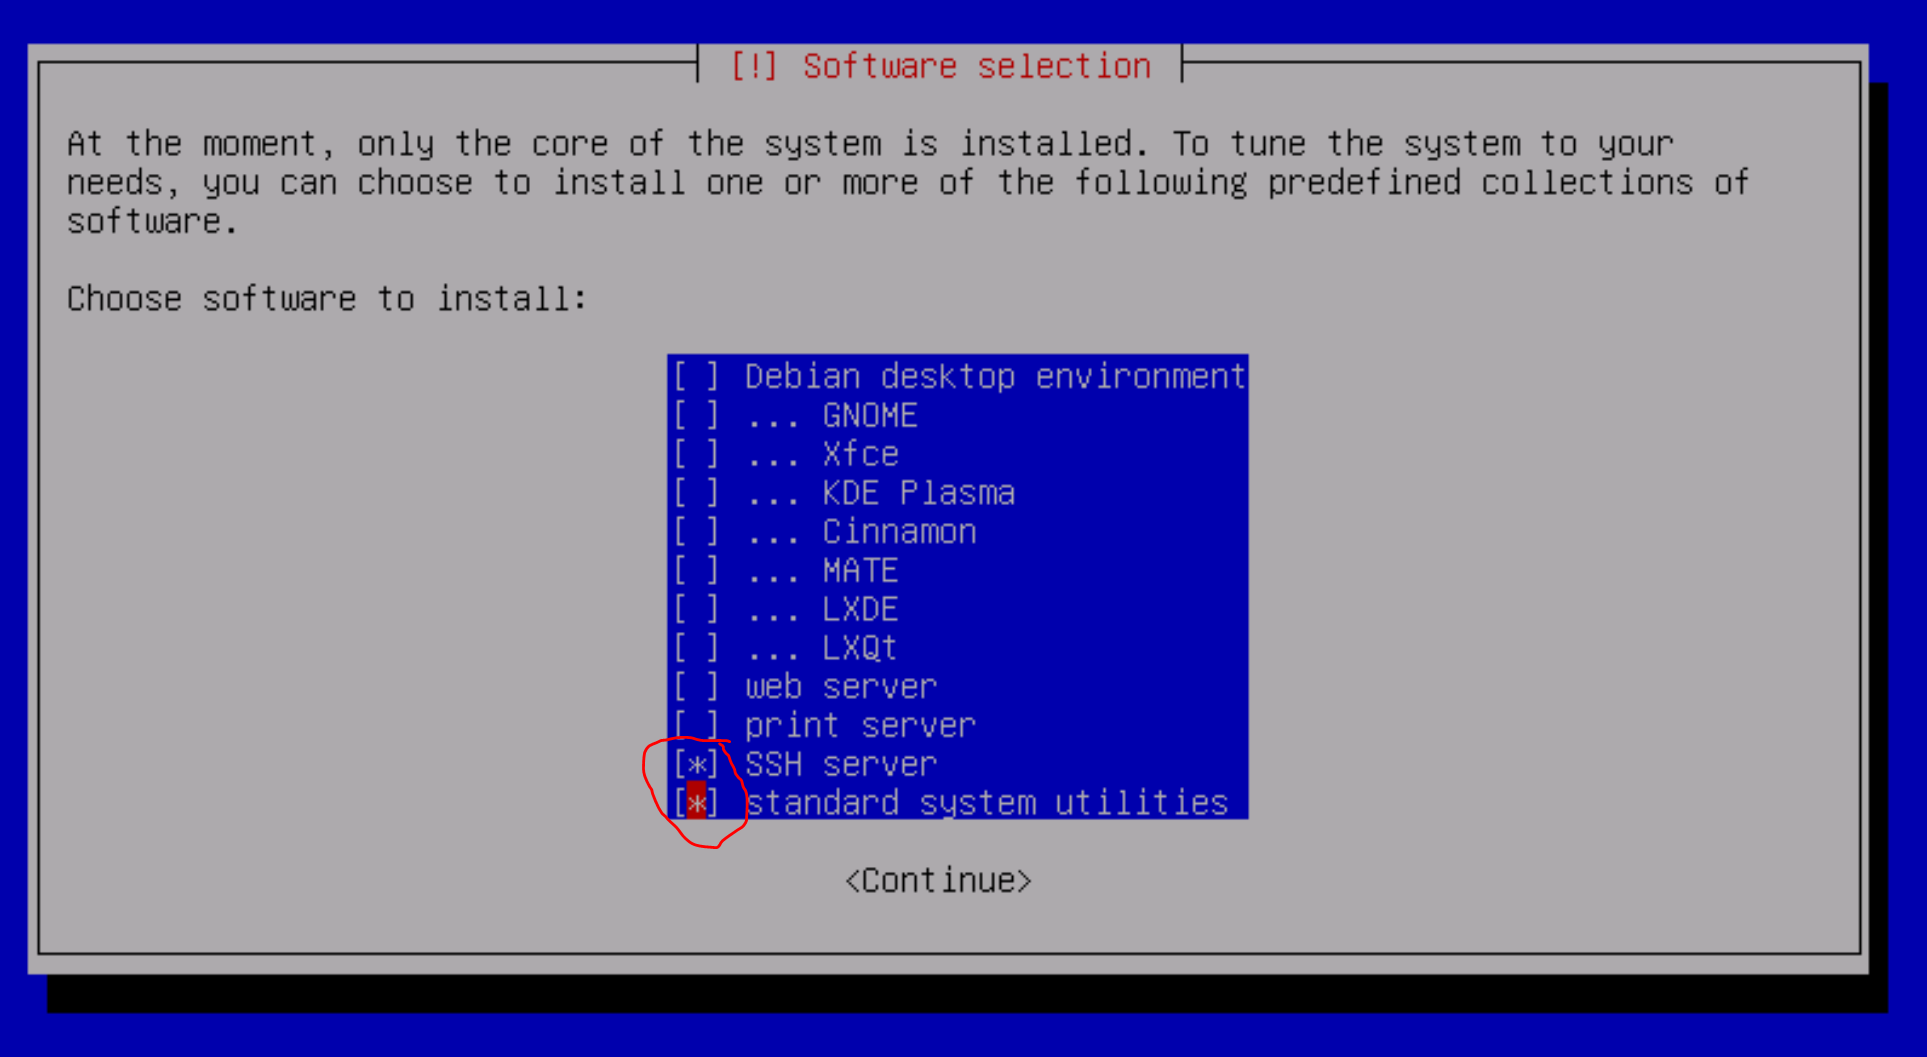
Next under software selection, it will ask what to install. Select only SSH server and standard system utilities:
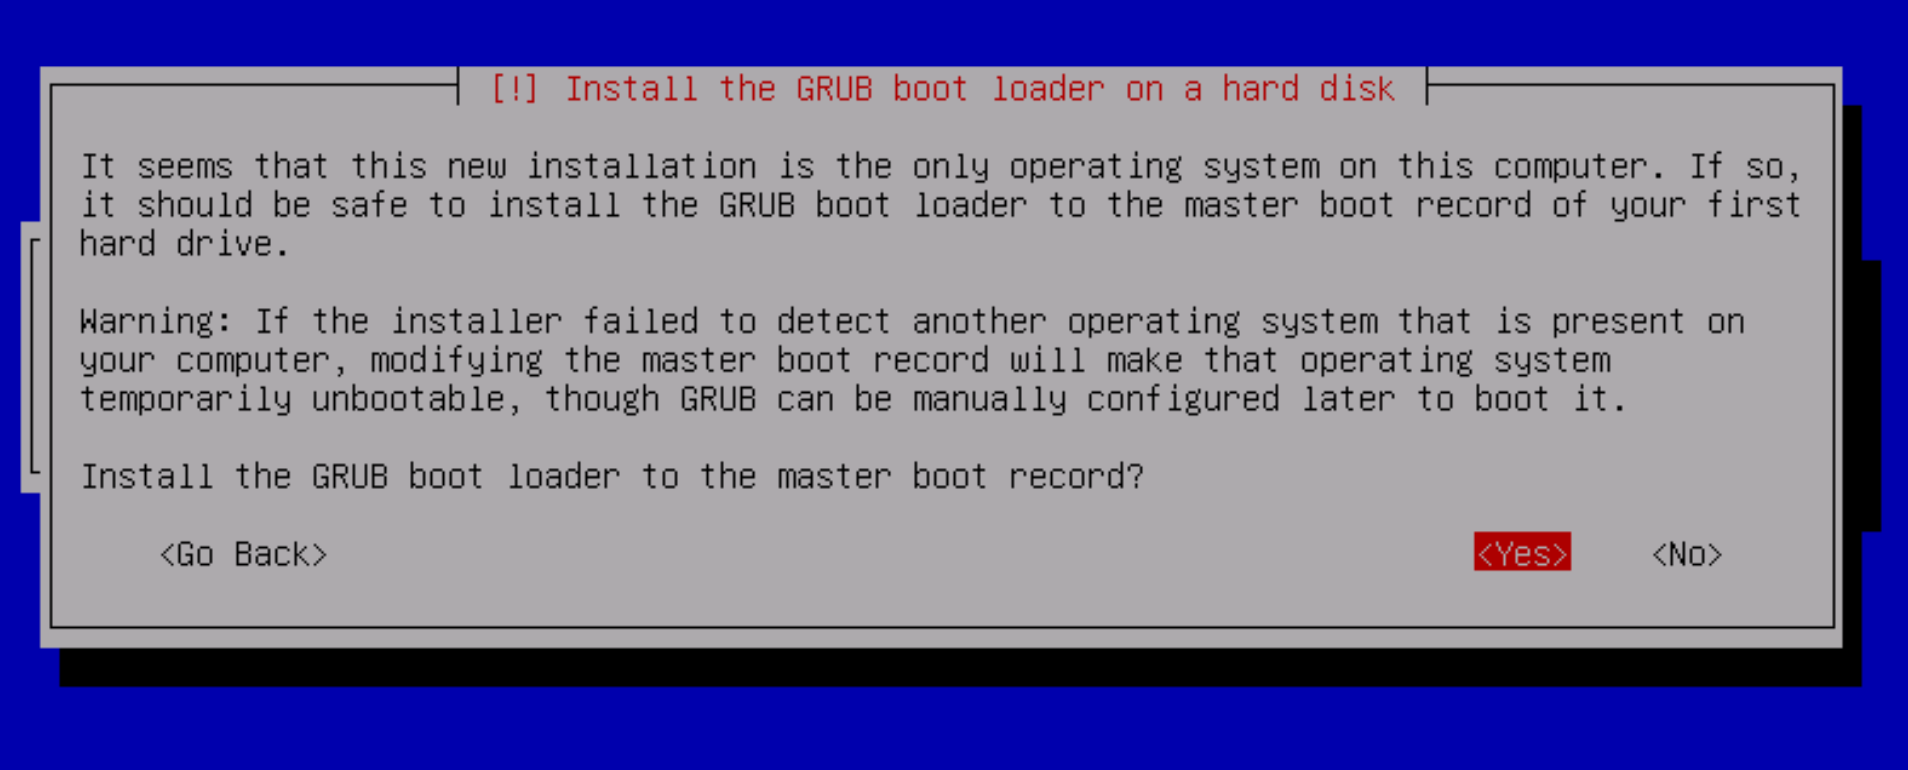
Now, it will complete some more steps. When it asks whether to install GRUB as the bootloader, say yes:
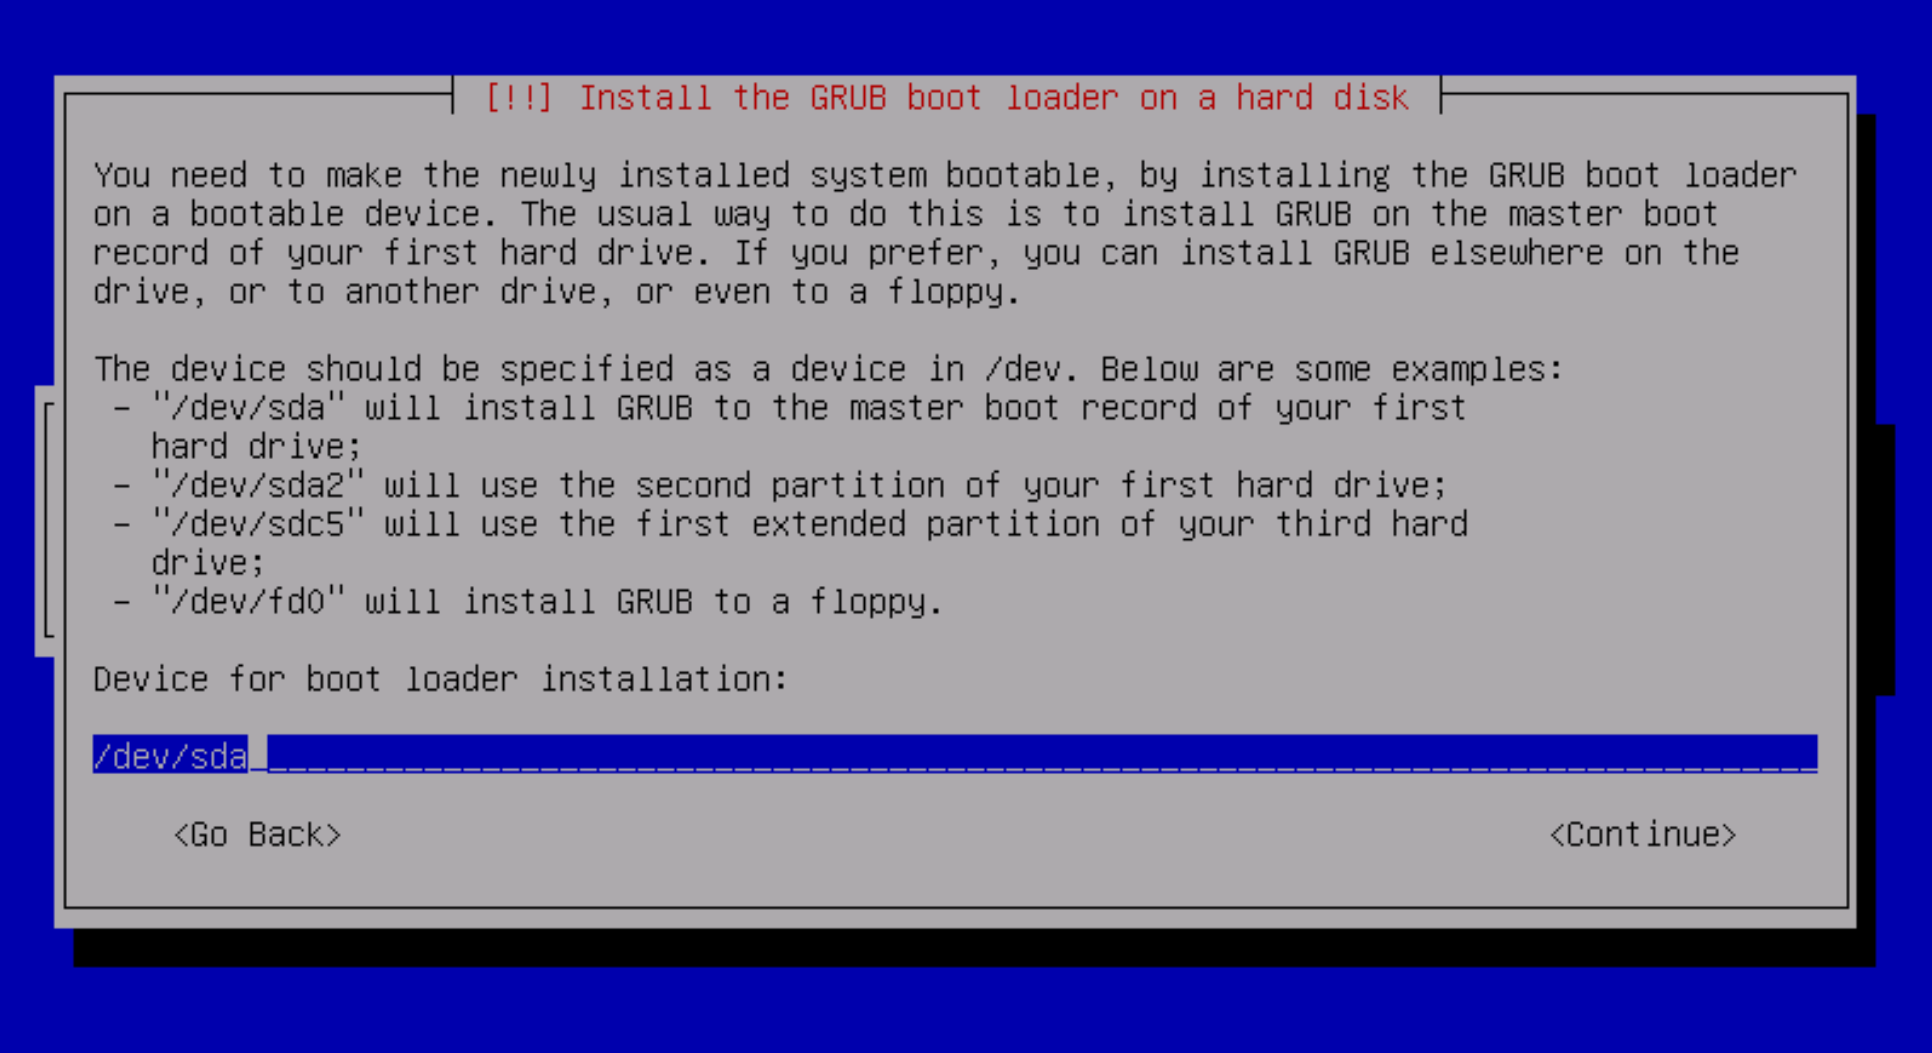
Enter /dev/sda for the location of the boot loader:
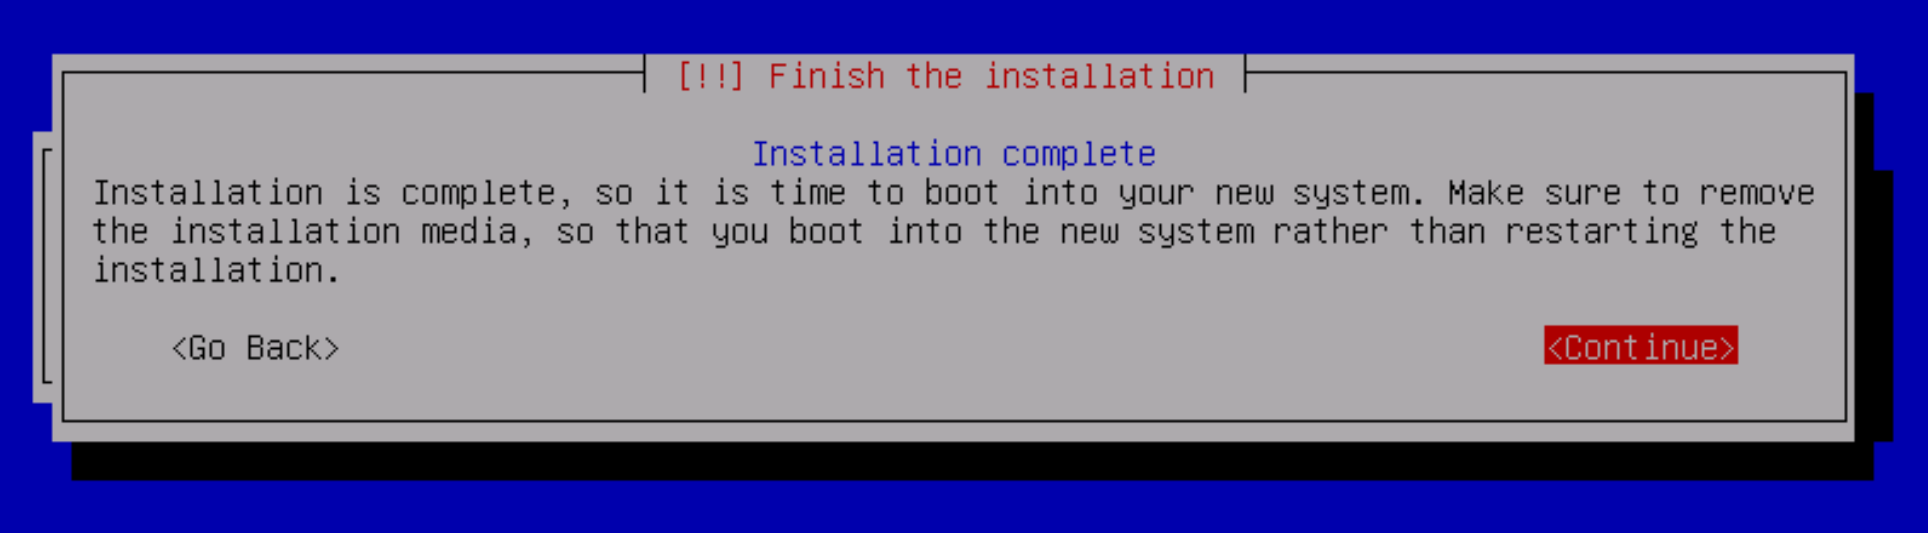
Finally, it will complete the installation. Select Continue to reboot, and you should be able to ssh into the system.
Final Steps
If jtel is performing the installation, we will take over from here. |


| Sv translation | ||
|---|---|---|
| ||
ImageTélécharger un .ISO pour l'installation de Debian Linux. L'installation minimale de .ISO (net install) fera l'affaire, à condition que la machine soit connectée au réseau. L'image actuelle se trouve sur cette page : https://cdimage.debian.org/debian-cd/current/amd64/iso-cd/ L'image netinst.iso est la bonne - faites défiler l'écran vers le bas pour sélectionner la version appropriée :
InstallationSélectionnez l'installateur texte:
Sélectionnez Anglais comme langue :
Sélectionnez autre comme localisation:
Sélectionnez ensuite le lieu approprié à l'aide des deux menus suivants - ici pour Europe / Allemagne :
Sélectionnez ensuite en_US.UTF-8 pour les paramètres locaux :
Sélectionnez la disposition de clavier appropriée (dans cet exemple Allemand):
Ensuite, l'installateur essaiera de configurer le réseau avec DHCP. Si cela n'est pas possible, sélectionnez Configurer le réseau manuellement :
Saisissez ensuite les détails appropriés :
Entrez le nom d'hôte pleinement qualifié :
Ensuite, entrez et répétez le mot de passe root.
Ensuite, créez un utilisateur jtel :
Entrez le mot de passe pour l'utilisateur jtel :
Pour le partitionnement, choisissez Guidé - utilisez tout le disque et configurez LVM:
Sélectionnez ensuite le disque à partitionner (ne partitionnez pas la partition de données, si vous installez l'équilibreur de charge) :
Pour la disposition de la partition, sélectionnez "Tous les fichiers dans une seule partition (recommandé pour les nouveaux utilisateurs)". Il sera assez facile de déplacer les choses sur des disques supplémentaires plus tard si le système en a besoin, et pour la plupart des systèmes jtel, ce ne sera pas nécessaire.
Choisissez de rédiger les modifications.
Sélectionnez pour utiliser l'ensemble du groupe de volume.
Et choisissez de partitionner les disques :
L'installation va maintenant se poursuivre :
Après avoir installé quelques éléments, il vous demandera si vous voulez scanner un autre CD ou DVD. Dites : Non.
Choisissez un pays approprié pour vos miroirs de prise en pension :
Sélectionnez Continuer lorsqu'il vous est demandé de configurer un proxy http :
Il mettra ensuite le logiciel à niveau. Ensuite, il demandera des statistiques sur l'utilisation de l'anonymat. Sélectionnez ce qui vous convient le mieux.
Ensuite, sous la rubrique "sélection de logiciels", il vous demandera ce qu'il faut installer. Sélectionnez seulement serveur SSH et les utilitaires du système standard:
Il va maintenant franchir quelques étapes supplémentaires. Lorsqu'il demande s'il faut installer GRUB comme chargeur de démarrage, dites oui:
Entrez /dev/sda pour connaître l'emplacement du chargeur de démarrage :
Enfin, il complétera l'installation. Sélectionnez Continuer pour redémarrer, et vous devriez être en mesure d'entrer dans le système par ssh.
Premières étapes
Si c'est jtel qui effectue l'installation, nous prendrons le relais. |