In the version control screen, click Edit in the row of the version you want to edit. After a short load time, a new window is shown containing the graphical editor for routing applications.
Note: You must allow for the opening of popup windows in your browser. If necessary, manually change your browser options accordingly. In Safari, you will not always be warned that a popup has been surpressed.
Tip: Whilst you are working in the routing application, you can continue to work in the first browser window. This is, for example, useful if you need to create an additional prompt or destination number. Use the first browser window to create these. When you open an object in the editor window, the newly created elements will be available.
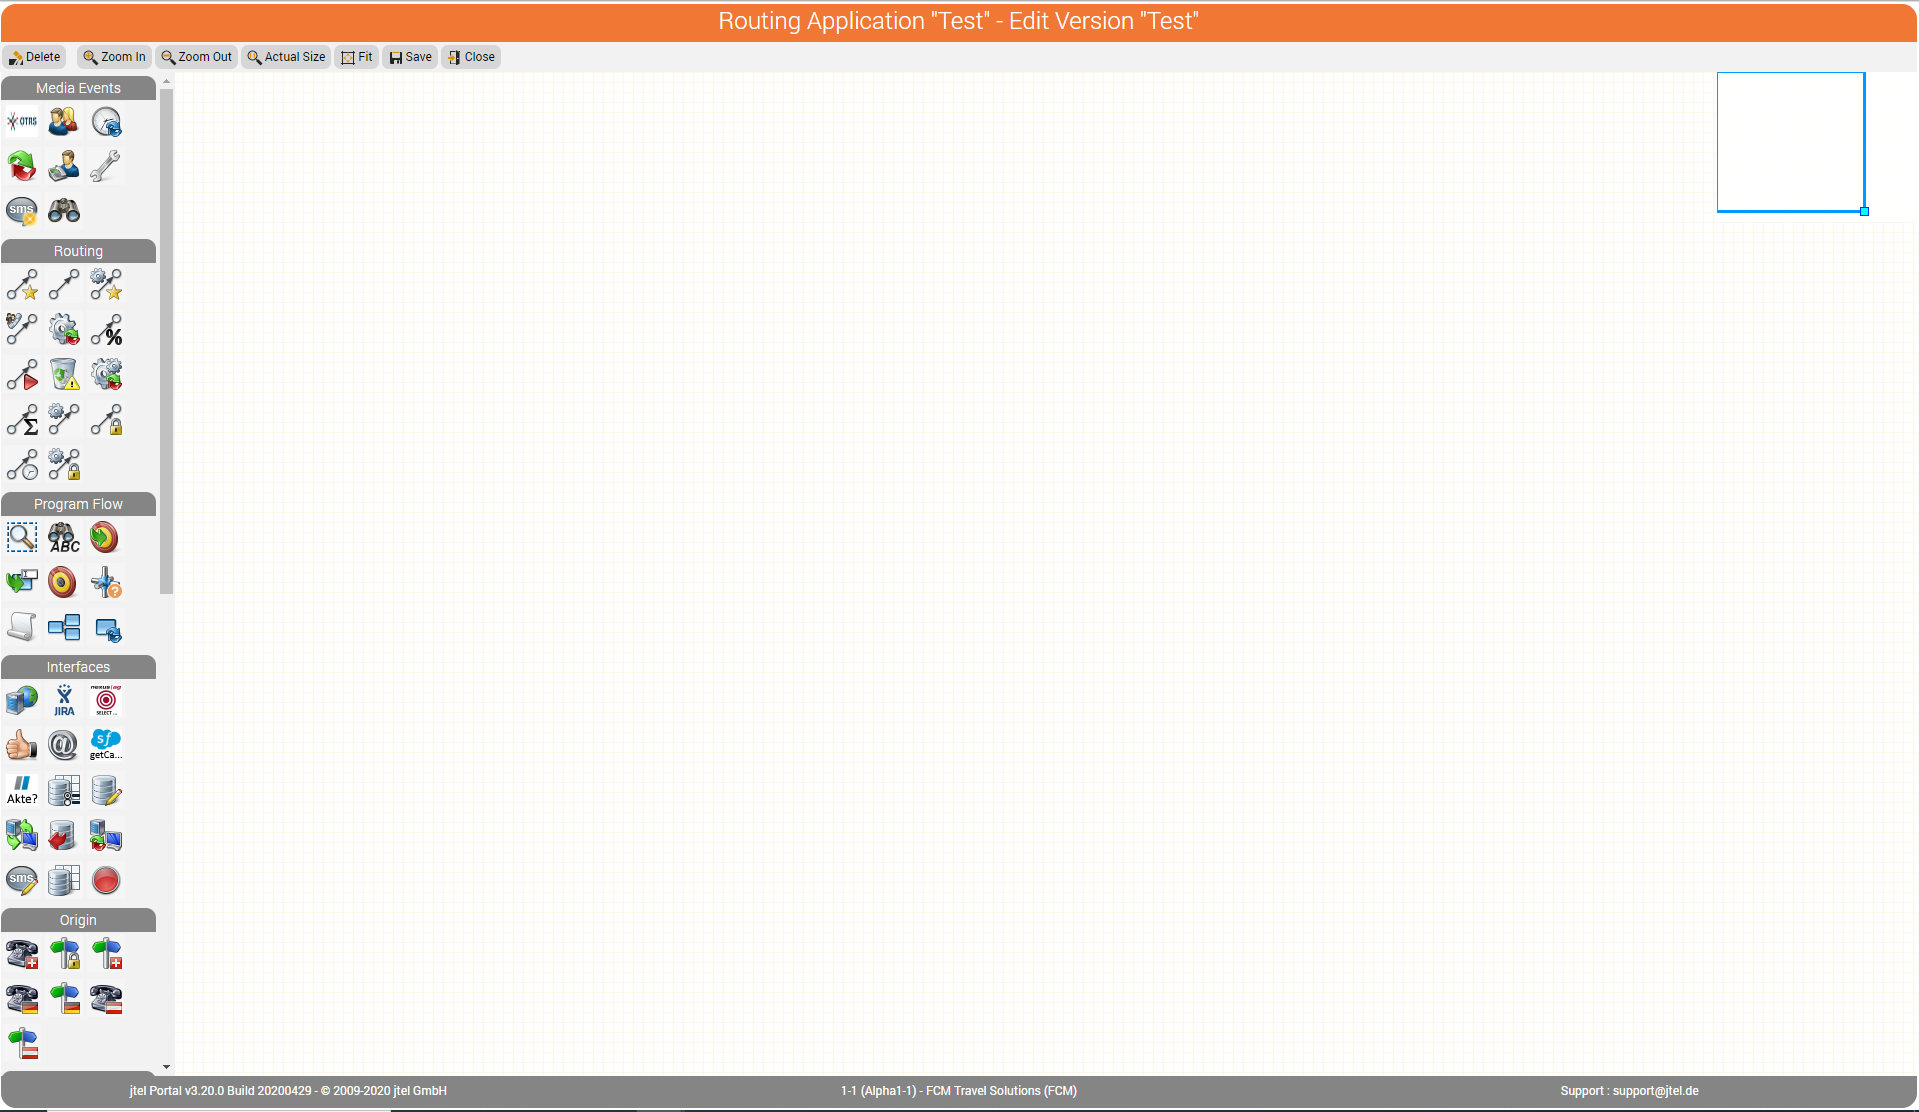
The editor offers several functions at the top of the screen as buttons. Note, that with every Save of the routing application, a new version is automatically created in version control. If you want to call this application, it must be marked as the active, or test application.
On the left side of the screen you can see a library of objects, which are depicted by symbols. If you move the mouse over the object, the name of the type is displayed.
The large chequered area is the work area which you use to position routing objects. The work area is unlimited in size, and can be moved in any direction by moving the blue rectangle on the top right. You do not have to try to save space when laying out your program.
To create the example program, proceed as follows:
- Drag a Start object (which can be found in the object group Start/Stop) onto the work area. Every program must begin with a start object. It symbolises the start of a call.
- Next, callers should hear a prompt. Drag a Play Voice object from the Voice area to the right of the start object in the work area.
- Connect both objects by dragging from the Continue output on the right hand side of the start object with the left mouse button held down to the green entry point on the play voice object.
- Double click on the play voice object. Double clicking opens a dialog in which you can set the parameters for the object. In this case you choose a greeting voice prompt. You can optionally give the object an individual name, for example Greeting 1. Close the dialog.
- After listening to the voice prompt the caller should be connected to a destination number. Drag an object of type Connect (from the group Routing) to the right of the voice prompt.
- Double click on the Connect object. In the dialog set the parameters for the connection, in our example the following:
Object Name: For example enter Service.
Prompt: Choose the music on hold which should be played.
Close the dialog. - Connect the Play Voice with the Connect object.
The routing program should look something like this (using the original names of the objects):
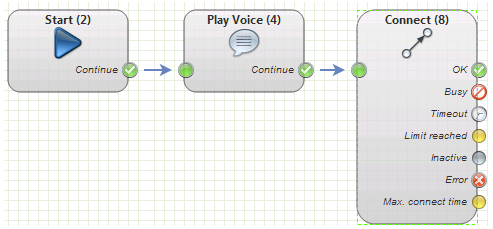
If a required parameter is not provided, the object turns red and an error symbol is shown. Yellow signifies objects where a recommended setting is missing, a yellow warning symbol is shown. Information on the error or recommended parameter settings is shown when you move the mouse cursor over the error or warning symbol.
That concludes programming a simple routing application. To activate the newly created version, click on active in the corresponding row in the table. In the Active column, you will now see Yes. In the Test column, you set Yes if you want callers from the test number (Test CLI) to access this version. This makes is possible for the programmer of a service to work on a different version of the application to that which normal callers access.
The next step is to configure the application to run on a service number.