Introduction
To allow applications to send e-mails as a given user or service account in Microsoft Entra, we need to configure an Microsoft Entra Active Directory application registration with the appropriate permissions.
Create an Azure AD App with Graph permissions
You can execute these steps using Azure PowerShell, the Azure CLI, or the Azure Portal. The steps required to enable Microsoft Graph SMTP authentication using the Azure Portal are described below.
Create App Registration
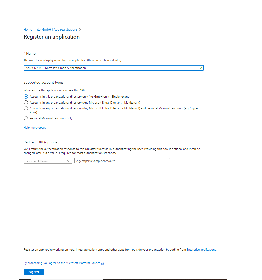
In the Azure Active Directory of your Tenant, navigate to App registrations and create a New registration. Choose a name and select "Register".
Create a User with permissions to use the Application
Navigate to Azure Active Directory → Users and create a new User
If you already have a user which is used for the Microsoft Graph Teams Presence API App registration, you can use that user for this purpose again!
Assign the User to the Application
Navigate to the registered App configuration and into the tab "Owners" and add the User.
Set up the application permissions
Looking at the official docs for SendMail, we can see a few ways we can configure our apps to allow sending e-mails. Depending on your scenario, you may want to adjust the permissions between delegated or application permissions.
| Permission type | Permissions (from least to most privileged) |
|---|---|
| Delegated (work or school account) | Mail.Send |
| Delegated (personal Microsoft account) | Mail.Send |
| Application | Mail.Send |
From the app page in the Azure Portal:
- API permissions > Add a permission
- Microsoft Graph > Application Permissions > Mail.Send > click Add Permission
Your configured permissions should look something like this:

Configuring the jtel Portal
The newly created Directory ID (Tenant ID), as well as the Application ID (Client ID) and Client Secret (Secret Hash Value) are now configured in the jtel portal. The E-Mail Server and user also have to be changed, if you are switching to Office 365.
The configuration is added as Client Administrator in the Menu → Client Master Data in the email tab.
| E-Mail Sender | The E-Mail address which should be displayed as the sender |
| E-Mail Server | |
| Tenant ID | The Tenant ID that was created |
| Client ID | The Client ID that was created |
| E-Mail User | The user that the permission to send email was asigned to |
| E-Mail Password | The Secret Hash Value |