| Sv translation | ||
|---|---|---|
| ||
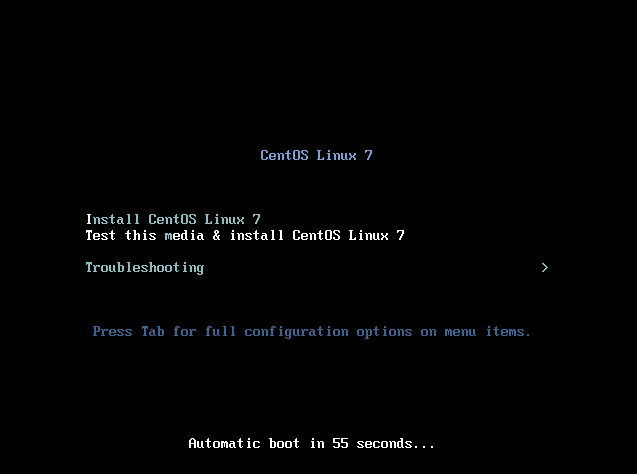
The following steps describe the basic installation. ISO File The ISO file for the basic installation can be found here: http://cdn.jtel.de/downloads/ISOs/CentOS-7-x86_64-Minimal-1611.iso Enter on first option (Install CentOS Linux 7).
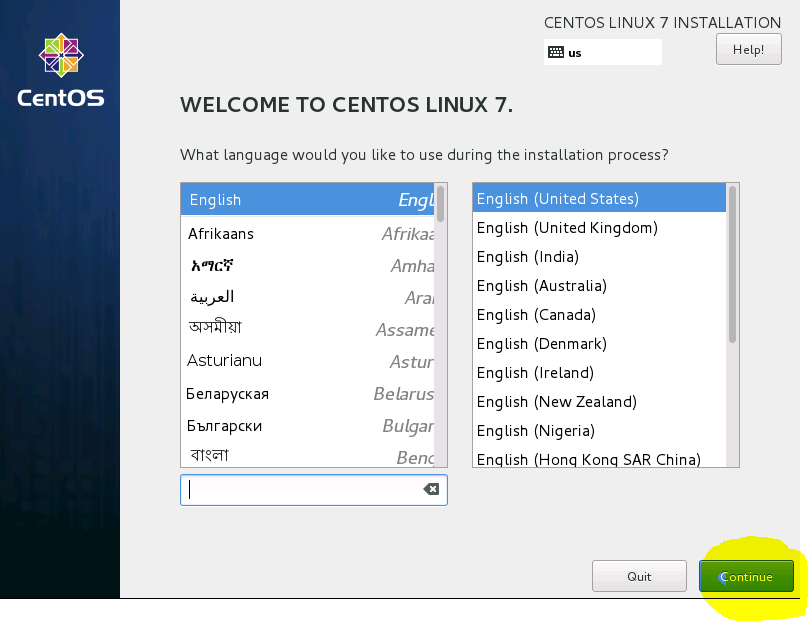
On the next screen just click Continue.
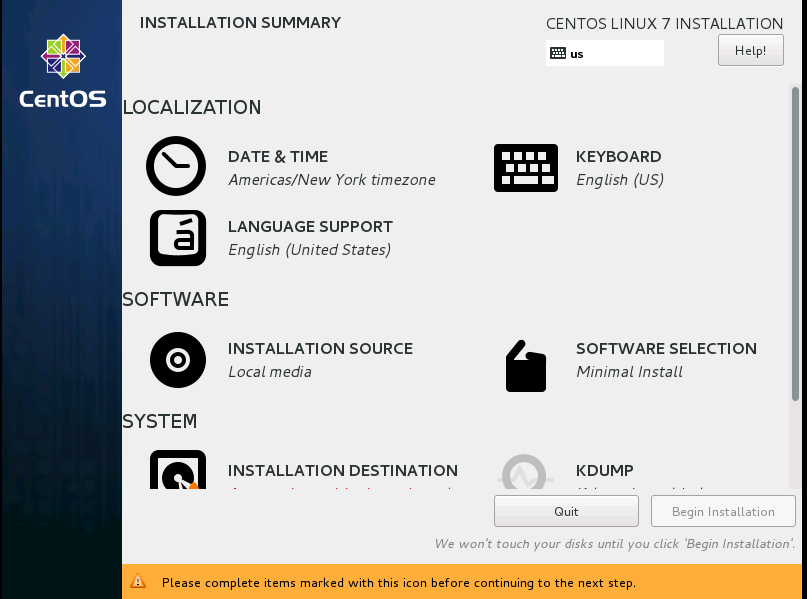
On the second screen some points have to be adjusted. In contrast to CentOS6 this is not done one after the other, but you have to go through all points one by one.
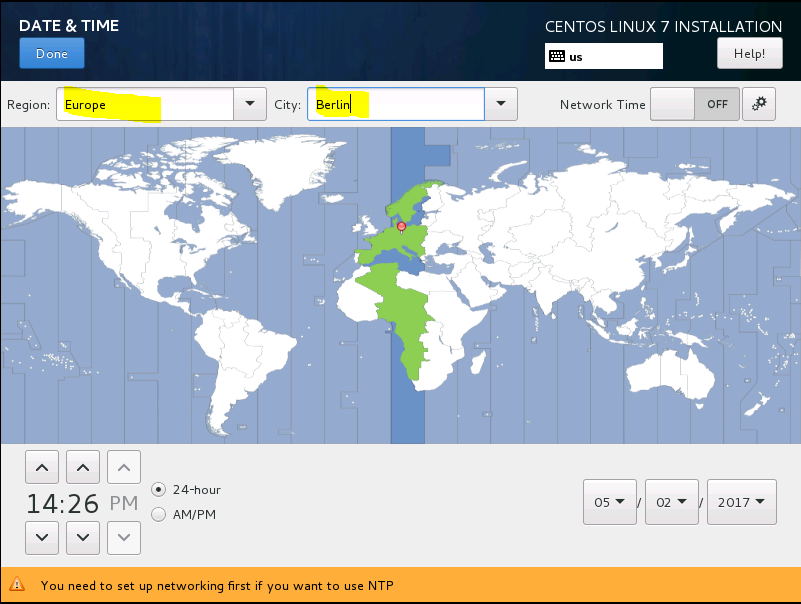
Adjust Date and Time to Europe / Berlin.
Add Keyboard Layout German and sort at the top of the list
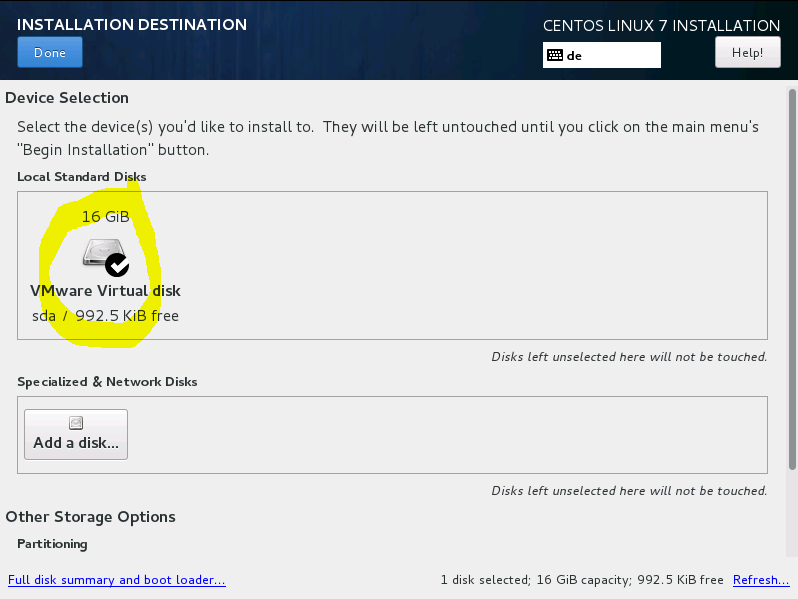
Selecting Installation Destination
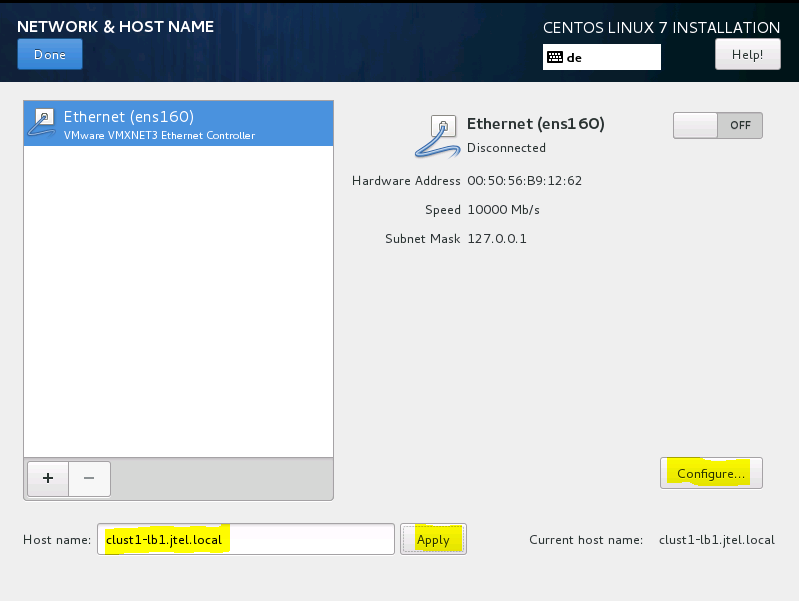
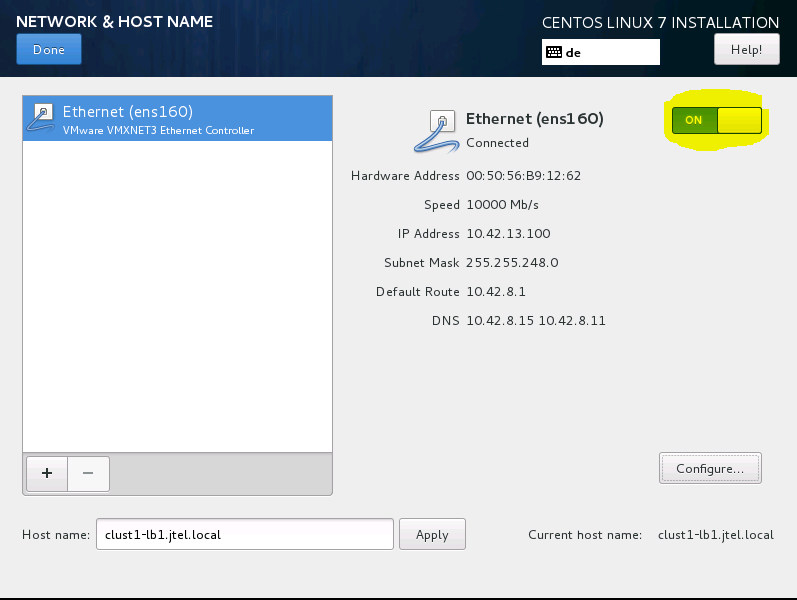
Network and Host Name - Change Host name, then configure Ethernet
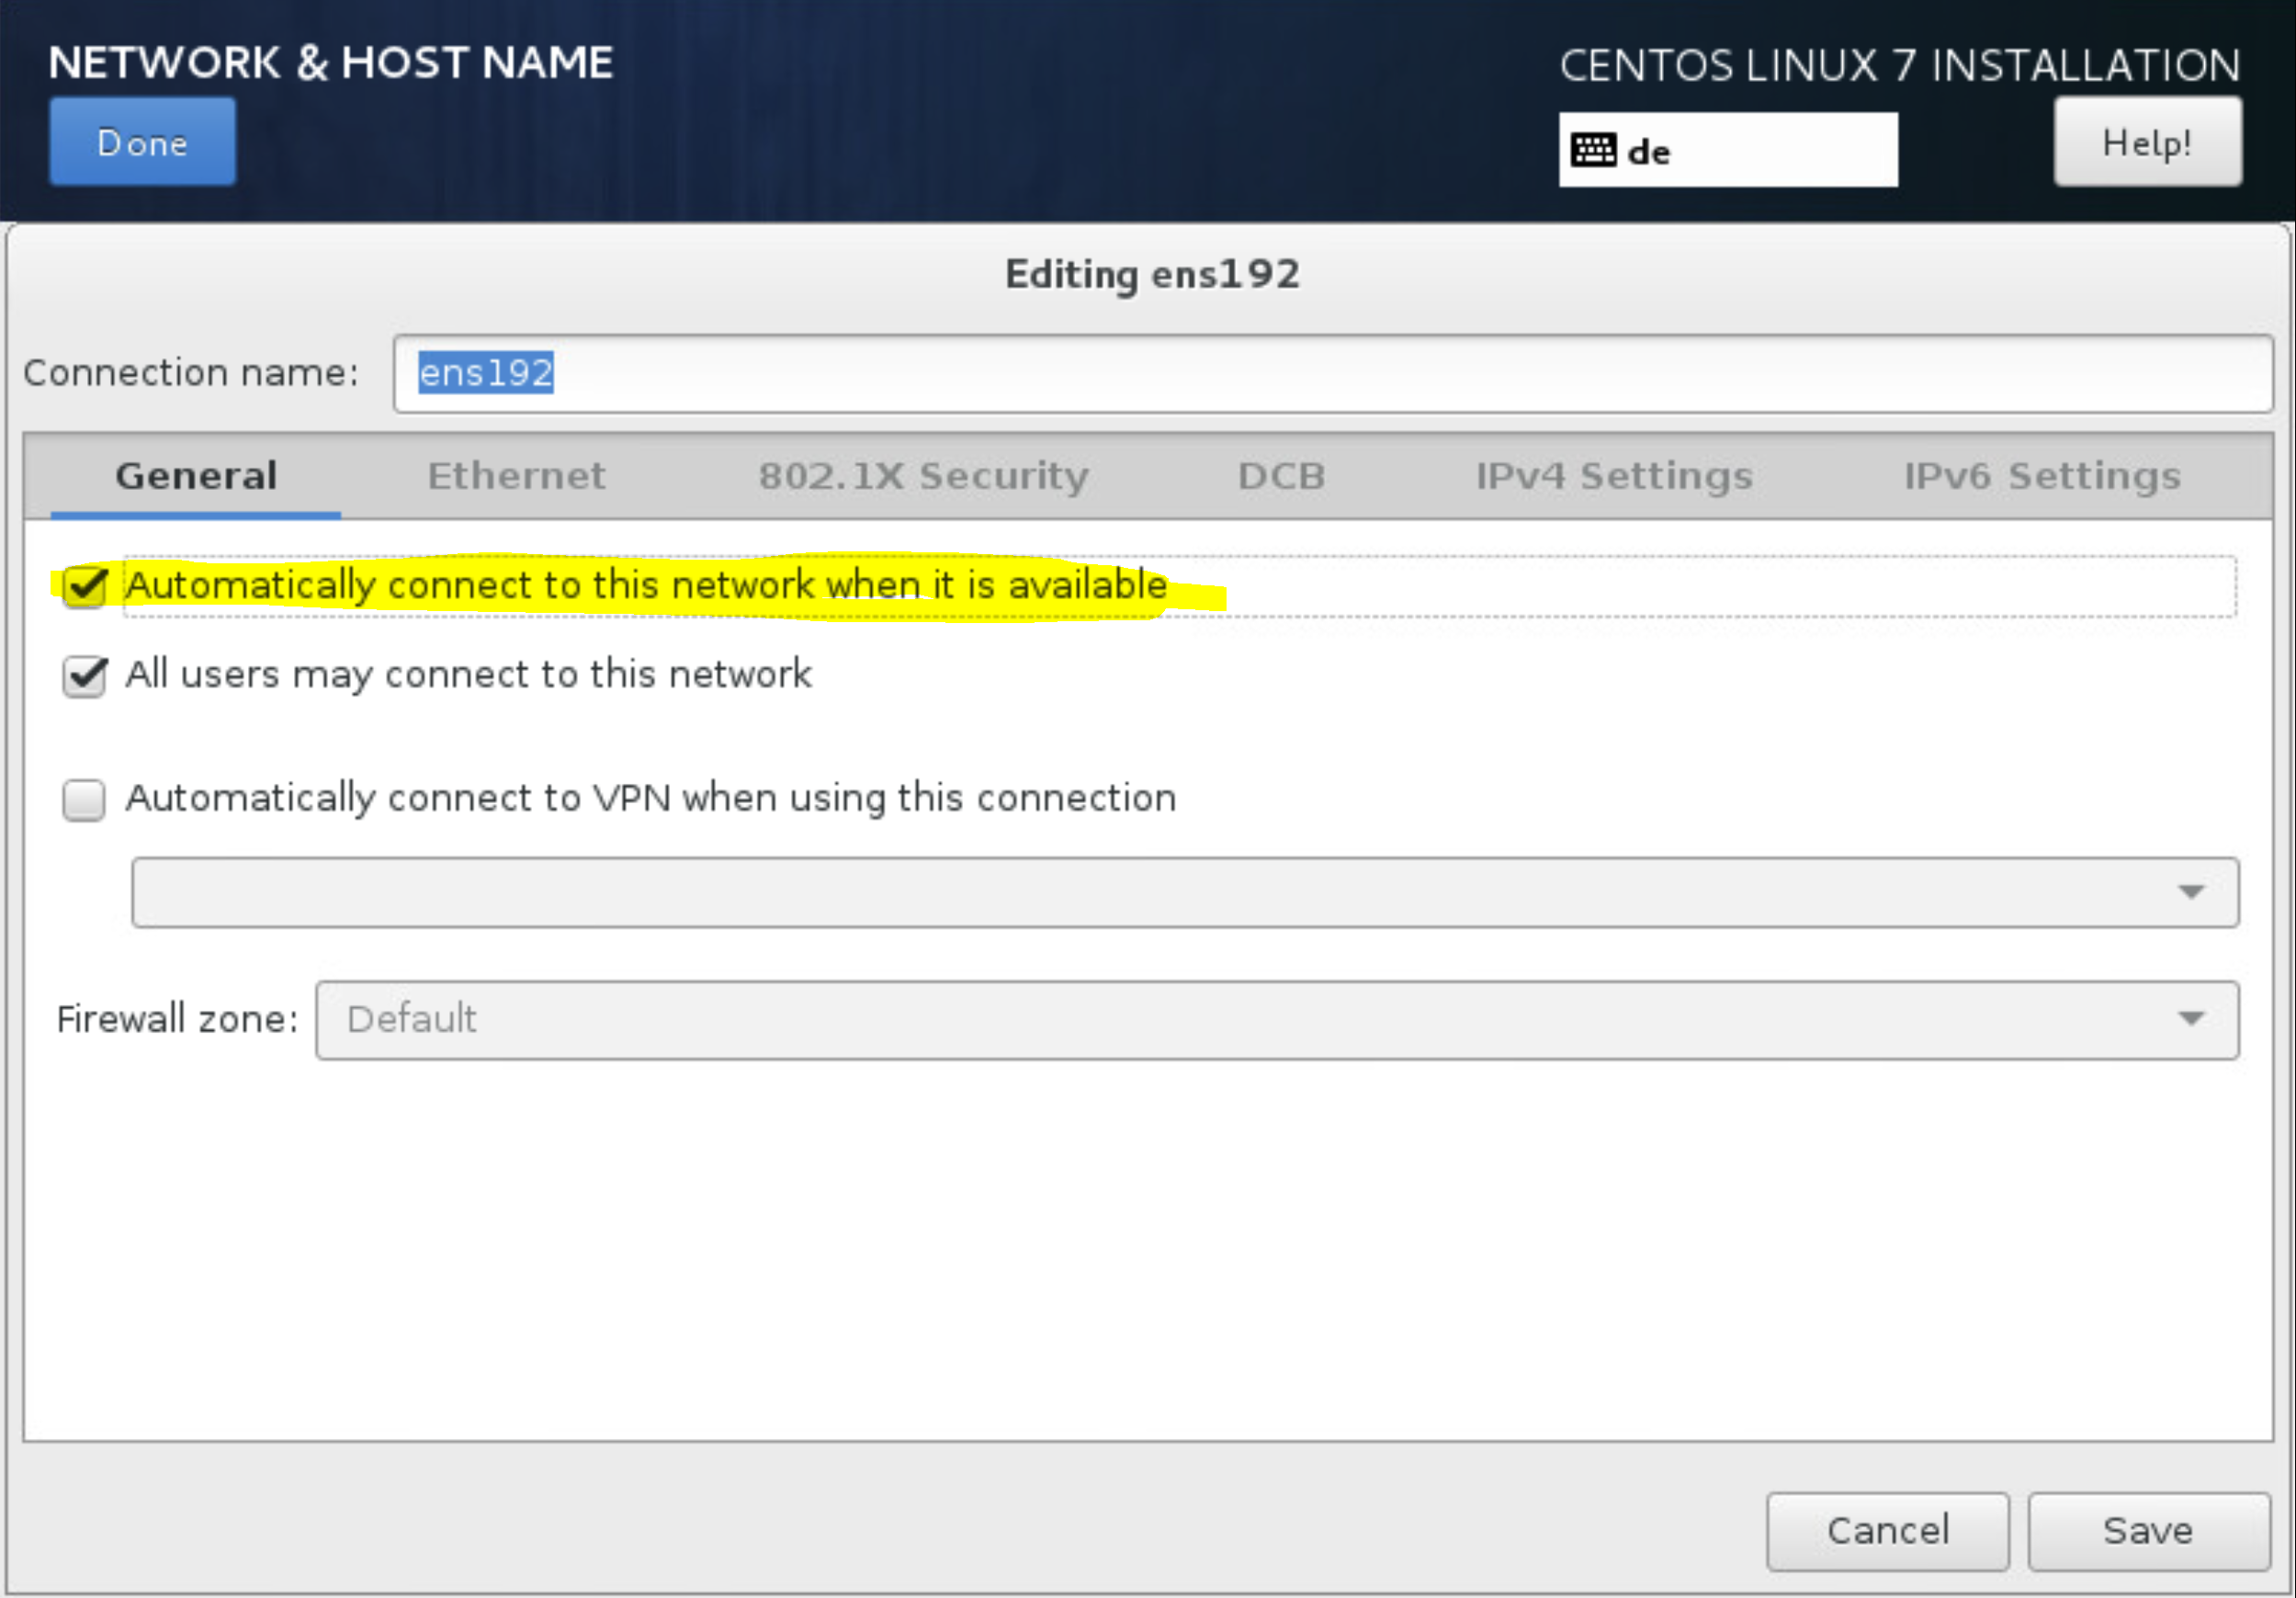
On the page General, set Automatically connect
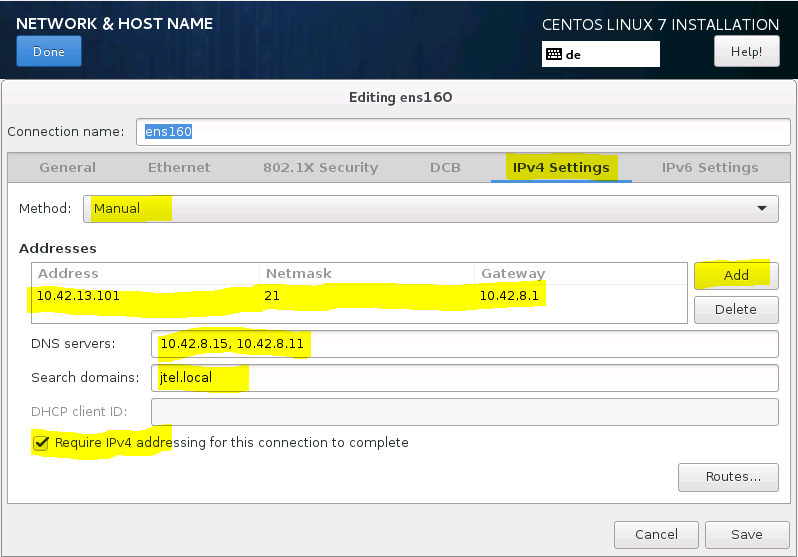
Enter IP address, Enter gateway, Enter DNS server, Enter search domains, Set require IPv4 addressing
Switch on Ethernet
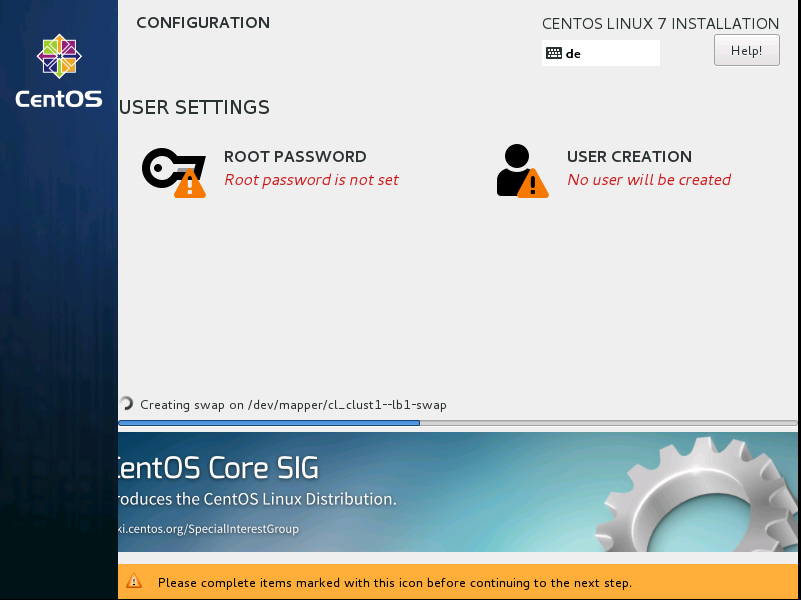
At this point you can use a PING to check whether the machine is accessible. Begin Installation
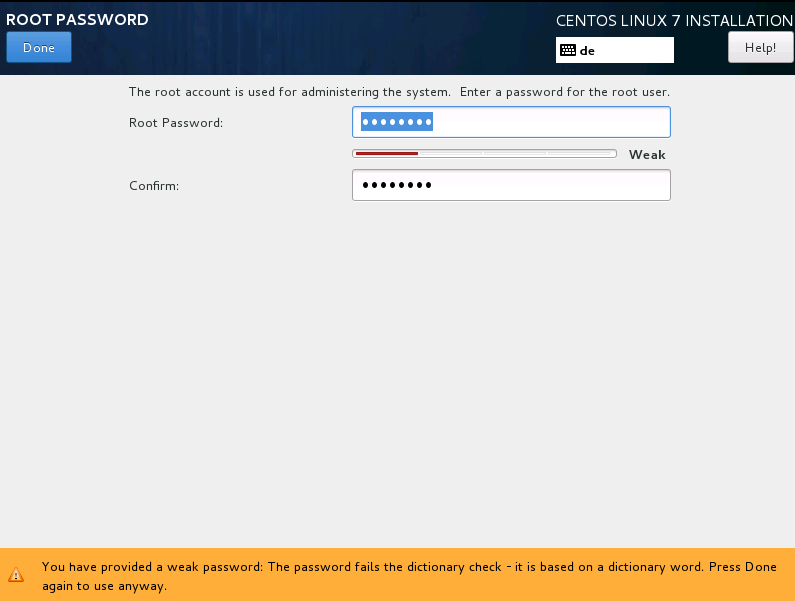
During installation, set root password
Check if everything is OK After the basic installation, you should be able to access the computer via SSH and log in with root. If the customer installs the operating systems, this is the handover point to the project technician. |

| Sv translation | ||||||
|---|---|---|---|---|---|---|
| ||||||
Folgende Schritte beschreiben die Grundinstallation. ISO Datei Die ISO Datei für die Grundinstallation befindet sich hier:
Enter auf erste Option (Install CentOS Linux 7).
Beim nächsten Bildschirm einfach auf Continue.
Beim zweiten Bildschirm müssen einige Punkte angepasst werden. Dies erfolgt im Gegenzug zu CentOS6 nicht nacheinander, sondern man muss alle Punkte einzeln durchgehen.
Date and Time auf Europa / Berlin anpassen.
Keyboard Layout German hinzufügen und oben in der Liste einsortieren
Installation Destination auswählen
Network and Host Name - Host name anpassen, dann Ethernet konfigurieren
|
Connection Name anpassen auf eth0
...
Auf der Seite General, Automatically connect setzen
IP Adresse eintragen, Gateway eintragen, DNS Server eintragen, Search Domains eintragen, Require IPv4 adressing |

IPv6 ausschalten
...
Ethernet einschalten
Man kann an dieser Stelle mit ein PING prüfen, ob die Maschine erreichbar ist. Begin Installation
Während der Installation, root password setzen
Prüfen ob alles OK Nach der Grundinstallation sollte man per SSH auf den Rechner kommen, und sich mit root anmelden können. Installiert der Kunde die Betriebssysteme, so ist dies der Übergabepunkt an den Projekt-Techniker. |
| Sv translation | ||
|---|---|---|
| ||
Les étapes suivantes décrivent l'installation de base. Fichier ISO Le fichier ISO pour l'installation de base peut être trouvé ici : |
...
http://cdn.jtel.de/downloads/ISOs/CentOS-7-x86_64-Minimal-1611.iso Entrez sur la première option (Installer CentOS Linux 7).
Sur l'écran suivant, il suffit de cliquer sur Continuer.
Sur le deuxième écran, certains points doivent être ajustés. Contrairement à CentOS6, cela ne se fait pas l'un après l'autre, mais vous devez passer en revue tous les points un par un.
Adapter la date et l'heure à l'Europe / Berlin.
Ajoutez Clavier allemand et triez en haut de la liste
Choix de la destination de l'installation
Nom du réseau et de l'hôte - Changer le nom de l'hôte, puis configurer Ethernet
Sur la page Général, réglez Automatiquement connecter
Saisir l'adresse IP, Saisir la passerelle, Saisir le serveur DNS, Saisir les domaines de recherche, Définir l'adresse IPv4 requise
Activer Ethernet
À ce stade, vous pouvez utiliser un PING pour vérifier si la machine est accessible. Commencer l'installation
Lors de l'installation, définissez le mot de passe root
Vérifier si tout va bien Après l'installation de base, vous devriez pouvoir accéder à l'ordinateur via SSH et vous connecter avec root. Si le client installe les systèmes d'exploitation, c'est le point de transfert au technicien du projet. |
...