Introduction
To allow our applications to send e-mails as a given user or service account in Microsoft Entra, we need to configure an Azure AD application Microsoft Entra Active Directory application registration with the appropriate permission. Additionally, we need to ensure that the user or service account has a license assigned for sending e-mailspermissions.
Create an Azure AD App with Graph
...
permissions
...
You can do execute these steps using Azure PowerShell, the Azure CLI, or the Azure Portal that I'm doing for demonstration purposes.
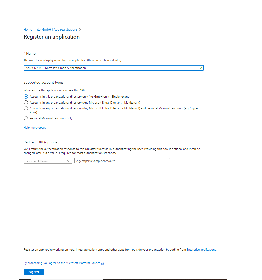
Create a new App Registration Azure Portal
Head over to Azure AD and create a new App Registration.
- Azure Portal > Active Directory > App registrations > New registration
- Name: Whatever you want.
- Type: Accounts in this organizational directory only (Single tenant)
- Redirect URI: Not required.
Using a Client ID and Client Secret
Here's how you can set that up your applications to rely on the traditional Client ID / Client Secret approach for authenticating to the application.
We then need to create a new secret and securely store the value of the said secret, along with the Tenant ID and the app's Client ID.
From the App page:
- Certificates & Secrets > New client secret
- Copy the secret and store it in a safe location (password manager is a good idea).
Next, make sure you copy the Application ID (Client ID) and the Tenant ID for your application. You can find these on the Overview page of your app.
At this point you should have stored these values for use later in our code:
...
. The steps required to enable Microsoft Graph SMTP authentication using the Azure Portal are described below.
Create App Registration
In the Azure Active Directory of your Tenant, navigate to App registrations and create a New registration. Choose a name and select "Register".
Create a User with permissions to use the Application
Navigate to Azure Active Directory → Users and create a new User
| Info |
|---|
If you already have a user which is used for the Microsoft Graph Teams Presence API App registration, you can use that user for this purpose again! |
Assign the User to the Application
Navigate to the registered App configuration and into the tab "Owners" and add the User
...
.
Set up the application permissions
...