Enable Outgoing SSH connections
This is for example necessary, to use SCP between two ESXi Servers.
- Check the firewall configuration as follows:
Start the VMWare Client.
Select the ESXi Host.
Select the Configuration Tab, then Security Profile.
In Services select "Firewall" and enable the SSH Client.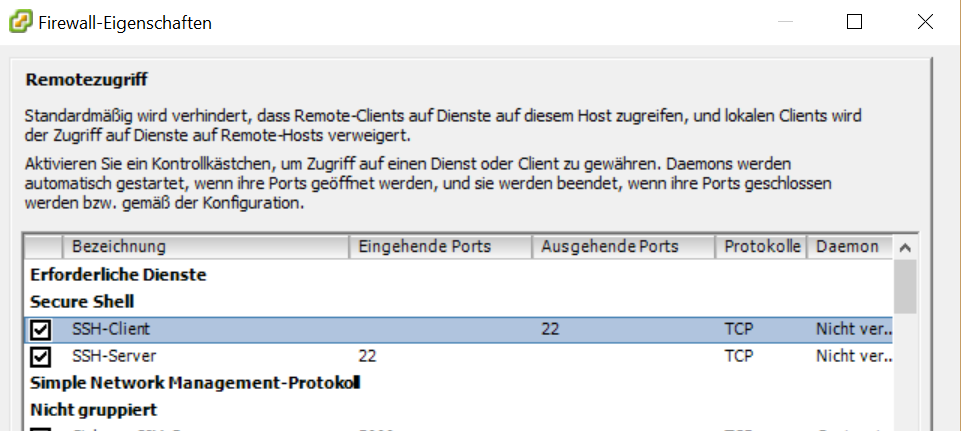
Cloning a VM from the Command Line
On ESXi Free, there is no possibility to clone a virtual machine from the GUI.
This details how to clone a virtual machine from the command line.
- Enable SSH on the ESXi host using the GUI.
Start the VMWare Client.
Select the ESXi Host.
Select the Configuration Tab, then Security Profile.
In Services select "Properties".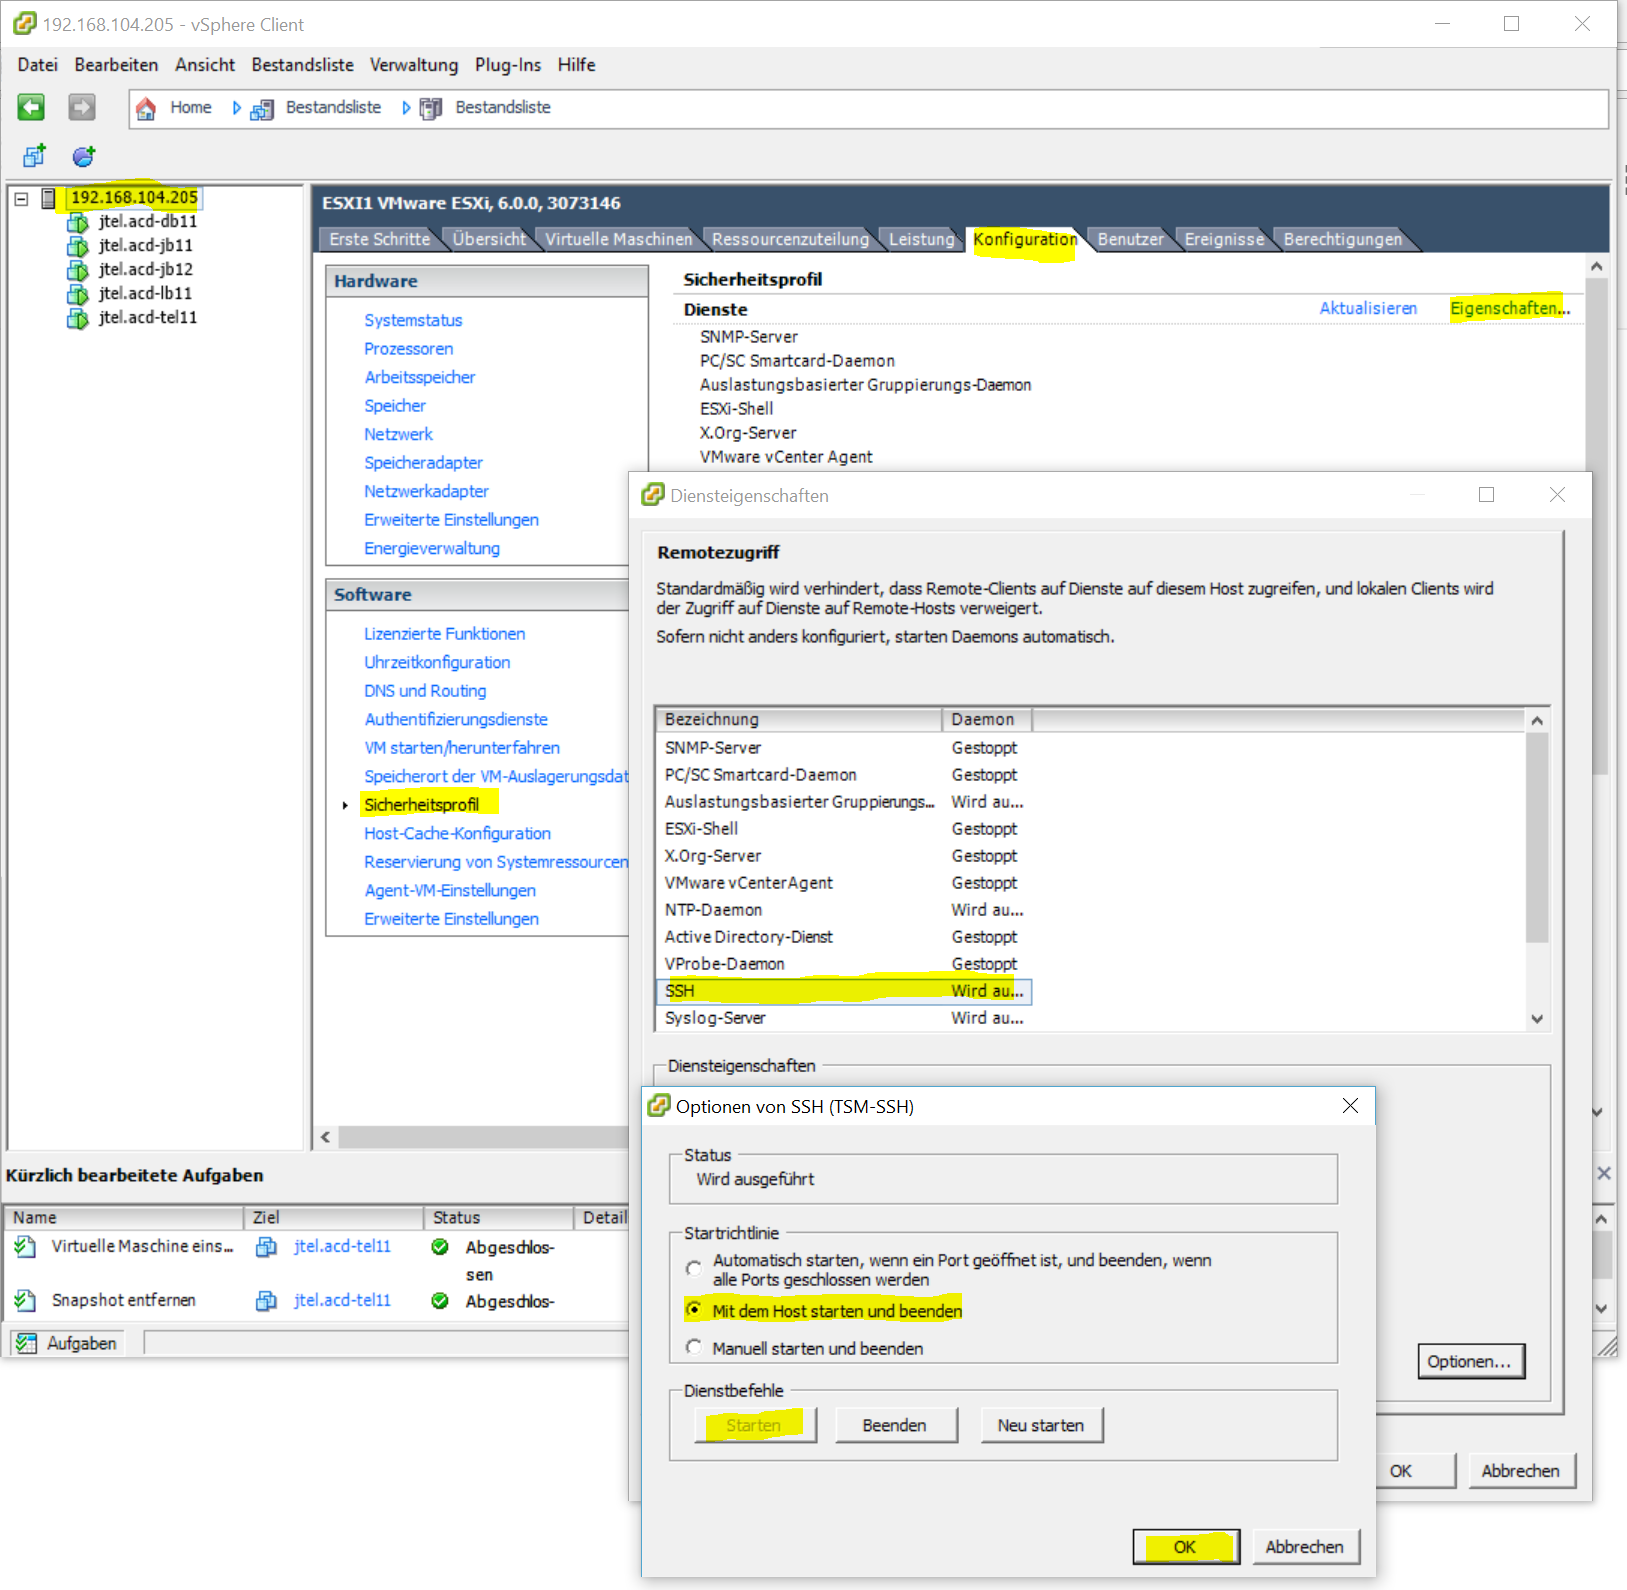
- Login to the ESXi host using SSH.
cd into the datastore
For example:
cd /vmfs/volumes/datastore
Create a new directory for the clone:
mkdir vm-name-clone
cd into the clone directory
cd vm-name-clone
- DO THESE STEPS FOR EACH DISK THE VM CONTAINS
- Locate the vmdk file for the current version of the disk to clone in the original VM directory.
For example, for the first snapshot of the disk, the disk name will be disk-name-000001.vmdk Clone the disk using the following command
vmkfstools -i /vmfs/volumes/datastore/vm-name/disk-name-000001.vmdk ./disk-name.vmdk -d thin
This will create a clone of the disk, thin provisioned.
- Copy the other VM files into the directory.
- Edit the VM file if necessary, and change the name of the mounted disk to the newly cloned disk.
For example change this line:scsi0:0.fileName = "disk-name-000001.vmdk"
To this:scsi0:0.fileName = "disk-name.vmdk"
- Locate the vmdk file for the current version of the disk to clone in the original VM directory.
That's it. The new VM is ready to use or to be copied somewhere else.