Introduction
This page explains the required configuration prior to using the jtel Mirosoft Azure Login feature. Creation of the app registration as well as configuration in your jtel portal.
Configuration
Create Registered Application in Azure
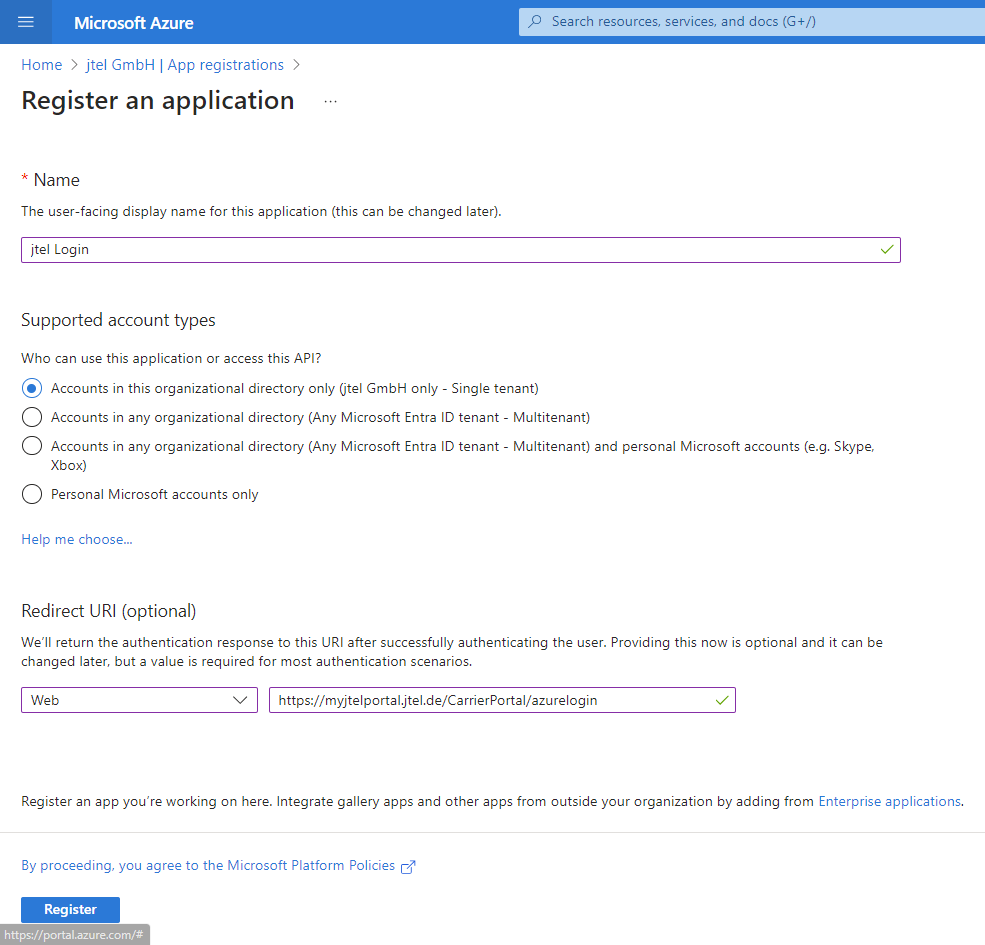
Login as Administrator in Azure portal and go to Azure Entra ID. Open the page App registrations and press 'New registration'
Choose a name and set the redirect URL. We will use 'myjtelportal' in the example.
https://myjtelportal.jtel.de/CarrierPortal/azurelogin
Afterwards press 'Register'.
Generate secret key and save information
Copy the <Application (client) ID>, as well as the <Directory (tenant) ID> and save that information for later.
Go to 'Certificates & Secrets' and press 'New client secret'. Add a description and your desired expiry date. Make note of this expiry date as you will have to generate a new Secret Key and change the jtel configuration before it runs out. If you do not, the feature will stop working immediately after expiry.
After pressing 'Add' to create the secret, make note of the <Secret Value> for later.
The secret value can only be accessed once after creation in azure. If you do not save it but need it again later, you will have to create a new secret.
Create configuration in jtel
We will now create the configuration in jtel. In your jtel portal as a client administrator, go to 'Menu → User Data → Client Master Data → Parameters'.
Press 'Add' to create a new parameter, add the parameter Name and Value and press 'Save'. The following three parameters are created:
| Parameter Name | Value |
|---|---|
User.Authentication.Azure.Authority | https://login.microsoftonline.com/<Directory (tenant) ID> |
User.Authentication.Azure.ClientsID | <Application (client) ID> |
User.Authentication.Azure.Secret | <Secret Value> |
Prevent First Login Dialogue
To prevent the following dialog at first login
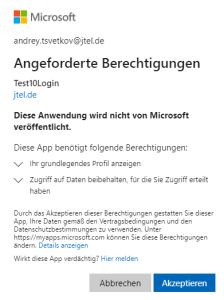
the following API permitions must be set. Go to 'API permissions' and press 'Add a permission'. Click on Microsoft Graph and Delegated permissions. Use the filter and checkbox, as well as the button 'Add permission' to add the permissions to your registrered application.
Afterwards, press 'Grant admin consent for <Your company name>' and 'Yes' to consent to the configured permissions.

See also: https://learn.microsoft.com/en-us/azure/active-directory/develop/application-consent-experience
Force Azure Login
If required for your organization, the login via Azure can be set to mandatory in your jtel ACD. To ensure that all logins to your jtel ACD are done via jtel Microsoft Azure Login, configure the following parameter
In your jtel portal as a client administrator, go to 'Menu → User Data → Client Master Data → Parameters'.
Press 'Add' to create a new parameter, add the parameter Name and Value and press 'Save'. With Value 1 jtel Microsoft Azure Login will be mandatory for all users within the client. Value 0 or leaving the parameter unconfigured in the system will allow other methods of authentication.
| Parameter Name | Value |
|---|---|
User.Authentication.Azure.Force | 1 |