| Sv translation | |||||
|---|---|---|---|---|---|
| |||||
BackgroundThis guide describes one way of connecting the jtel ACD to the Swyx PBX system and routing calls to the jtel System. The following principle applies to connecting the jtel System to the Swyx PBX:
The jtel System hence operates as a back to back user agent, the Swyx PBX is not aware that Leg 2 calls are associated with Leg 1. ScenarioThe following configuration scenario was performed after the following steps had been performed on the Swyx System:
After these steps, a basic PBX is configured with some users, internal calls working, and functionality to call inbound or outbound to / from the outside world.
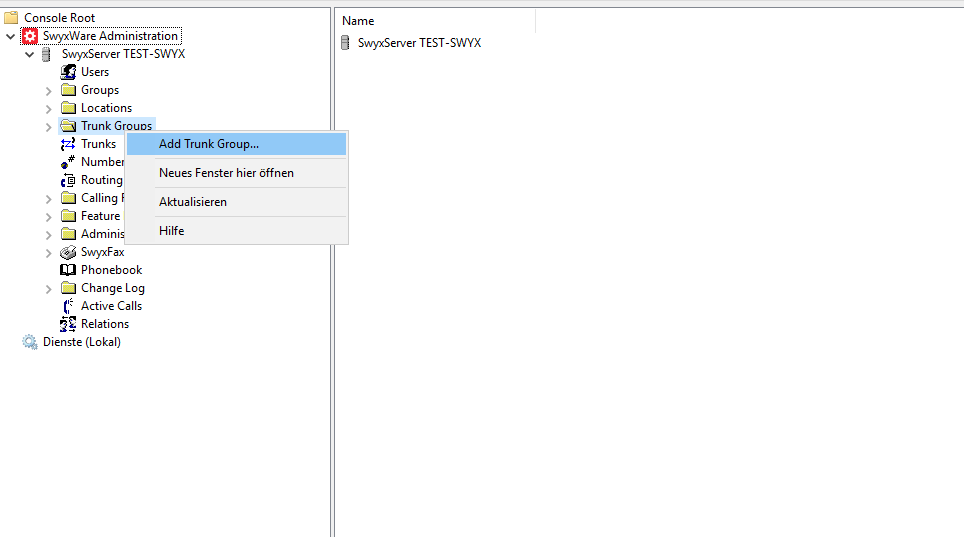
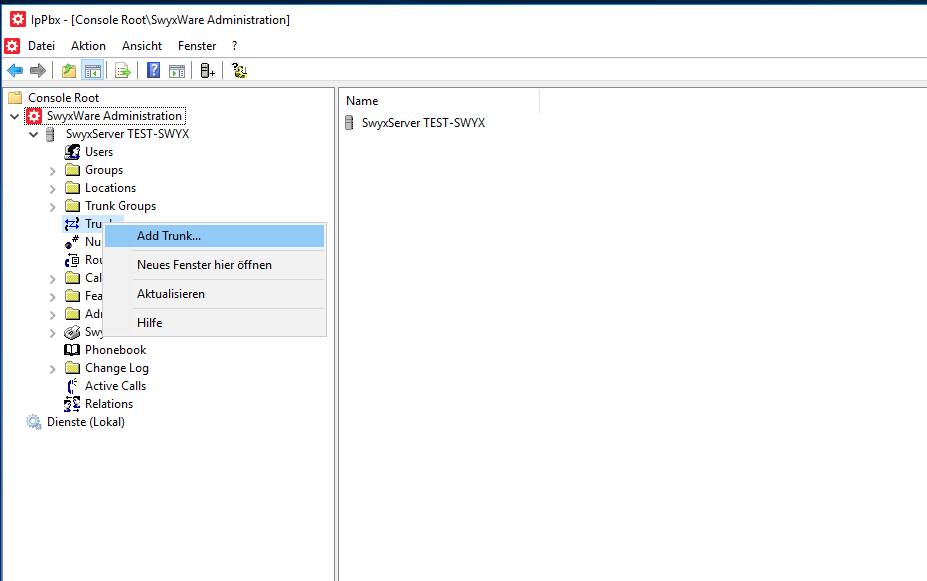
First step: Add Trunk Group for jtel ACDAdd new trunk group
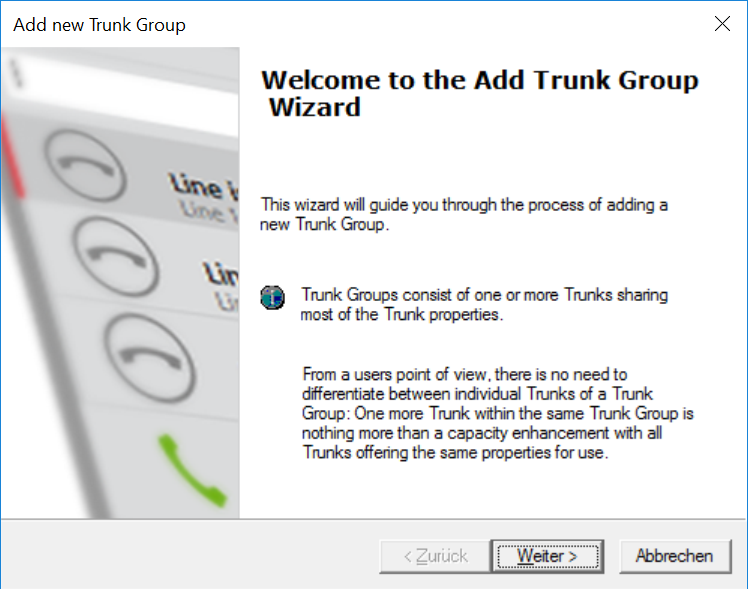
Go to next step
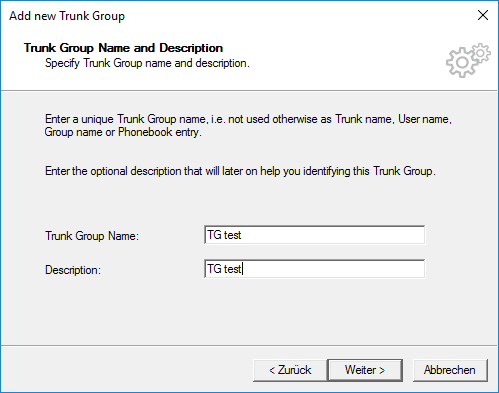
Specify a trunk group name and a description
Trunk Group Type
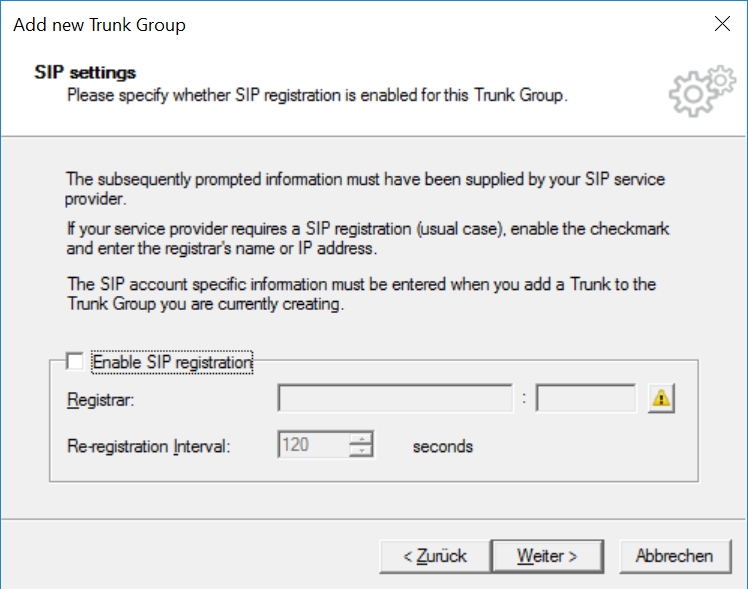
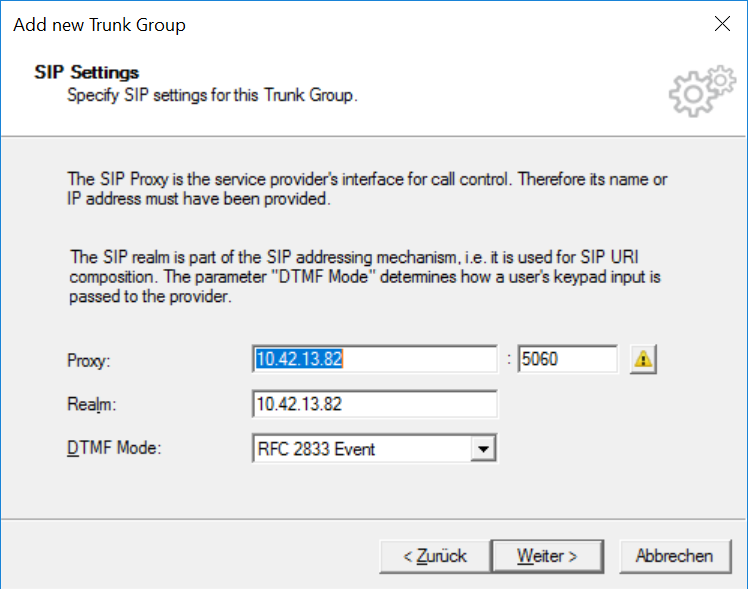
SIP Settings
SIP Settings
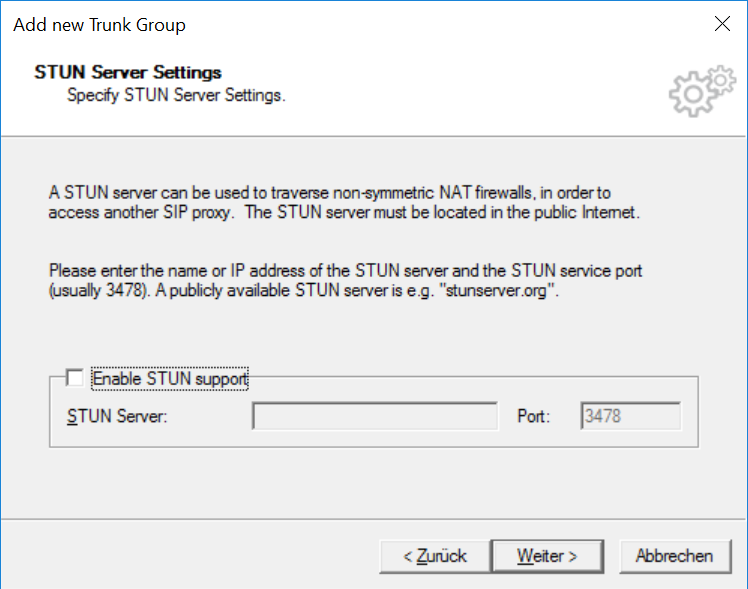
Stun Server Settings
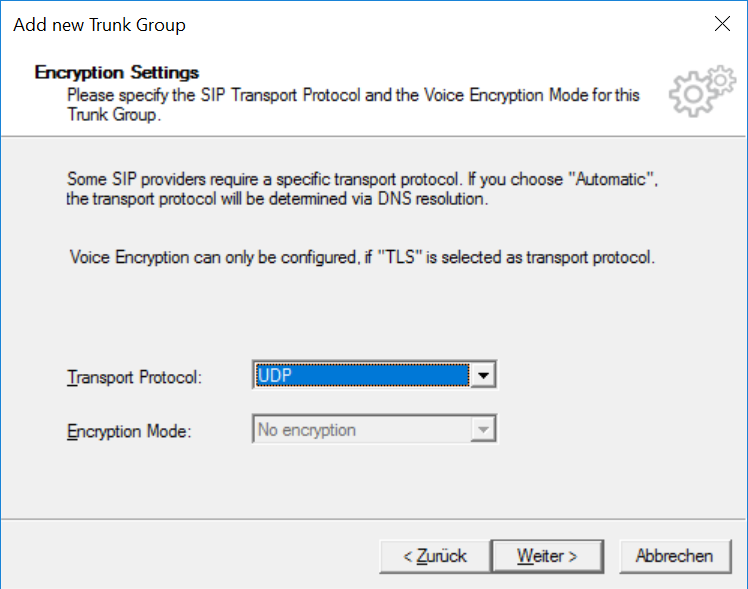
Encryption Settings
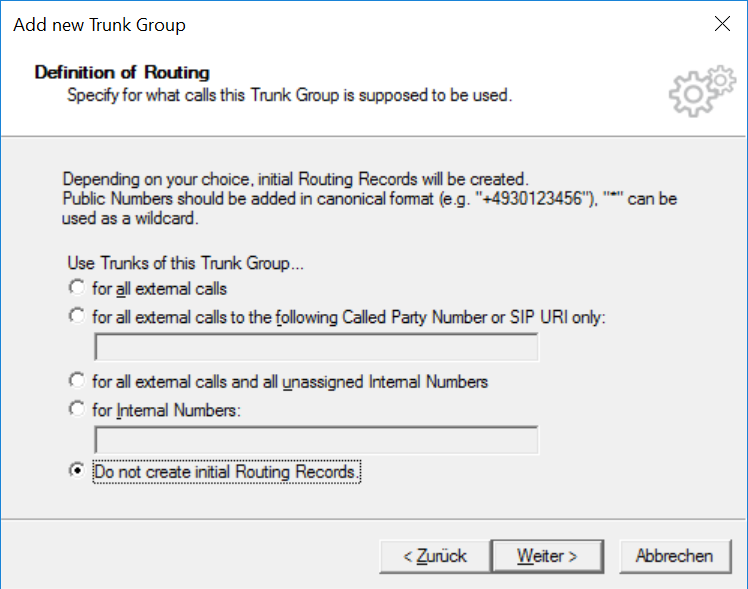
Definition of Routing
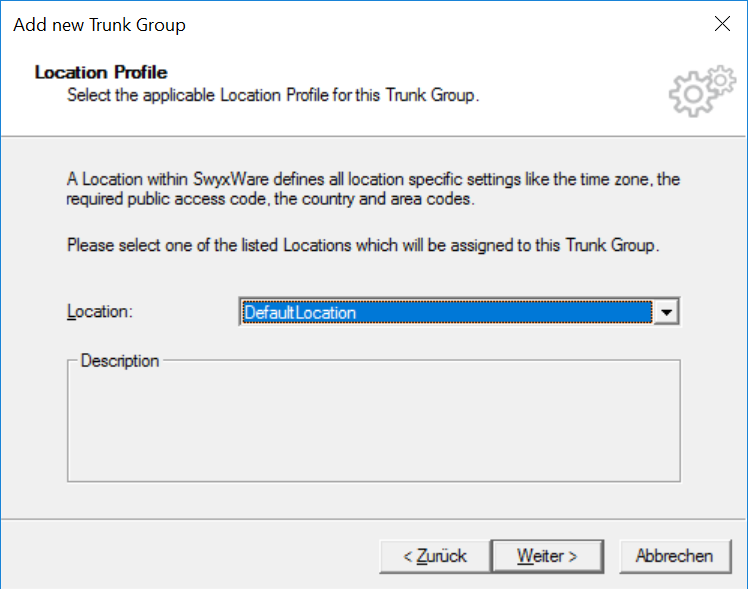
Location Profile
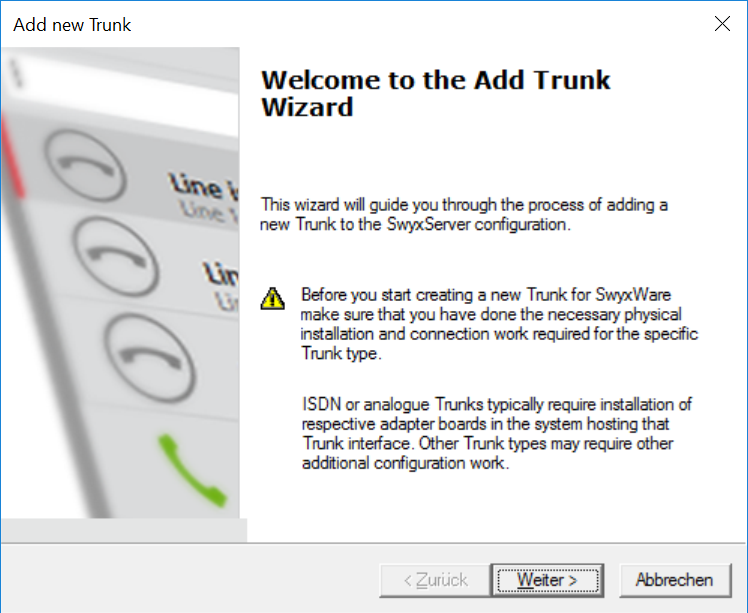
Second step: Add Trunk for jtel ACDAdd new trunk
Go to next step
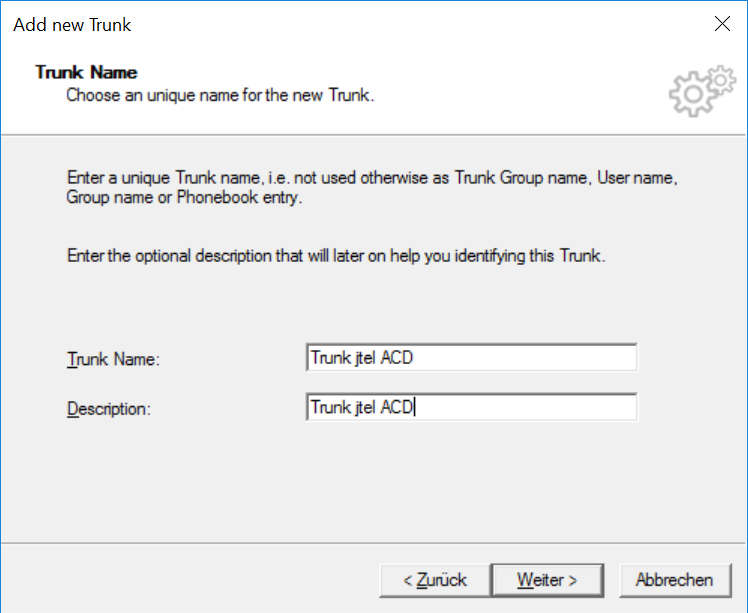
Trunk Name
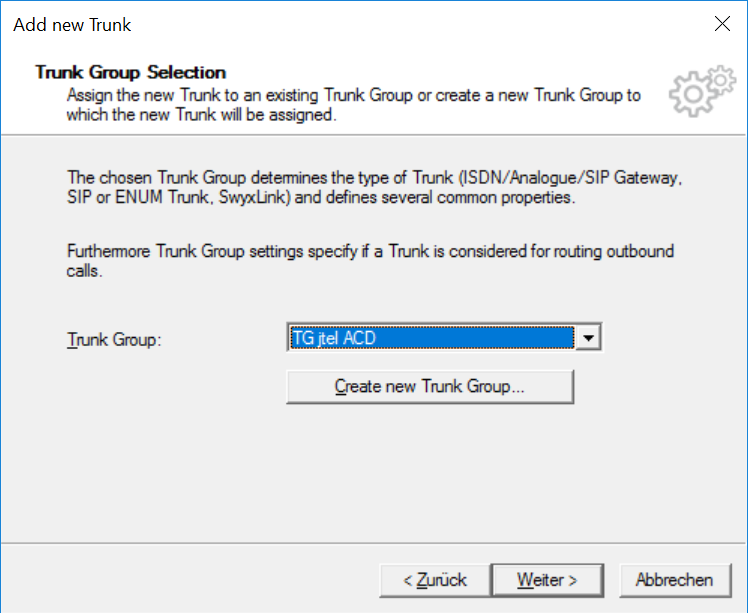
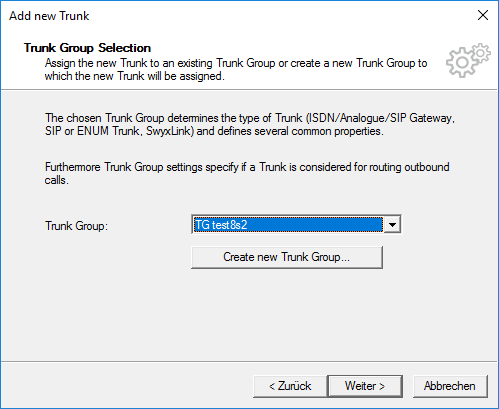
Trunk Group Selection
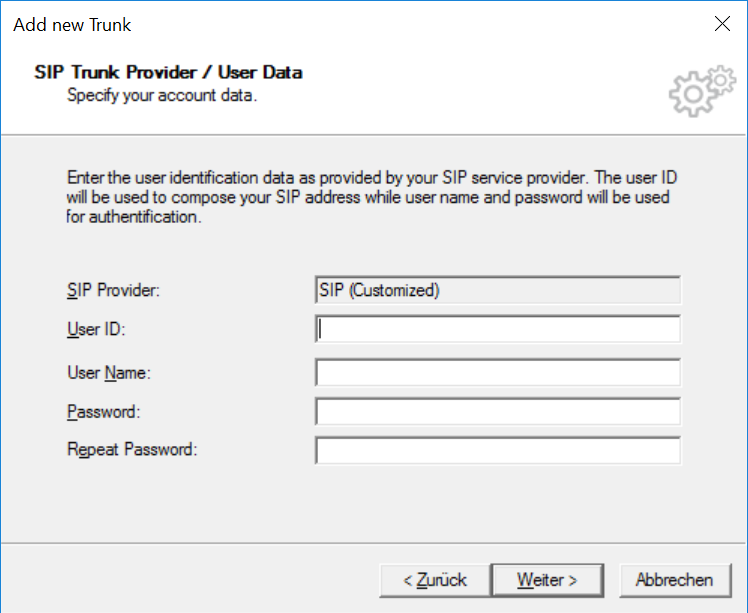
SIP Trunk Provider / User Data
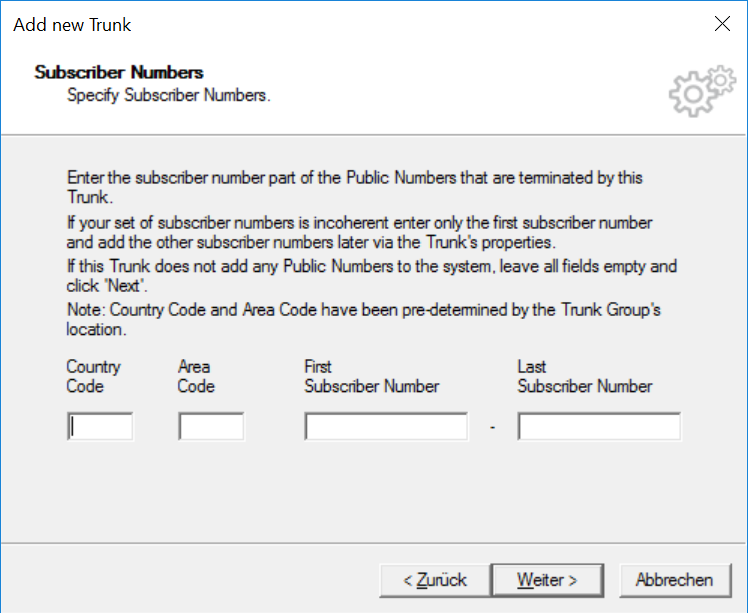
Subscriber Numbers
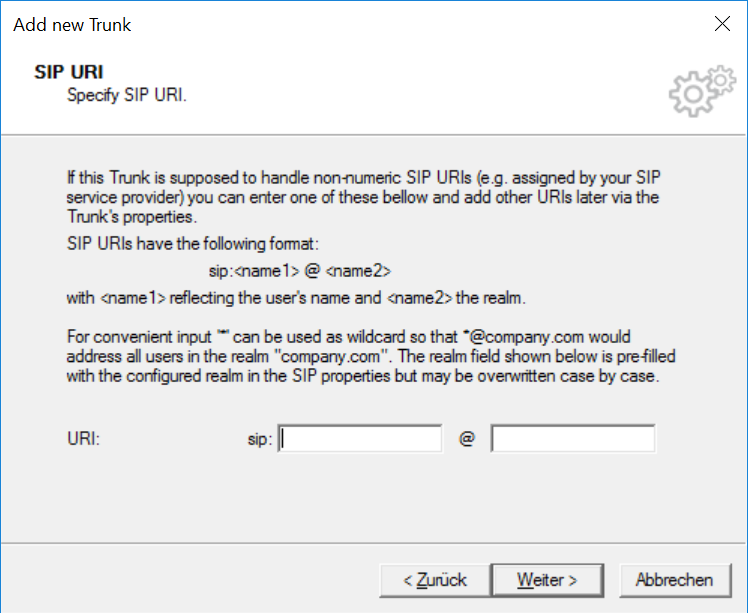
SIP URI
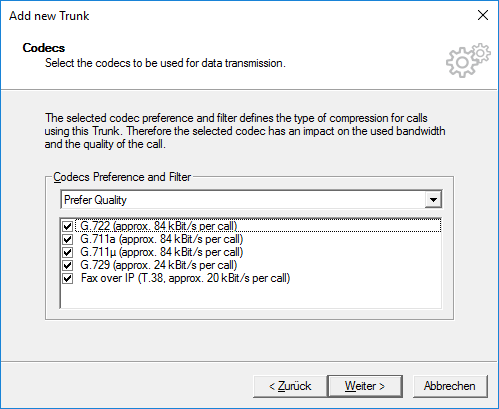
Codecs
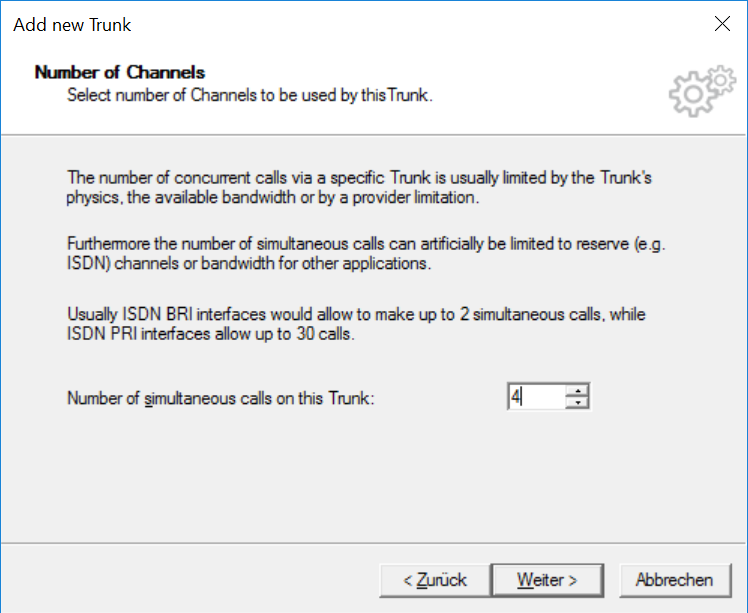
Number of Channels
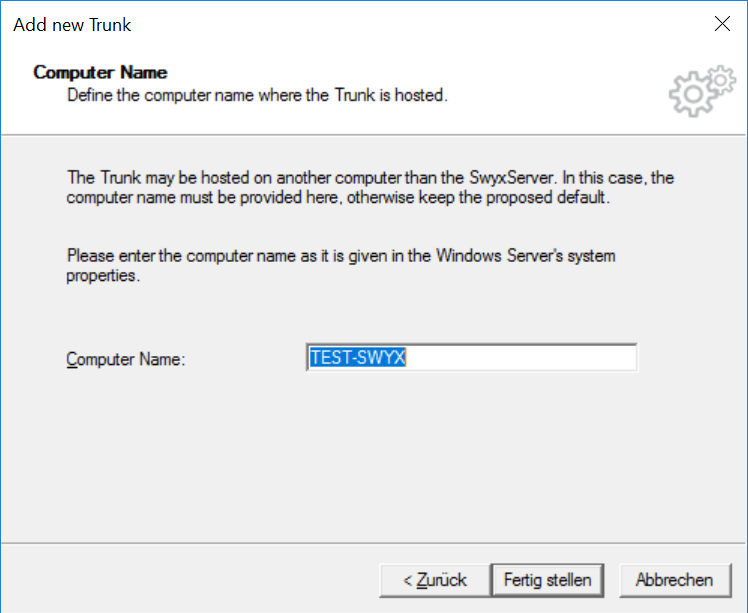
Computer Name
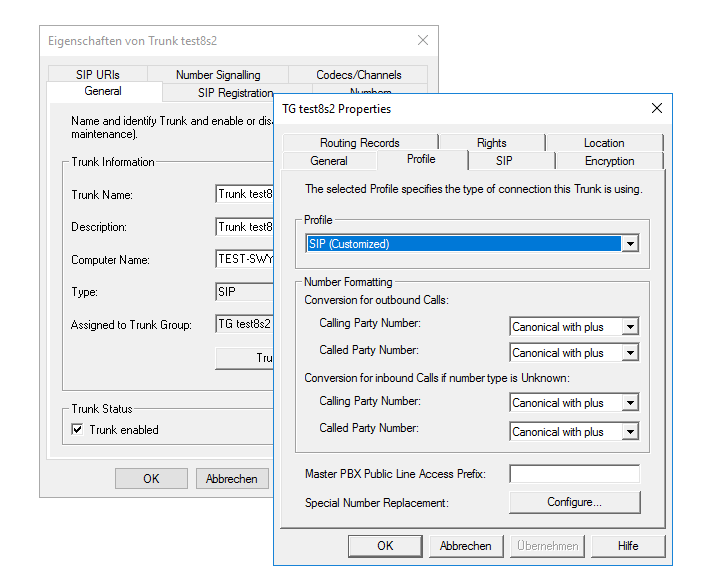
Trunk - Trunk Group Settings
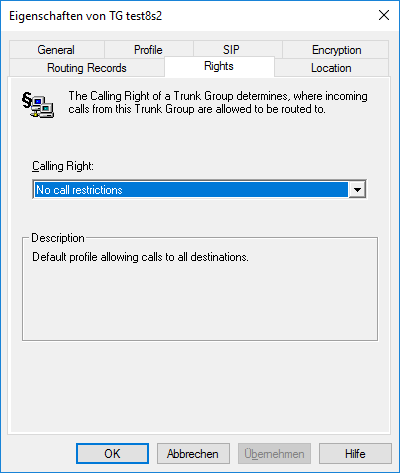
Trunk - Rights
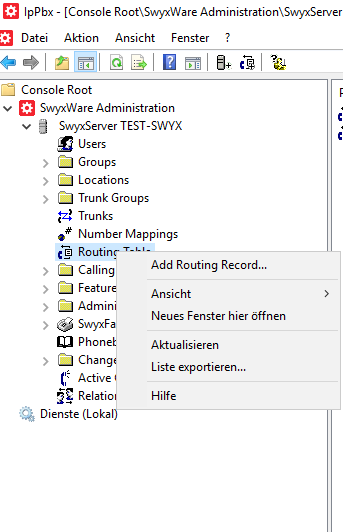
Third step: Modify the routing tableThis is where you define which calls should be routed to the jtel ACD. In this case, we are specifying calls from an outside number, +49198112233* (* is a wildcard). Add a new routing record
Trunk Group Selection
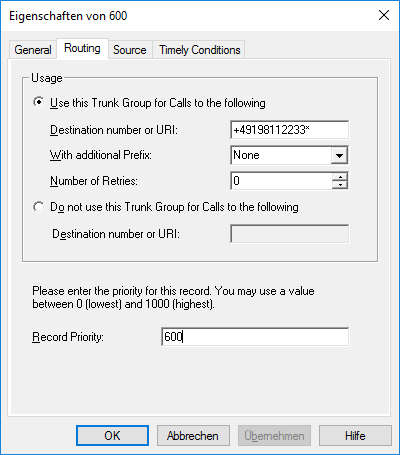
Routing
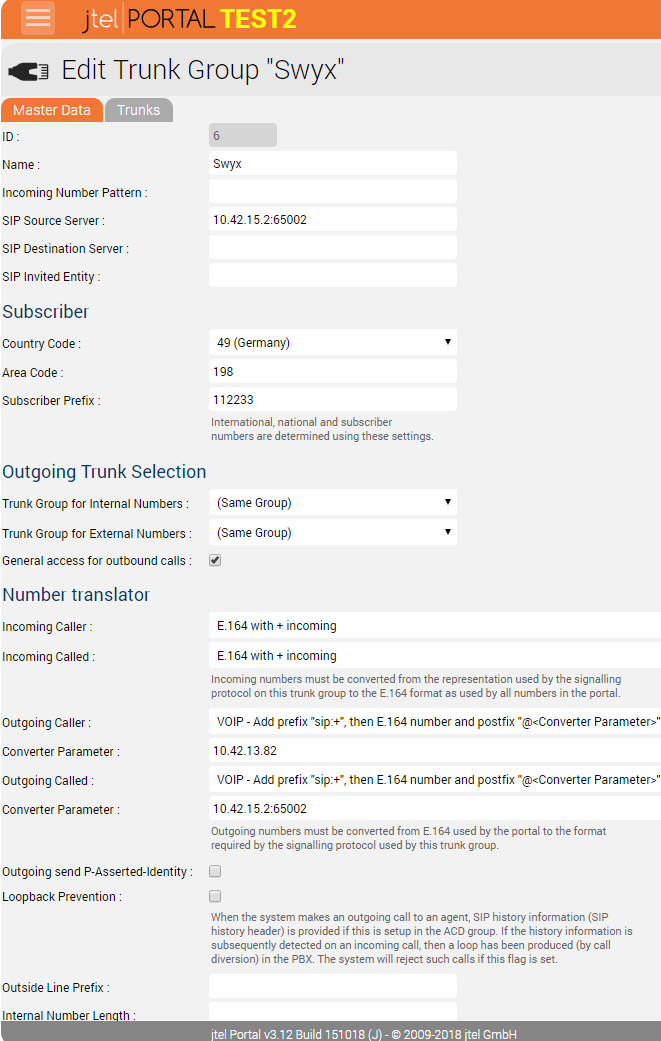
Fourth Step: Create a trunk group in the jtel SystemTrunk Group
Trunk
For debugging purposesThe usual call logging applies from the jtel side. It may be necessary to run a wireshark trace to see if calls are being routed to the jtel system at all. You can access the swyx trace logs via: C:\ProgramData\Swyx\Traces on the Swyx machine which may give insight as to why things are not working. |


| Sv translation | ||||||
|---|---|---|---|---|---|---|
| ||||||
|
| Sv translation | ||||||||||
|---|---|---|---|---|---|---|---|---|---|---|
| ||||||||||
Informations généralesCe guide décrit une façon de connecter le ACD de jtel au système PBX Swyx et de router les appels vers le système jtel. Le principe suivant s'applique à la connexion du système jtel au Swyx PBX :
Le système jtel fonctionne donc comme un agent utilisateur dos à dos, le Swyx PBX n'est pas au courant que les appels de la branche 2 sont associés à la branche 1. ScénarioLe scénario de configuration suivant a été réalisé après que les étapes suivantes aient été effectuées sur le système Swyx :
Après ces étapes, un PBX de base est configuré avec quelques utilisateurs, les appels internes fonctionnent, et la fonctionnalité pour appeler en entrée ou en sortie vers / depuis le monde extérieur.
Première étape : Ajouter le groupe Tronc pour jtel ACDAjouter un nouveau groupe de troncsNouveau Tronc
Passer à l'étape suivante
Préciser un nom de groupe de troncs et une description
Type de groupe de troncs
Paramètres SIP
Paramètres SIP
BackgroundThis guide describes one way of connecting the jtel ACD to the Swyx PBX system and routing calls to the jtel System. The following principle applies to connecting the jtel System to the Swyx PBX:
The jtel System hence operates as a back to back user agent, the Swyx PBX is not aware that Leg 2 calls are associated with Leg 1. ScenarioThe following configuration scenario was performed after the following steps had been performed on the Swyx System:
After these steps, a basic PBX is configured with some users, internal calls working, and functionality to call inbound or outbound to / from the outside world.
First step: Add Trunk Group for jtel ACDAdd new trunk group
Go to next step
Specify a trunk group name and a description
Trunk Group Type
SIP Settings
SIP Settings
Paramètres du serveur StunServer Settings
Encryption Settings
Definition of Routing
Location Profile
Second step: Add Trunk for jtel ACDAdd new trunk
Go to next step
Paramètres de cryptage
Définition du routage
Profil de localisation
Deuxième étape : Ajouter un tronc pour jtel ACDAjouter un nouveau tronc
Passer à l'étape suivante
Nom du troncTrunk Name
Trunk Group SelectionSélection des groupes de troncs
Fournisseur de lignes SIPTrunk Provider/User Data
Subscriber NumbersDonnées utilisateur
Numéros d'abonnés
SIP URI
Codecs
Number of ChannelsNombre de canaux
Computer NameNom de l'ordinateur
Trunk - Trunk Group Settings
Trunk - Rights
Third step: Modify the routing tableThis is where you define which calls should be routed to the jtel ACD. In this case, we are specifying calls from an outside number, +49198112233* (* is a wildcard). Add a new routing record
Trunk Group Selection
Routing
Fourth Step: Create a trunk group in the jtel SystemTrunk GroupTrunc - Paramètres du Groupe de tronc
Tronc - Droits
Troisième étape : Modifier le tableau de routageC'est là que vous définissez quels appels doivent être routés vers le ACD de jtel. Dans ce cas, nous spécifions les appels provenant d'un numéro extérieur, le +49198112233* (* est un caractère de remplacement). Ajouter une nouvelle fiche de routage
Sélection des groupes de troncs
Routage
Quatrième étape : Créer un groupe de troncs dans le système jtelGroupe de tronc
Trunc
À des fins de débogageL'enregistrement habituel des appels s'applique du côté de jtel. Il peut être nécessaire d'effectuer un traçage de type "wirehark" pour vérifier si les appels sont bien routés vers le système de jtel. Vous pouvez accéder aux journaux de trace swyx create a trunk group with the following configuration :
Trunk
For debugging purposesThe usual call logging applies from the jtel side. It may be necessary to run a wireshark trace to see if calls are being routed to the jtel system at all. You can access the swyx trace logs via : C:\ProgramData\Swyx\Traces on the Swyx machine which may give insight as to why things are not workingsur la machine Swyx, ce qui peut donner un aperçu des raisons pour lesquelles les choses ne fonctionnent pas. |