| Sv translation | |||||||||||||||||||||||||||||||||||||||||||||||||||||||||||||||||||
|---|---|---|---|---|---|---|---|---|---|---|---|---|---|---|---|---|---|---|---|---|---|---|---|---|---|---|---|---|---|---|---|---|---|---|---|---|---|---|---|---|---|---|---|---|---|---|---|---|---|---|---|---|---|---|---|---|---|---|---|---|---|---|---|---|---|---|---|
| |||||||||||||||||||||||||||||||||||||||||||||||||||||||||||||||||||
IntroductionThe WEB role provides the following functionality to the jtel platform.
WEB requires access to STORE, and DATA. The web server is provided by the java based wildfly server, and uses port 8080. The load balancer (LB) is used to distribute sessions to the webserver(s), and to decrypt https if installed. The WEB role runs internally behind the LB role and does not use encryption. Pre-RequisitesSTORE must be mounted before installing this role. See Mounting STORE - All Linux except for STORE (Debian/Win2019). InstallationMySQL ClientInstall the mysql repository for enterprise Linux 8.x and the mysql community client as follows. This disables some default repos which are activated by the base CentOS 8.x installation: Translations Ignore |
Symbolic Link for StoreSince access to the store is performed using UNC paths, this path must be created and linked to the location of the STORE mount:
This will enable the webserver to access paths like: //acd-store/shared Debian 10/11 Install Java Runtime
Debian 12 Install Java Runtime
Install WildflyThe following commands will install and configure the wildfly server as a systemd service:
Configure FirewallThe following commands open the necessary ports in the firewall:
SELinux ConfigurationEnforcing
Or for a specific ethernet interfaceIn order that wildfly can run with selinux enabled (enforcing), the following command must be issued:
Changing SELinux ConfigurationIf you would prefer to set selinux off, or set it to permissive, you can edit the following file and reboot: Translations Ignore | Code Block |
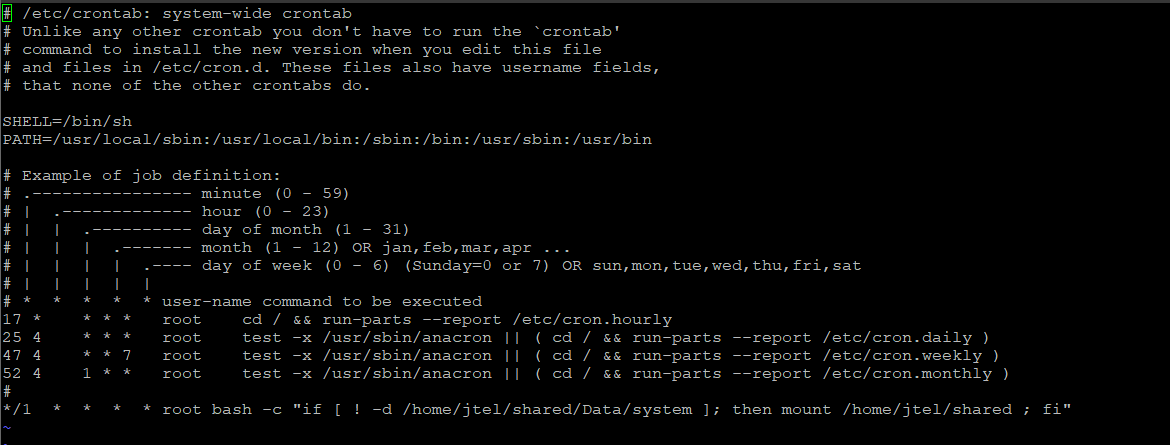
Configure Cron
Check/Change Configuration
Expected Result
Configure Wildfly ServerFirst ServerNext, configure the wildfly server to attach to the database servers as appropriate. The 4th line of this series of commands must be modified to contain the password for the database.
Further ServersIf the configuration file has already been provided on STORE, then the following commands will copy it to the wildfly server.
Configure Hazelcast ClusterThe hazelcast configuration file is now copied:
Start WildflyStart the webserver as follows:
Whether it is running, can be checked in the webserver log file:
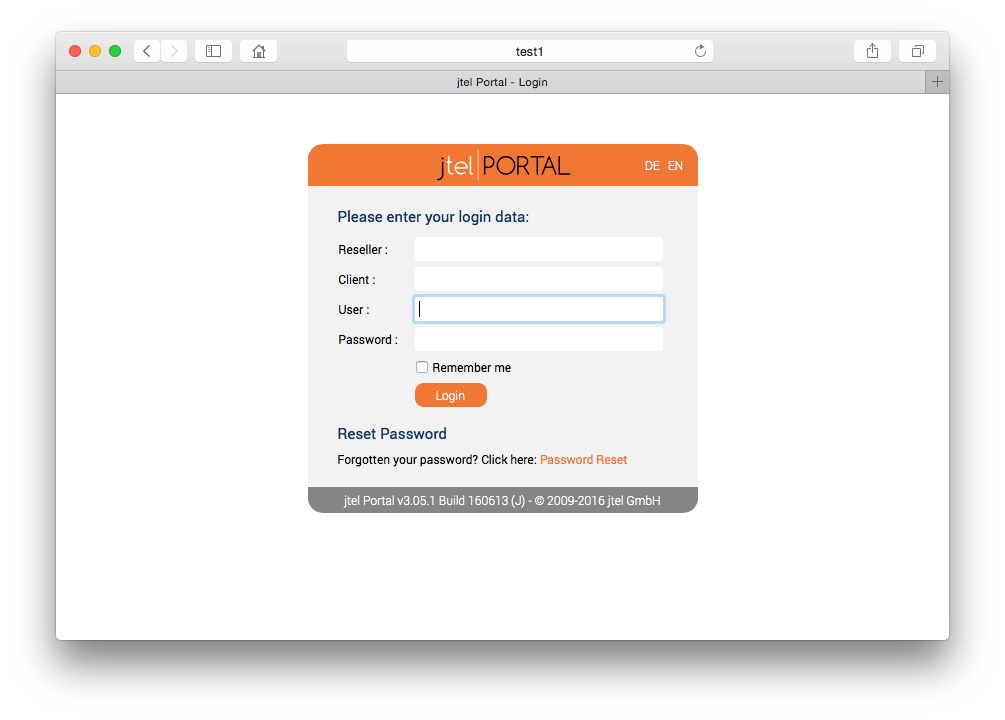
Or by logging into the portal directly on port 8080 using a browser pointing to the following URL:
The login page should appear, with the logo.
|
| Sv translation | ||||||
|---|---|---|---|---|---|---|
| ||||||
|
| Sv translation | ||||||||||||||||||||||||||||||||||||||||||||||||||
|---|---|---|---|---|---|---|---|---|---|---|---|---|---|---|---|---|---|---|---|---|---|---|---|---|---|---|---|---|---|---|---|---|---|---|---|---|---|---|---|---|---|---|---|---|---|---|---|---|---|---|
| ||||||||||||||||||||||||||||||||||||||||||||||||||
IntroductionLe rôle WEB fournit les fonctionnalités suivantes à la plate-forme jtel.
WEB nécessite l'accès à MAGASIN, et aux DONNÉES. Le serveur Web est fourni par le serveur java wildfly et utilise le port 8080. L'équilibreur de charge (LB) est utilisé pour distribuer les sessions sur le (s) serveur (s) Web et pour déchiffrer https s'il est installé. Le rôle WEB s'exécute en interne derrière le rôle LB et n'utilise pas de chiffrement. PrérequisSTORE doit être monté avant d'installer ce rôle. Voir Mounting STORE - All Linux except for STORE (Debian/Win2019). InstallationLien symbolique pour le magasinComme l'accès au magasin se fait par des chemins UNC, ce chemin doit être créé et lié à l'emplacement de la monture du magasin :
Cela permettra au serveur web d'accéder à des chemins comme : //acd-store/partagé Installer Java Runtime
Installer WildflyLes commandes suivantes permettent d'installer et de configurer le serveur wildfly en tant que service systemd :
Configurer le pare-feuLes commandes suivantes permettent d'ouvrir les ports nécessaires dans le pare-feu :
Ou pour une interface ethernet spécifique :
Configurer le serveur WildflyPremier ServeurEnsuite, configurez le serveur de wildfly pour qu'il s'attache aux serveurs de base de données comme il convient. La 4e ligne de cette série de commandes doit être modifiée pour contenir le mot de passe de la base de données.
Autres serveursSi le fichier de configuration a déjà été fourni sur MAGASIN, les commandes suivantes le copieront sur le serveur de wildfly.
Configurer la grappe de diffusionLe fichier de configuration de hazelcast est maintenant copié :
Démarrer WildflyDémarrez le serveur web comme suit :
Il est possible de vérifier s'il fonctionne dans le fichier journal du serveur web :
Ou en se connectant au portail directement sur le port 8080 à l'aide d'un navigateur pointant sur l'URL suivante :
La page de connexion doit apparaître, avec le logo.
|