| Sv translation | ||
|---|---|---|
| ||
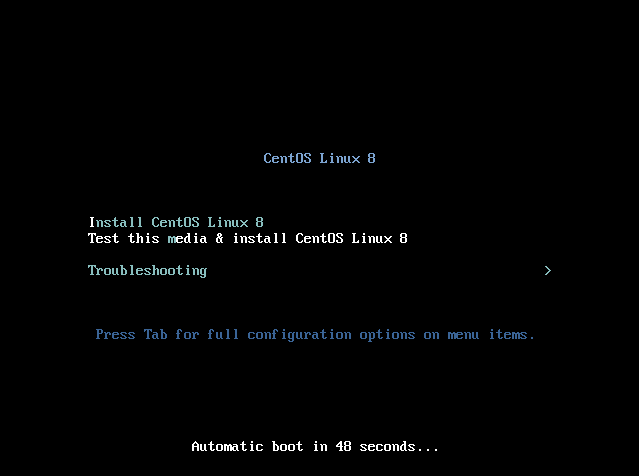
The following steps describe the basic installation process. ISO File The ISO File for the basic installation can be downloaded here: https://cdn.jtel.de/downloads/ISOs/CentOS-8.1.1911-x86_64-boot.iso Select the first option (Install CentOS Linux 8).
On the next screen, select Continue.
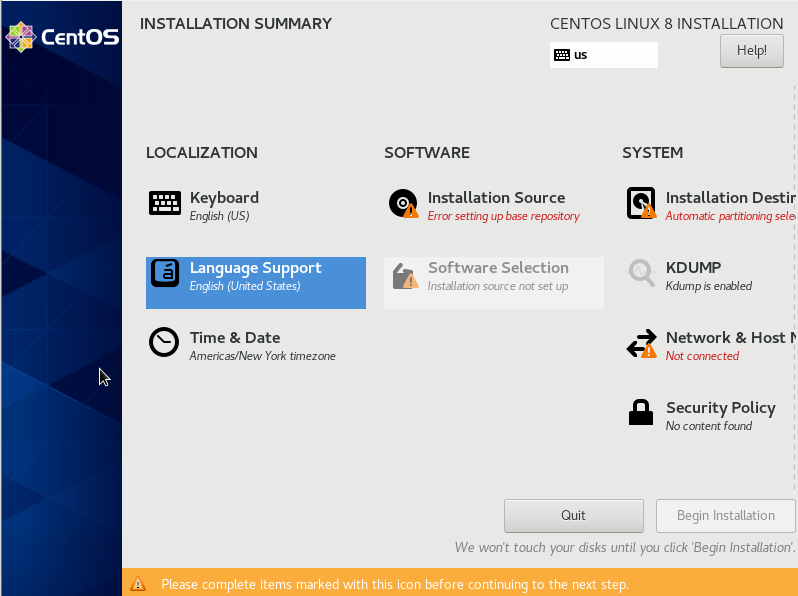
On the next screen, several items must be configured.
Setup the keyboard layout. Include the most used keyboard layout first.
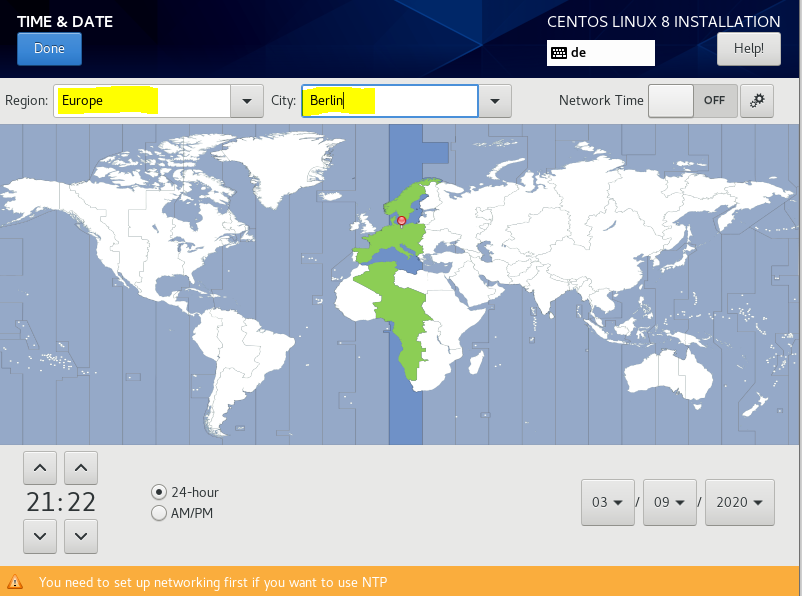
Setup the date and time. For example, to Europe / Berlin.
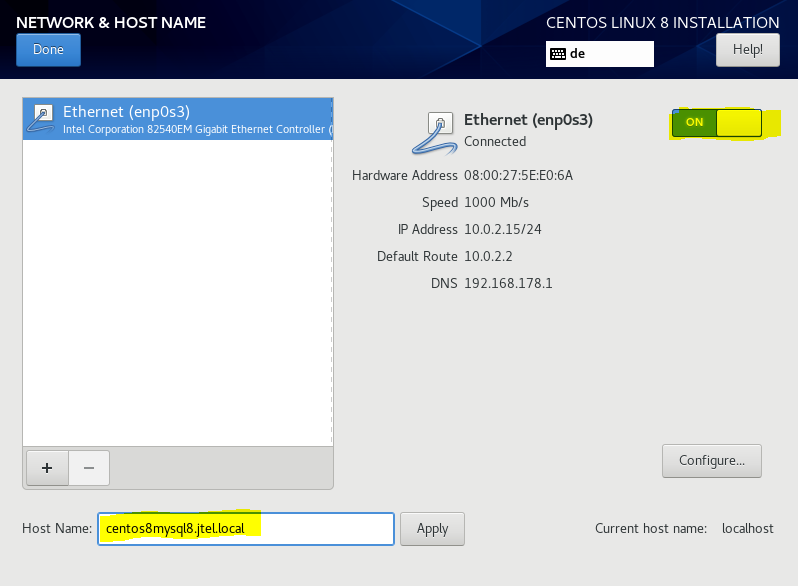
Connect to the network and setup the hostname This example shows a DHCP connection. You may need to configure this manually, if you are not using DHCP. Note: if you are using DHCP, a reservation is recommended.
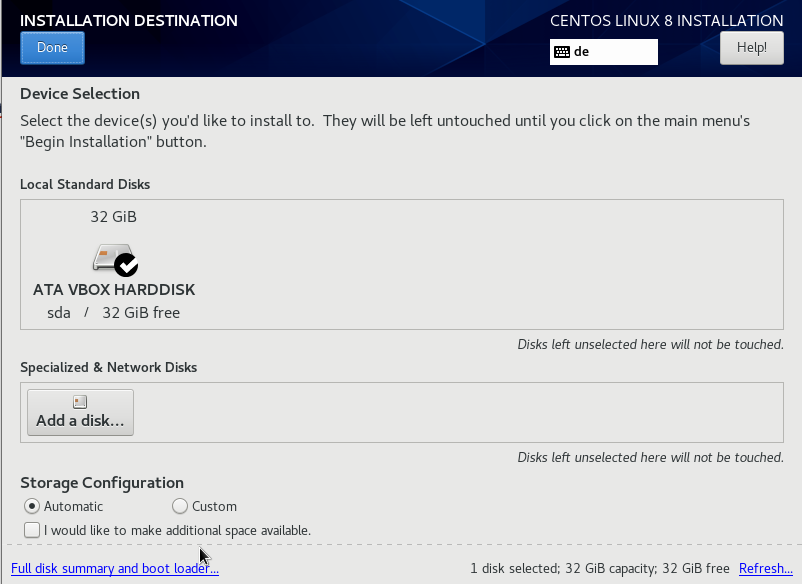
Once you have connected to the network, you could use ping from another machine to verify that the machine is in fact connected to the network. Choose the Installation Destination Usually, you will not need to configure anything special here.
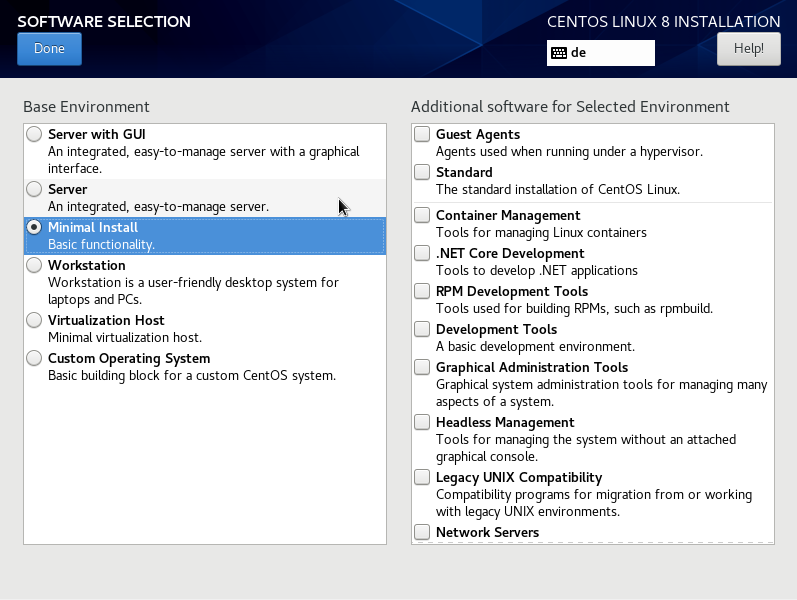
Software Selection Select Minimal Install. Do not select any additional packages, these will all be added later in a controlled manner by the installation of each required role in the jtel system.
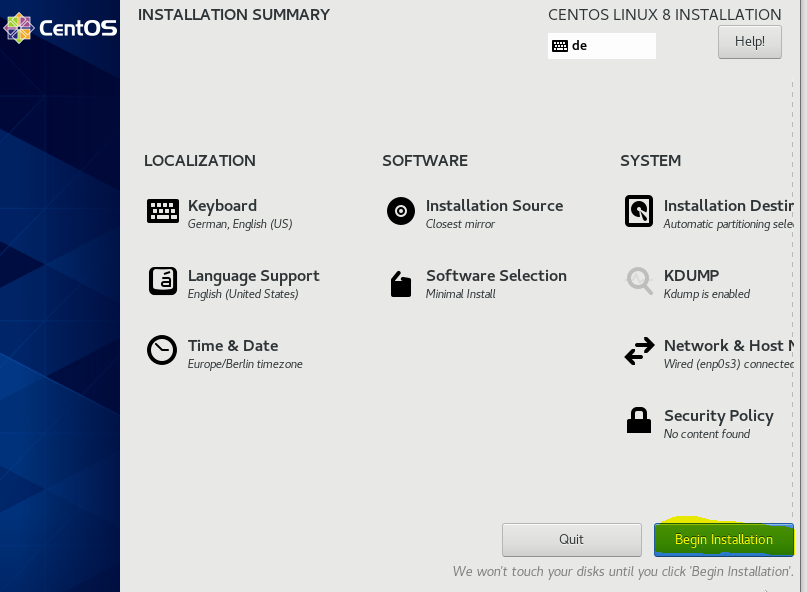
Begin Installation
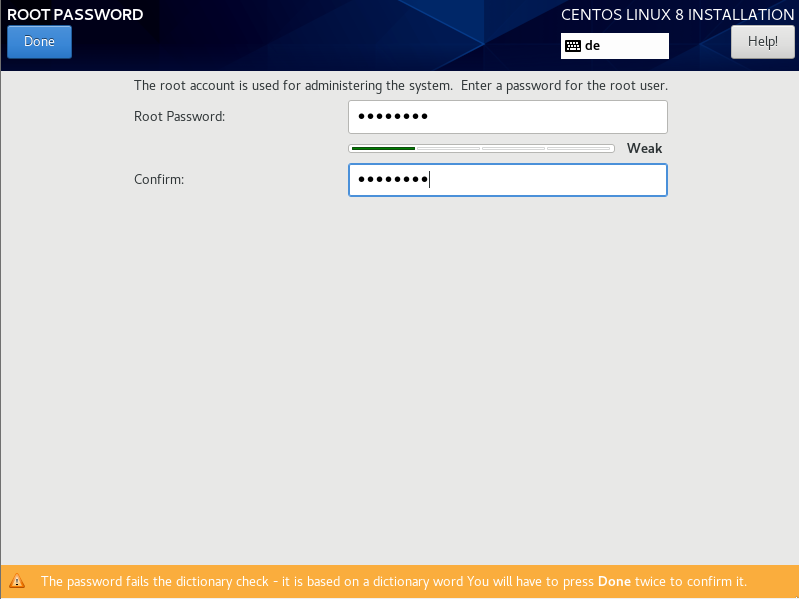
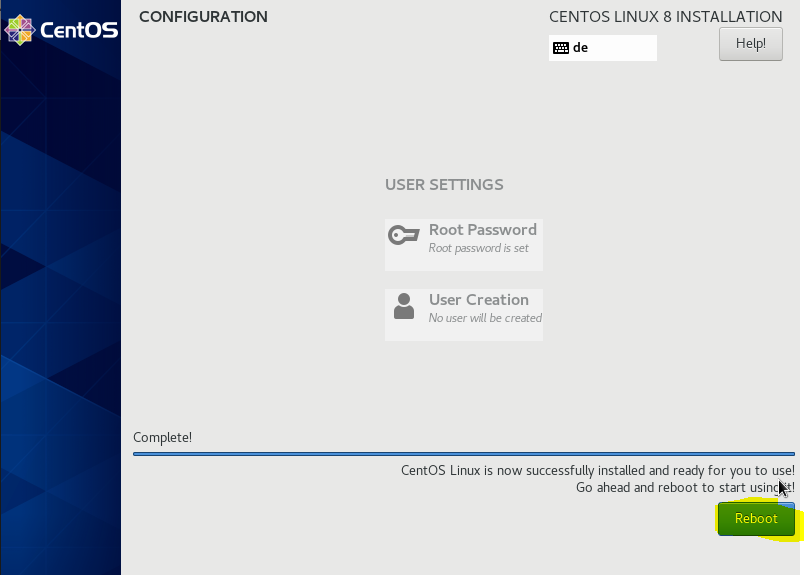
During the Installation, set a password for root
Reboot and check if everything is OK
After basic installation, you should be able to ssh into the machine using root and the password you set. If the customer is installing the OS, this is the point at which the machines should be handed over to the project manager. Do not install any further packages. You may do this once the jtel installation is completed - AT YOUR OWN RISK. |


| Sv translation | ||||||
|---|---|---|---|---|---|---|
| ||||||
|
| Sv translation | ||
|---|---|---|
| ||
Les étapes suivantes décrivent le processus d'installation de base. Fichier ISO Le fichier ISO pour l'installation de base peut être trouvé ici : https://cdn.jtel.de/downloads/ISOs/CentOS-8.1.1911-x86_64-boot.iso Enter the first option (Install CentOS Linux 8).
Sur l'écran suivant, sélectionnez Continuer.
Sur l'écran suivant, plusieurs éléments doivent être configurés.
Configurez la disposition du clavier. Incluez d'abord la disposition de clavier la plus utilisée.
Réglez la date et l'heure. Par exemple, pour l'Europe / Berlin.
Se connecter au réseau et configurer le nom d'hôte Cet exemple montre une connexion DHCP. Vous devrez peut-être la configurer manuellement, si vous n'utilisez pas le DHCP. Remarque : si vous utilisez le DHCP, il est recommandé de faire une réservation.
Une fois que vous êtes connecté au réseau, vous pouvez utiliser le ping d'une autre machine pour vérifier que celle-ci est bien connectée au réseau. Choisissez la destination de l'installation En général, vous n'aurez pas besoin de configurer quoi que ce soit de spécial ici.
Sélection de logiciels Sélectionnez Installation minimale. Ne sélectionnez aucun paquet supplémentaire, ils seront tous ajoutés ultérieurement de manière contrôlée par l'installation de chaque rôle requis dans le système jtel.
Commencer l'installation
Lors de l'installation, définissez un mot de passe pour root
Redémarrer et vérifier si tout est OK
Après l'installation de base, vous devriez être en mesure de vous connecter à la machine en utilisant root et le mot de passe que vous avez défini. Si le client installe le système d'exploitation, c'est à ce moment que les machines doivent être remises au chef de projet. N'installez pas d'autres paquets. Vous pouvez le faire une fois l'installation de jtel terminée - À VOS PROPRES RISQUES. |