Les certificats sont situés à : | Translations Ignore |
|---|
| Code Block |
|---|
/etc/haproxy/haproxy.pem |
|
Les autorisations correctes sont de 400. (en lecture seule pour la racine) et peuvent être définies comme suit : | Translations Ignore |
|---|
| Code Block |
|---|
chmod 400 haproxy.pem |
|
Le fichier contient des sections : | Translations Ignore |
|---|
| Code Block |
|---|
-----BEGIN CERTIFICATE----- MIIEzjCCA7agAwIBAgISESGiWLxseXetsJGbfZKEfehiMA0GCSqGSIb3DQEBCwUA MEwxCzAJBgNVBAYTAkJFMRkwFwYDVQQKExBHbG9iYWxTaWduIG52LXNhMSIwIAYD ... -----END CERTIFICATE----- -----BEGIN RSA PRIVATE KEY----- MIIEowIBAAKCAQEAsDGatsqSubHWmDG2IOVbocgwJfX9dB3EtXFw6HN87zDvAvvE 9KUsDqMQiU2+aORZapzhl0oL1cfznPpQYyo4WGprQiNyL82TTxeWhCNRnBv4tnJw ... -----END RSA PRIVATE KEY----- |
|
Le minimum est que le certificat pour l'équilibreur de charge et la clé privée soient inclus. Le Ce fichier est référencé dans haproxy.cfg : | Translations Ignore |
|---|
| Code Block |
|---|
frontend acdportal_https mode http bind :443 ssl crt /etc/haproxy/haproxy.pem #verify optional |
|
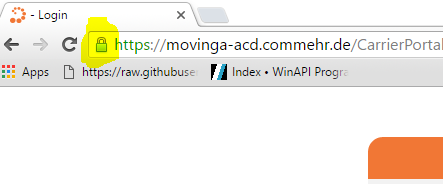
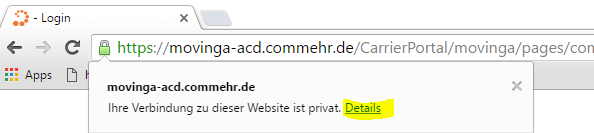
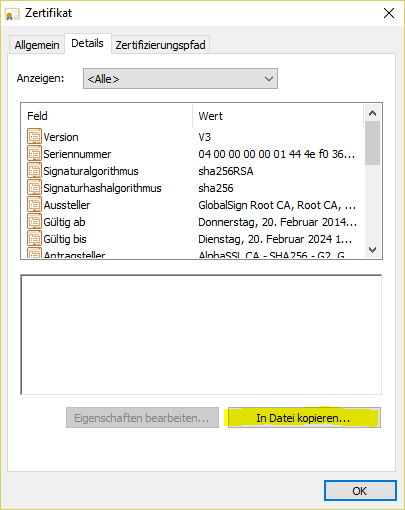
Si un certificat intermédiaire doit être inséré (exemple : force de vente si la chaîne de certification n'est pas connue dans SalesForce), cela peut être fait comme suit - Cliquez avec le bouton droit de la souris sur la certification dans le navigateur :
- Afficher les détails du certificat :
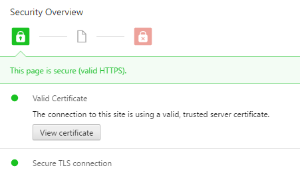
- Afficher le certificat intermédiaire :
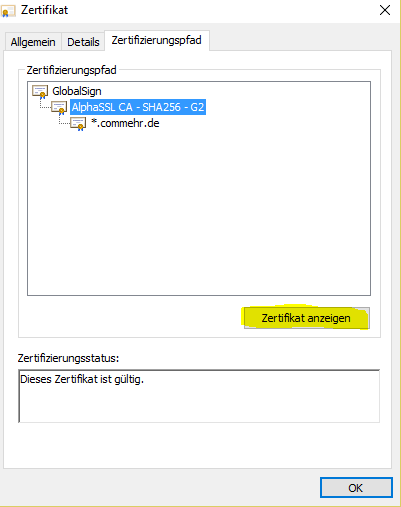
- Enregistrer sous forme de fichier :
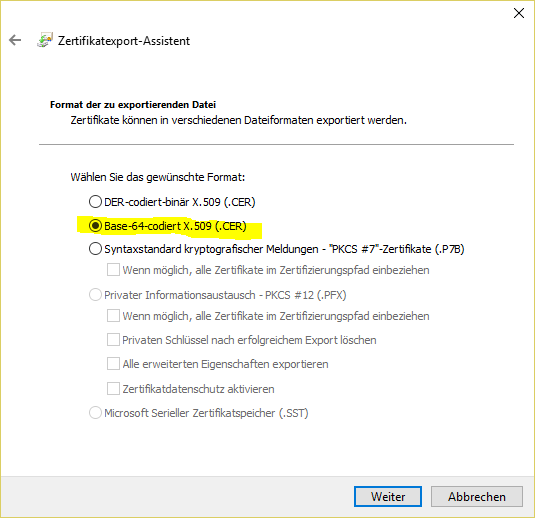 # #
- Enregistrez sur l'ordinateur local :
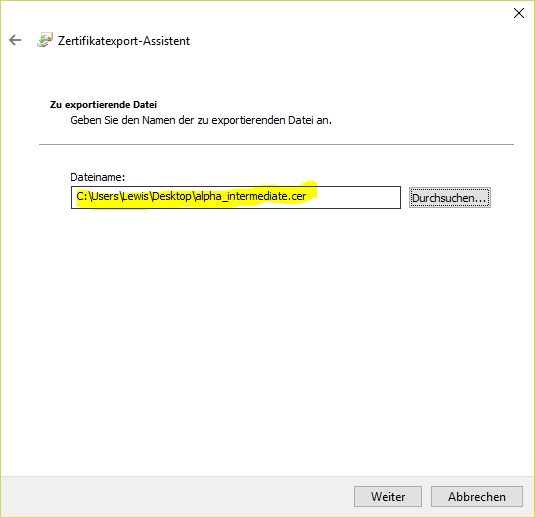
Ensuite, modifiez le fichier avec un éditeur de texte, puis copiez le contenu du certificat intermédiaire dans le fichier haproxy.pem tout en bas. Ensuite : | Translations Ignore |
|---|
| Code Block |
|---|
service haproxy reload |
|
La commande suivante peut être utilisée pour convertir un fichier de certificat .pfx au format .pem (le mot de passe du certificat sera requis) : | Translations Ignore |
|---|
| Code Block |
|---|
openssl pkcs12 -in acd.cg.internal.pfx -out /root/haproxy.pem -nodes |
|
|