| Sv translation | ||
|---|---|---|
| ||
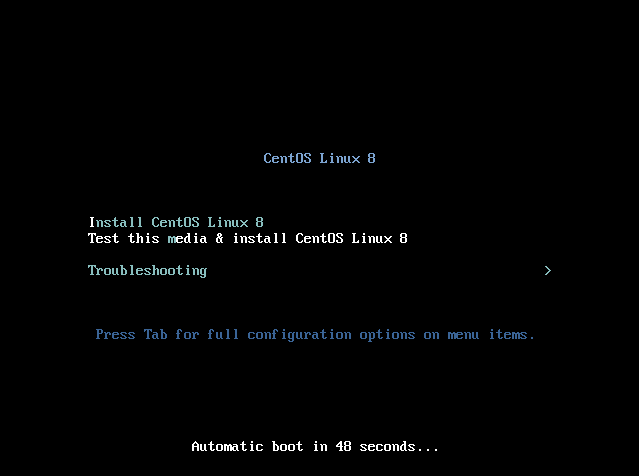
The following steps describe the basic installation process. ISO File The ISO File for the basic installation can be downloaded here: https://cdn.jtel.de/downloads/ISOs/CentOS-8.1.1911-x86_64-boot.iso Select the first option (Install CentOS Linux 8).
On the next screen, select Continue.
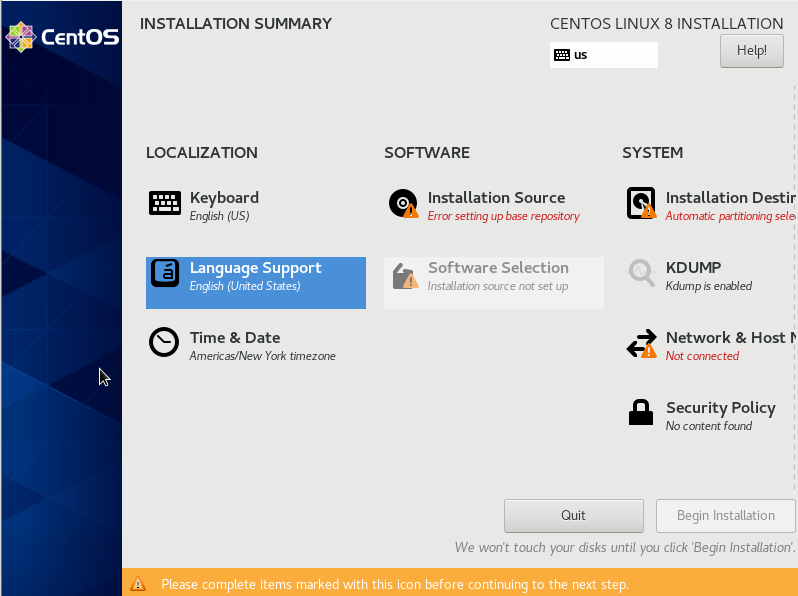
On the next screen, several items must be configured.
Setup the keyboard layout. Include the most used keyboard layout first.
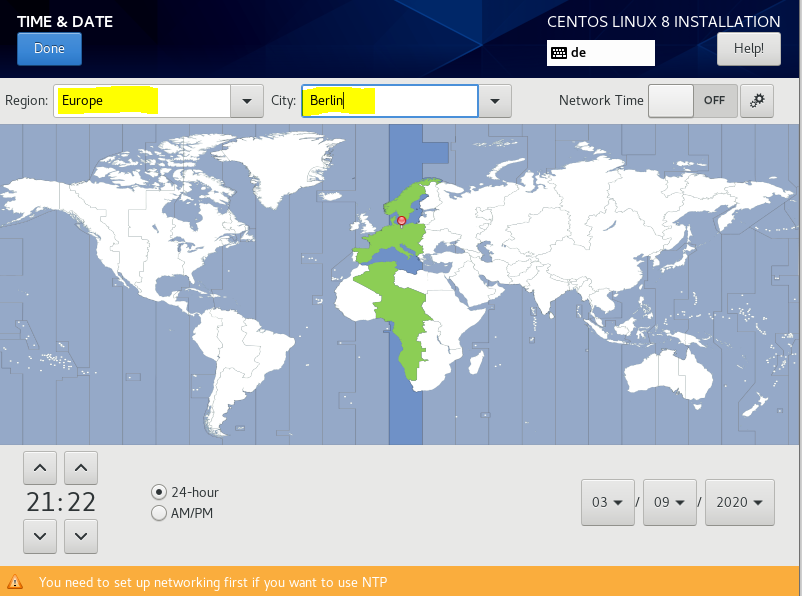
Setup the date and time. For example, to Europe / Berlin.
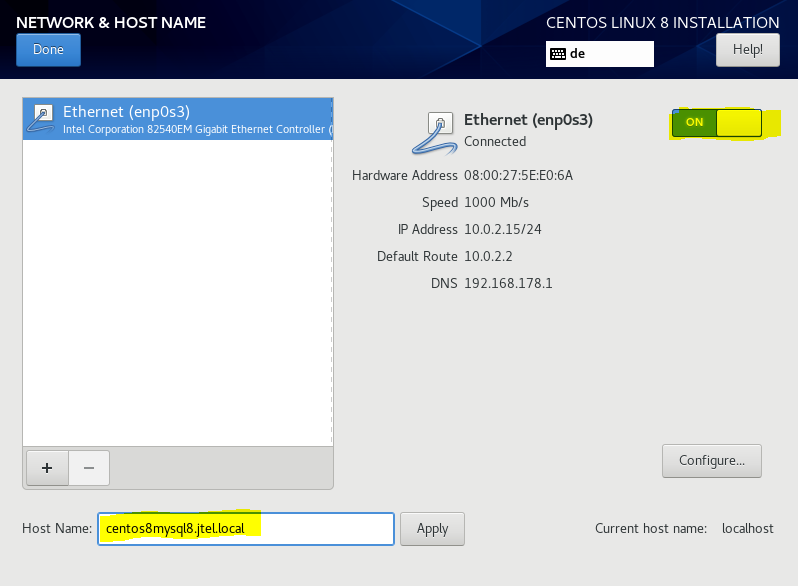
Connect to the network and setup the hostname This example shows a DHCP connection. You may need to configure this manually, if you are not using DHCP. Note: if you are using DHCP, a reservation is recommended.
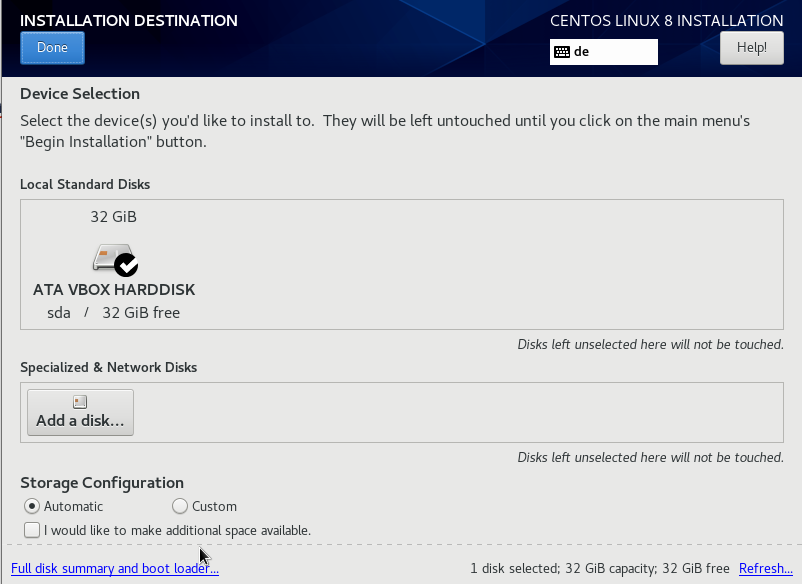
Once you have connected to the network, you could use ping from another machine to verify that the machine is in fact connected to the network. Choose the Installation Destination Usually, you will not need to configure anything special here.
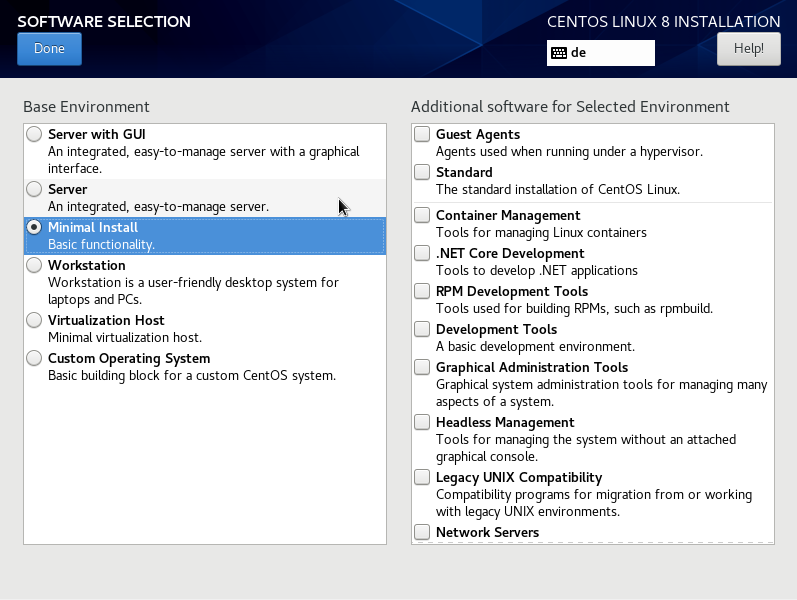
Software Selection Select Minimal Install. Do not select any additional packages, these will all be added later in a controlled manner by the installation of each required role in the jtel system.
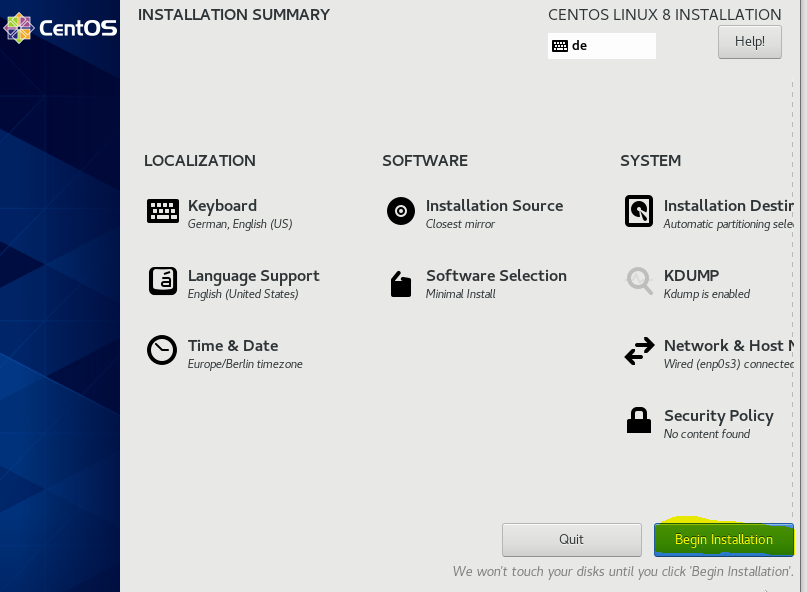
Begin Installation
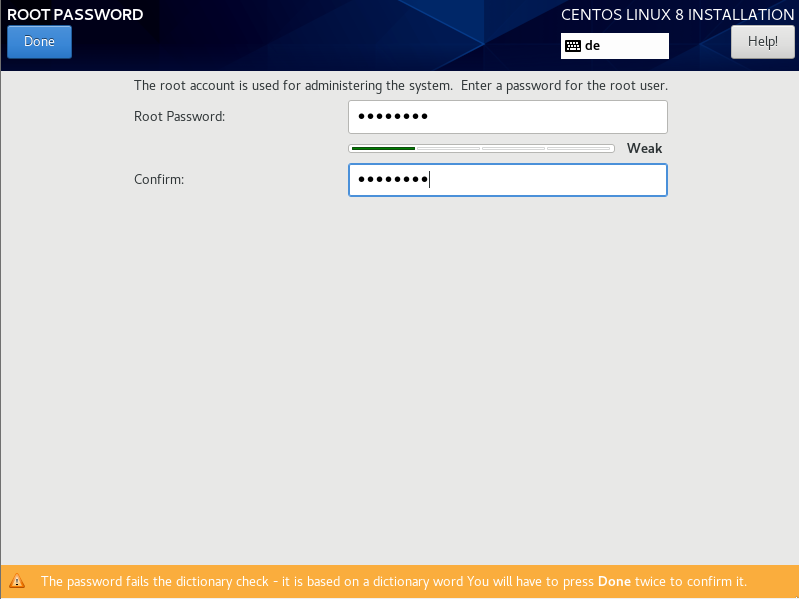
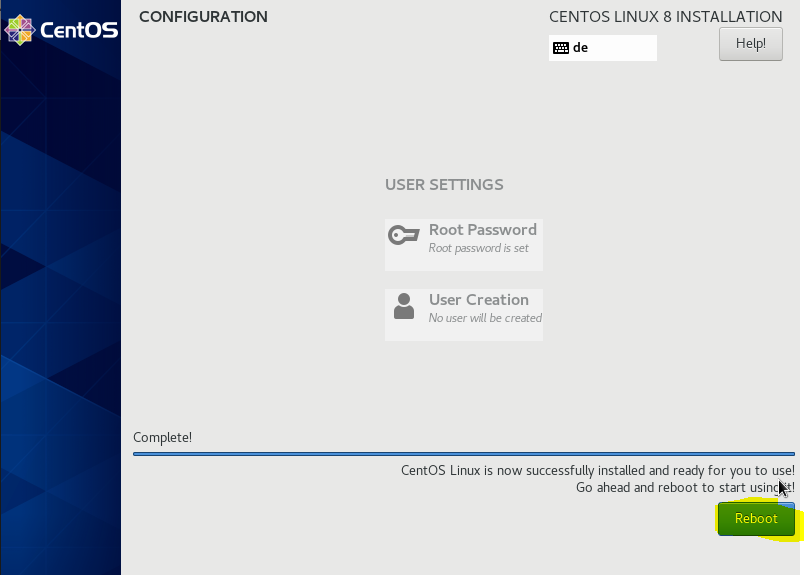
During the Installation, set a password for root
Reboot and check if everything is OK
After basic installation, you should be able to ssh into the machine using root and the password you set. If the customer is installing the OS, this is the point at which the machines should be handed over to the project manager. Do not install any further packages. You may do this once the jtel installation is completed - AT YOUR OWN RISK. |


| Sv translation | ||
|---|---|---|
| ||
The following steps describe the basic installation process. ISO File The ISO File for the basic installation can be downloaded here: https://cdn.jtel.de/downloads/ISOs/CentOS-8.1.1911-x86_64-boot.iso Select the first option (Install CentOS Linux 8).
On the next screen, select Continue.
On the next screen, several items must be configured.
Setup the keyboard layout. Include the most used keyboard layout first.
Setup the date and time. For example, to Europe / Berlin.
Connect to the network and setup the hostname This example shows a DHCP connection. You may need to configure this manually, if you are not using DHCP. Note: if you are using DHCP, a reservation is recommended.
Once you have connected to the network, you could use ping from another machine to verify that the machine is in fact connected to the network. Choose the Installation Destination Usually, you will not need to configure anything special here.
Software Selection Select Minimal Install. Do not select any additional packages, these will all be added later in a controlled manner by the installation of each required role in the jtel system.
Begin Installation
During the Installation, set a password for root
Reboot and check if everything is OK
After basic installation, you should be able to ssh into the machine using root and the password you set. If the customer is installing the OS, this is the point at which the machines should be handed over to the project manager. Do not install any further packages. You may do this once the jtel installation is completed - AT YOUR OWN RISK. |