This guide walks you through configuring the jtel ACD Client Tab as a custom application within Microsoft Teams, providing seamless integration with the jtel Carrier Portal. By adding this app to your Teams environment, users can access the jtel ACD Client directly within Teams. The setup process involves creating a Teams app package, uploading it to your Teams admin portal, and configuring it for global use within your organization. This document provides step-by-step instructions on the prerequisites, installation, and setup, along with guidance for updating the app as needed. - Prerequisites: Setting up the required files for the Teams app.
- App Creation: Configuring and zipping the necessary files for upload.
- Installation and Setup: Uploading the app to Teams and configuring it within your organization's policies.
- Updating the App: Procedures to update the app version and troubleshoot if necessary.
To begin, create a Teams application by preparing three files First, we have to create a Teams Application.
The application should contain three files as follows: - Icon-color.png
- and Icon-outline.png - the application's icons.
- manifest.json - the application's configuration file.
The manifest.json : file defines key application properties and configurations, such as app identifiers, permissions, and URLs. | Code Block |
|---|
| {
"$schema": "https://developer.microsoft.com/en-us/json-schemas/teams/v1.16/MicrosoftTeams.schema.json",
"manifestVersion": "1.16",
"id": "$application_id",
"version": "1.0.0",
"packageName": "de.jtel.acd.teams",
"developer": {
"name": "jtel GmbH",
"websiteUrl": "https://jtel.de/",
"privacyUrl": "https://jtel.de/privacy-statement-eu/",
"termsOfUseUrl": "https://jtel.de/en/legal",
"mpnId": ""
},
"name": {
"short": "jtel ACD",
"full": "jtel ACD Client Tab"
},
"description": {
"short": "jtel ACD Teams Client",
"full": "The jtel ACD Client for Microsoft Teams provides seamless integration with jtel's Carrier Portal, enabling users to manage carrier operations directly within Teams. Access dashboards, monitor performance metrics, and collaborate with your team efficiently."
},
"icons": {
"outline": "Icon-outline.png",
"color": "Icon-color.png"
},
"accentColor": "#333333",
"configurableTabs": [],
"staticTabs": [
{
"entityId": "jtelACD",
"name": "jtel ACD",
"contentUrl": "$acd_portal_url",
"websiteUrl": "$acd_portal_url",
"scopes": [ "team", "personal" ]
}
],
"bots": [],
"connectors": [],
"composeExtensions": [],
"permissions": [
"identity",
"messageTeamMembers"
],
"validDomains": [
"$acd_domain",
"jtel.de"
],
"webApplicationInfo": {
"id": "$app_registration_id",
"resource": "https://$acd_domain"
}
}
|
Icon-color and Icon-outline are the App icons/logo. | Info |
|---|
Change $application_id, $acd_portal_url $acd_domain and $app_registration_id in the manifest.json. The last part "webApplicationInfo" is needed only if the customer uses Microsoft Entra ID Login. |
P.S. Here is a tip to generate $application_id: The following website Free Online GUID Generator allows you to generate our application ID. The Replace the following placeholders: is the portal URL to log in. For example:- : The URL for the jtel Carrier Portal (e.g., https://myacdsystem.mydomain.de/CarrierPortal/login/myResellersUID/myClientsUID).
The should be - : Your portal's domain, such as myacdsystem.mydomain.de.
The id is the - id: The "Application (client) ID"
of the - from Microsoft Azure’s App registrations
app in Microsoft AzureThe URL URLs with https. Note: Include webApplicationInfo only if using Microsoft Entra ID Login. |
Once configured, compress Finally, zip the three files togetherinto a .zip file for upload. Example in the attachment: | View file |
|---|
| name | jtelACDTeamsTab.zip |
|---|
| height | 250 |
|---|
|
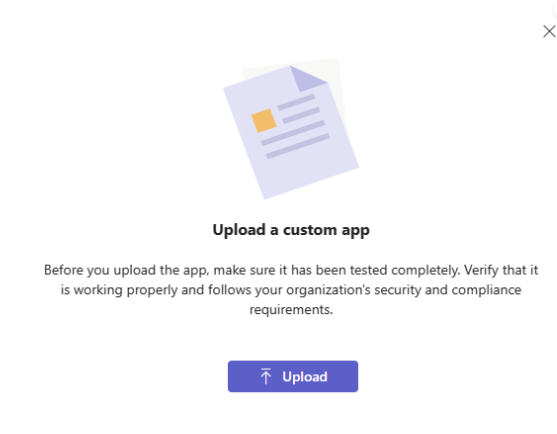
2. To create Teams Apps for your organization, you must be a Global Admin: Login to Microsoft 365 admin center with your admin credential and make sure of the role. Login to Dashboard - Microsoft Teams admin center Go to Teams apps → Manage apps and click on Upload new app. Follow the steps to upload the zip file created in the previous steps.
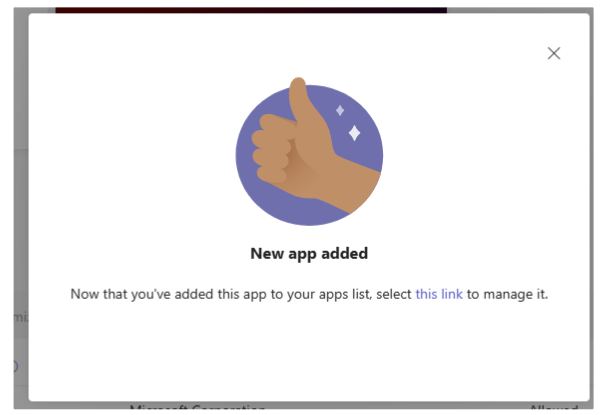
By successful upload, you should see the following popup:
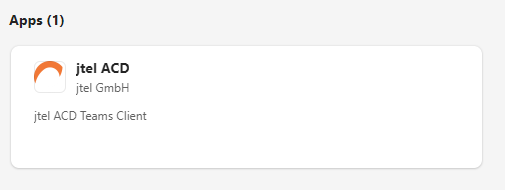
You should be able to see the new app in All apps table by typing the filter jtel ACD

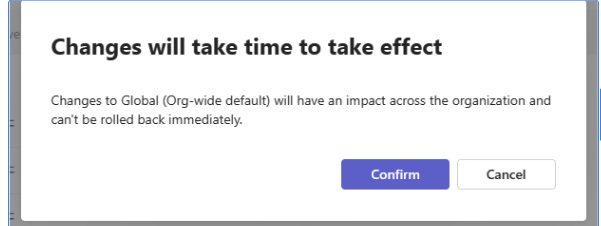
Go to Teams apps → Setup policies and click on Global (Org-wide default) Under Installed apps click on Add apps and search for the added application by the name “jtel ACD“. Next click on Add. Under Pinned apps, click on Add apps and add the new application. Finally click on save button and you should see the following popup:
Restart the Teams application and go to Apps and search for jtel ACD.
Select the new application and click on Add button. The portal will be opened then.
P.S| Info |
|---|
Tip: The teams application doesn't get the changes immediately. If you don't see the new application in teams application, then verify with the teams web application. |
Update existing app- Update the app folder (manifest.json and icons if necessary).
- In manifest.json, the id should be the same and the version should be incremented (e.g., from 1.0.0 to 1.0.1 for example).
- Zip the folder.
- Login to Dashboard - Microsoft Teams admin center.
- Go to Teams apps → Manage apps and search for the jtel app.
- Open the app and click on New version Upload file on the top of the screen.
- Upload the new zip.
| Info |
|---|
If after uploading the zip an error message appears on top of the screen. you can delete the app and reinstall it from scratch. |
With these steps, your organization can seamlessly integrate and manage the jtel ACD Client within Microsoft Teams. |