The certificates are located in:
The correct permissions are 400. (read only for root) and can be set as follows:
The file contains Sections:
-----BEGIN CERTIFICATE-----
MIIEzjCCA7agAwIBAgISESGiWLxseXetsJGbfZKEfehiMA0GCSqGSIb3DQEBCwUA
MEwxCzAJBgNVBAYTAkJFMRkwFwYDVQQKExBHbG9iYWxTaWduIG52LXNhMSIwIAYD
...
-----END CERTIFICATE-----
-----BEGIN RSA PRIVATE KEY-----
MIIEowIBAAKCAQEAsDGatsqSubHWmDG2IOVbocgwJfX9dB3EtXFw6HN87zDvAvvE
9KUsDqMQiU2+aORZapzhl0oL1cfznPpQYyo4WGprQiNyL82TTxeWhCNRnBv4tnJw
...

-----END RSA PRIVATE KEY----- |
|
The minimum is that the certificate for the load balancer and private key are included. The file is referenced in haproxy.cfg:
frontend acdportal_https
 mode http
bind :443 ssl crt /etc/haproxy/haproxy.pem #verify optional |
|
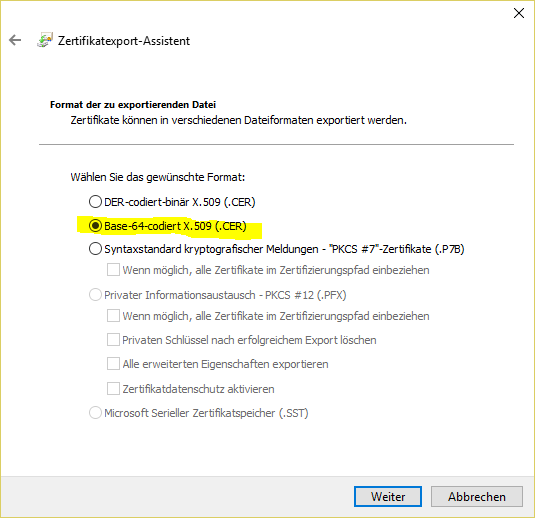
If an intermediate certificate must be inserted (example sales force if the certification chain is not known in SalesForce), this can be done as follows
- Right mouse click on the certification in the browser:
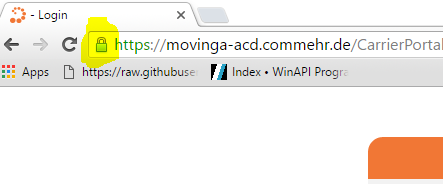
- Display details of the certificate:

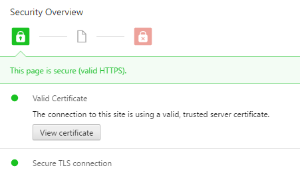
- Display intermediate certificate:
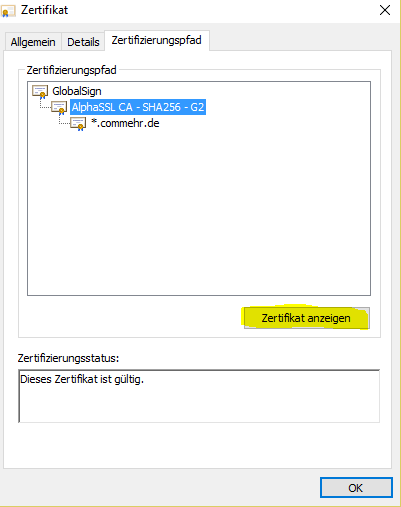
 #
#
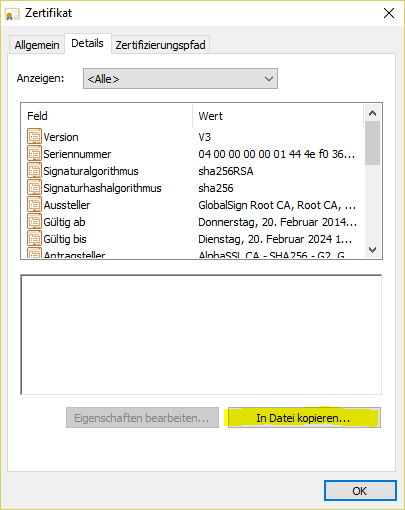
- Save to the local computer:
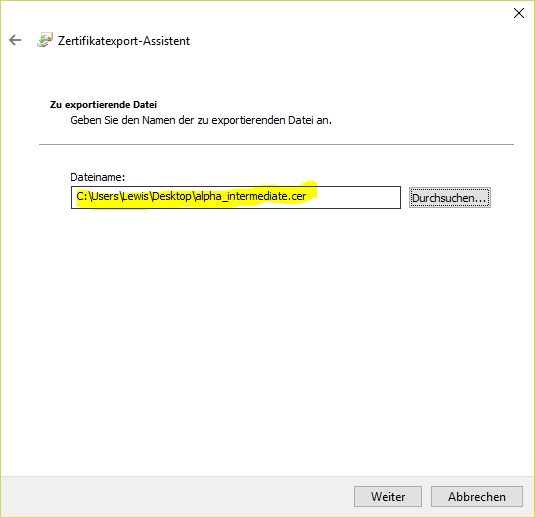
Then edit the file with a text editor, then copy the content of the intermediate certificate into the haproxy.pem file at the very bottom.
Then:
Converting pfx Certificates to .pem Format
The following command can be used to convert a .pfx certificate file to .pem Format (the password for the certificate will be required):
openssl pkcs12 -in acd.cg.internal.pfx -out /root/haproxy.pem -nodes |
|


 #
#